

Sewing Machine Features Explained: A Complete Guide for Beginners & Pros (2025)
Ever felt like you need an engineering degree just to understand your sewing machine’s manual? You’re not alone. From mysterious dials and cryptic symbols to features like “drop feed” and “one-step buttonholes,” the world of sewing machines can feel incredibly overwhelming. But what if you could understand every single feature, know exactly what it does, and confidently choose—and use—the perfect machine for your projects?
That’s exactly why we’re here. As a seamstress with over 20 years of experience, I’ve seen machines evolve from simple mechanical workhorses to sophisticated computerized assistants. This guide is the culmination of that experience, designed to demystify every knob, button, and function. We’ll break it all down in simple, human terms, so you can spend less time guessing and more time creating.
Disclosure: This post contains affiliate links. If you make a purchase through these links, we may earn a small commission at no extra cost to you. This helps us continue to provide high-quality, free content. We only recommend products we genuinely believe in.
Quick Navigation: Your Sewing Feature Roadmap
Part 1: The Absolute Essentials (Every Machine Has These)
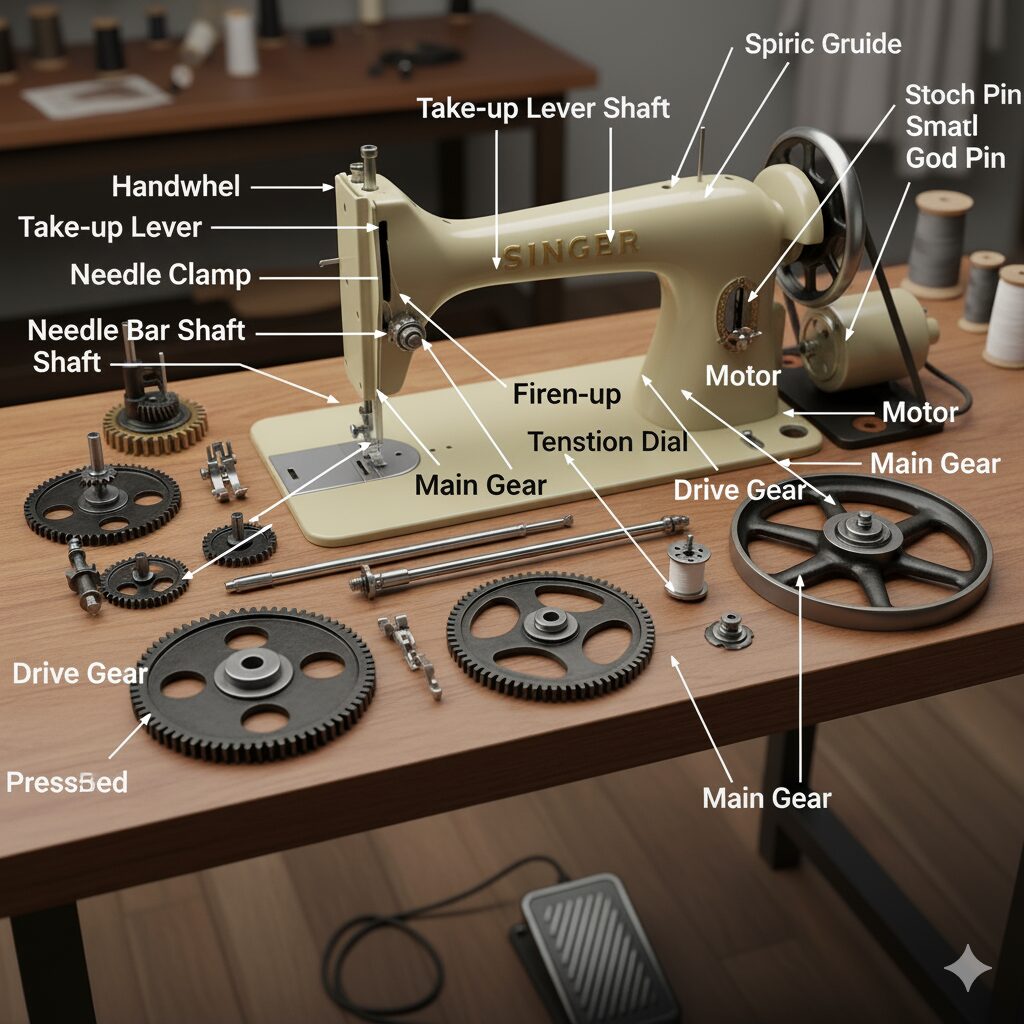
Whether you’re using a vintage Singer from the 70s or a brand-new machine, these are the core components that make sewing possible. Understanding them is the foundation of all sewing knowledge. It’s the first crucial step in learning how to use a sewing machine properly. Let’s dive in.
1. Stitch Selector
What it is: This is the knob, dial, or digital screen that lets you choose the type of stitch you want to create. On a basic mechanical sewing machine, it’s often a physical dial you turn. On computerized models, it’s a selection made via buttons and an LCD screen.
Why it matters: This is your primary creative control! At a minimum, you’ll have a straight stitch (for seams) and a zigzag stitch (for finishing edges and sewing knits). Most machines offer much more, including blind hem stitches, stretch stitches, and decorative options. The ability to switch between them is fundamental to sewing anything beyond a simple straight line.
2. Stitch Length & Stitch Width Dials
What they are: These controls, often separate dials or digital settings, adjust the dimensions of your selected stitch.
- Stitch Length: Controls how far the fabric moves between each stitch. A shorter length (e.g., 1.5mm) creates small, tight stitches, ideal for reinforcement or fine fabrics. A longer length (e.g., 4mm) creates looser stitches, perfect for basting (temporary stitching) or gathering fabric. The standard for construction is around 2.5mm.
- Stitch Width: Controls the side-to-side distance of stitches like the zigzag. A narrow width is great for a satin stitch, while a wider width is used for finishing seams or creating bold decorative effects.
Why they matter: These two features give you immense control over the strength, function, and appearance of your seams. Proper adjustment is key to preventing puckered fabric and creating durable garments.
3. Tension Control Dial
What it is: This dial, usually numbered from 0 to 9, controls the pressure applied to the upper thread as it feeds through the machine. This pressure needs to be balanced with the tension of the bobbin thread.
Why it matters: Incorrect tension is the #1 cause of most sewing problems! If the top tension is too high, the bobbin thread will be pulled up to the top of the fabric. If it’s too low, you’ll see loops of the top thread on the bottom. A perfect stitch has the top and bobbin threads meeting neatly in the middle of the fabric layers. If you’re struggling with this, our guide to common sewing machine problems and fixes has a detailed section on mastering tension.
Pro-Tip: The “Set it and Forget It” Myth
Most machines have a “standard” tension setting (often marked with a box or a different color), which works for general-purpose thread on medium-weight cotton. However, you must adjust the tension when you change fabric thickness or thread type. Always test on a scrap piece of your project fabric before you start sewing the real thing!
4. Reverse Lever/Button
What it is: A lever or button that, when pressed and held, makes the machine sew backward.
Why it matters: This is how you “lock” your stitches at the beginning and end of a seam to prevent them from unraveling. You’ll typically sew forward a few stitches, press reverse for a few stitches, and then continue forward. This backstitching is a non-negotiable step for durable seams.
5. Handwheel
What it is: The large wheel on the right side of the machine that manually controls the needle’s movement. Crucially, you should only ever turn it towards you. Turning it away from you can jam the machine and create a thread nest.
Why it matters: The handwheel is essential for precise control. You’ll use it to drop the needle into the exact starting point of a seam, to manually sew a single stitch when pivoting at a corner, or to safely untangle a thread jam. Mastering its use is a core part of a proper sewing machine setup for beginners.
6. Bobbin Winder & Housing
What it is: This system is responsible for the bottom thread in a stitch. It consists of:
- The Bobbin: A small spool that holds the bottom thread.
- The Bobbin Winder: A mechanism (usually on top of the machine) that spins the bobbin to load it with thread from your main spool.
- The Bobbin Case/Housing: The area under the needle plate where the filled bobbin is placed. This can be a top-loading (drop-in) system or a front-loading system.
Why it matters: Without a correctly wound and inserted bobbin, you can’t form a stitch. A poorly wound bobbin (too loose or uneven) is another common source of tension headaches and messy stitches.
7. Presser Foot & Lifter
What it is: The presser foot is the metal or plastic attachment that holds the fabric down against the feed dogs as you sew. The presser foot lifter is the lever (usually behind the needle area) that raises and lowers it.
Why it matters: This foot provides the pressure needed for the feed dogs to move the fabric evenly. You must lower the presser foot before you start sewing and raise it to remove your fabric. Sewing with the presser foot up will result in a massive, tangled nest of thread. There are dozens of specialty presser feet (zipper foot, buttonhole foot, etc.) that make specific tasks much easier.
8. Feed Dogs
What they are: The little metal “teeth” that stick up from the throat plate (the metal plate under the needle). They move in a rhythmic motion to pull your fabric through the machine as you sew.
Why they matter: They are the engine of your fabric transport system! The feed dogs determine your stitch length and ensure your fabric moves consistently. Without them, you’d have to push the fabric through manually, resulting in wildly uneven stitches.
9. Free Arm
What it is: Most machines have a removable section of the sewing bed, usually a storage compartment. When you slide this piece off, it exposes a narrower sewing surface called the “free arm.”
Why it matters: The free arm is essential for sewing small, circular items like shirt cuffs, trouser hems, and children’s clothing. It allows you to slip the fabric tube over the arm, so you can sew around it without accidentally stitching the front and back together.
Key Takeaway for Basic Features
Mastering these nine fundamental features is the key to unlocking 90% of your sewing potential. Before you worry about fancy stitches or automated functions, get comfortable with threading your machine, winding a bobbin, adjusting tension, length, and width, and using the handwheel for precision. This foundation will make everything else easier.
Part 2: Computerized Conveniences (The Game-Changers)
This is where modern technology elevates the sewing experience from functional to fantastic. A computerized sewing machine automates tedious tasks, ensures perfect consistency, and opens up a world of creative possibilities. These features are often what separates a budget model from a machine that will grow with you, making them a key consideration in any sewing machine buying guide.
10. LCD/LED Screen
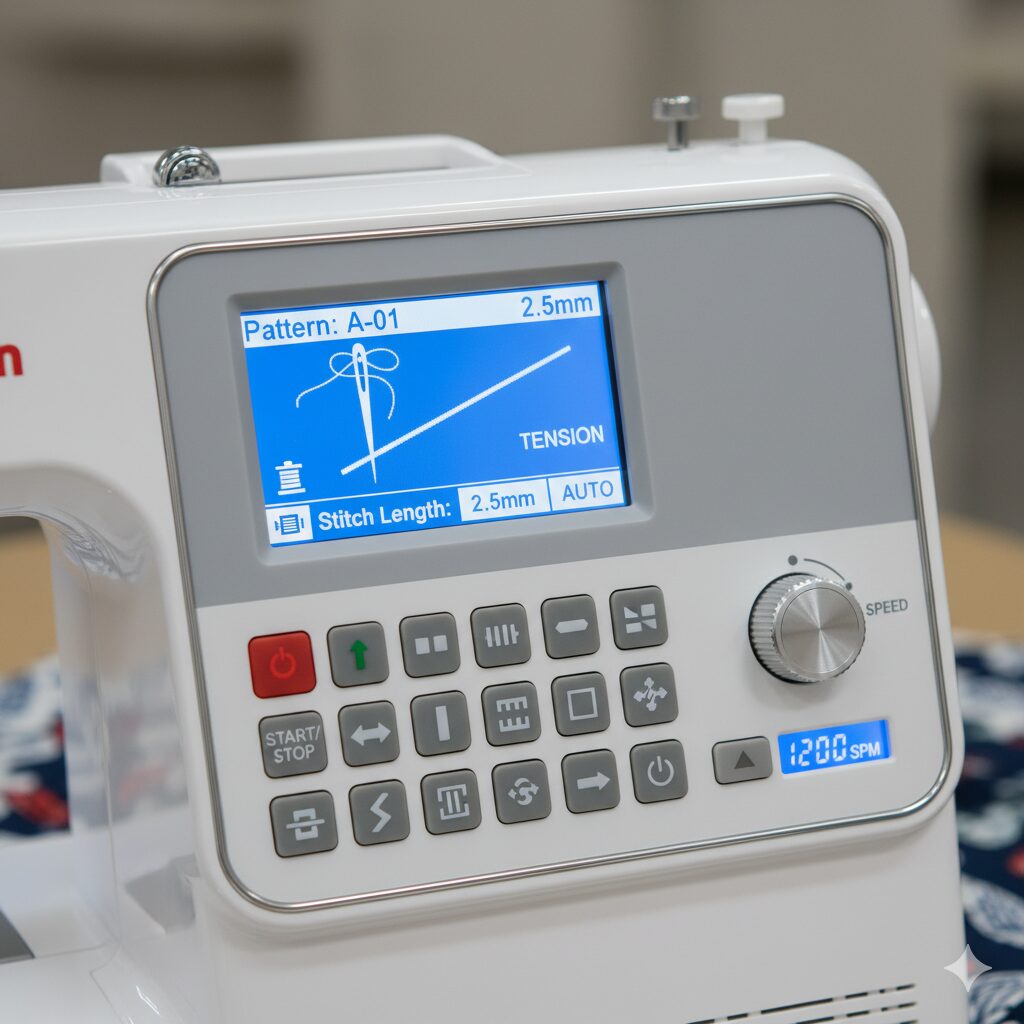
What it is: A digital display that provides crucial information at a glance. Basic screens might just show the selected stitch number and recommended length/width. More advanced screens are larger, backlit, and can show stitch previews, recommend the correct presser foot, and display error messages.
Why it matters: Clarity and confidence. Instead of deciphering symbols on a dial, you see a clear number or even an image of the stitch. The machine tells you its exact settings, reducing guesswork and errors. Error messages (like “Check bobbin” or “Lower presser foot”) are incredibly helpful for troubleshooting.
11. Automatic Needle Threader
What it is: A small, built-in mechanism with a tiny hook that swings through the eye of the needle, catches the thread, and pulls a loop through to the other side. You simply guide the thread, pull a lever, and the needle is threaded.
Why it matters: This feature is a true game-changer, especially for those with less-than-perfect eyesight or unsteady hands. It saves an immense amount of time and frustration, turning one of the most tedious parts of sewing into a two-second task. Once you’ve used one, you’ll never want to go back.
12. Automatic Thread Cutter
What it is: A button (often marked with a scissors icon) that, when pressed, tells the machine to snip both the top and bobbin threads for you, pulling the top thread to the underside of the fabric.
Why it matters: This is a luxury that quickly becomes a necessity. It saves time, as you don’t have to reach for scissors after every seam. It saves thread, as it cuts the tails very short and neatly. And it keeps your work area cleaner, both on top and underneath. For quilters doing lots of chain piecing, this feature is a massive time-saver.
13. Speed Control Slider
What it is: A physical slider on the front of the machine that sets the maximum sewing speed, regardless of how hard you press the foot pedal.
Why it matters: This feature is a beginner’s best friend. You can set the slider to a slow, manageable pace to maintain control while you’re learning or sewing intricate curves. For advanced users, it’s perfect for detailed topstitching or free-motion quilting where consistent, controlled speed is essential. It’s also a fantastic safety feature for teaching children to sew.
14. Start/Stop Button
What it is: This button allows you to sew without using the foot pedal at all. Press it once to start sewing at the speed set by the control slider, and press it again to stop.
Why it matters: This is a major ergonomic benefit. For long seams, like curtains or quilt bindings, you can sit back comfortably without having to keep your foot on the pedal. It’s also an excellent accessibility feature for users who may have difficulty operating a foot pedal.
15. Needle Up/Down (or Needle Position) Button
What it is: This button controls whether the needle stops in the raised position (up) or embedded in the fabric (down) when you stop sewing. Many machines allow you to set a default preference.
Why it matters: The “needle down” position is arguably one of the most useful features in modern sewing. When you stop with the needle in the fabric, it acts as a pivot point. You can lift the presser foot, turn your fabric to navigate a sharp corner perfectly, lower the foot, and continue sewing without ever losing your place. It’s indispensable for appliqué, quilting, and precision topstitching.
Needle Down: The Unsung Hero
If I had to choose only one computerized feature, it would be the needle up/down function. The ability to pivot flawlessly around corners without your fabric shifting is transformative. It instantly elevates the quality and precision of your work, making your projects look more professional.
16. Built-in Stitches (Utility, Decorative, Alphabet)
What it is: While mechanical machines might offer 10-20 stitches, computerized models can offer anywhere from 50 to 500+ built-in stitches. These include:
- Utility Stitches: A wide range of functional stitches for stretch fabrics, blind hems, reinforcements (tack stitches), and overcasting (to mimic a serger).
- Decorative Stitches: A library of beautiful stitches for embellishment, from simple scallops and vines to complex geometric or satin stitches.
- Alphabet/Fonts: The ability to sew letters and numbers, perfect for monogramming and labeling projects.
Why it matters: This is your gateway to creativity. A wide stitch library lets you tackle any type of fabric with the correct stitch and add unique, personalized details to your projects. For those looking to move beyond basic garment construction, a good selection of decorative stitches is essential. It’s a key factor for those looking at the best sewing machines for intermediate sewers.
17. One-Step Buttonhole
What it is: An automated process for creating perfect buttonholes. You simply attach a special buttonhole foot, place your button in the back of the foot to set the size, and press start. The machine sews the entire buttonhole (both sides, the top, and bottom tacks) in one continuous, automated step.
Why it matters: This feature single-handedly removes the fear of making buttonholes. The older, four-step manual process was often imprecise and frustrating. The one-step process creates consistent, perfectly sized, and professional-looking buttonholes every single time. For anyone who makes shirts, dresses, or any garment with button closures, this feature is non-negotiable.
Part 3: Specialty & Quilting Features (For the Enthusiast)
These features are often found on higher-end machines and are tailored to specific hobbies like quilting, custom dressmaking, or heavy-duty sewing. While not essential for a beginner, they provide incredible efficiency and professional results for dedicated sewists.
18. Extension Table
What it is: A large, flat table that attaches to the machine, sliding around the free arm to dramatically increase the work surface area to the left of the needle.
Why it matters: Support is everything when working with large projects. An extension table supports the weight of a quilt, a heavy coat, or a large curtain, preventing the fabric from pulling on the needle and causing distorted stitches or skipped stitches. It provides a stable, flat surface, which is crucial for accurate piecing and free-motion quilting.
19. Drop Feed
What it is: A switch or lever that disengages the feed dogs, causing them to drop below the throat plate so they no longer grip the fabric.
Why it matters: This feature is essential for “free-motion” techniques. When the feed dogs are dropped, you are in complete control of the fabric’s movement—you can move it in any direction (forwards, backward, side-to-side) to essentially “draw” with the thread. This is the foundation of free-motion quilting, thread painting, and darning.
20. Walking Foot / Integrated Dual Feed System
What it is: This is a mechanism designed to feed multiple layers of fabric through the machine evenly. It comes in two forms:
- Walking Foot (or Even Feed Foot): A large, attachable presser foot with its own set of feed dogs on top that work in sync with the machine’s lower feed dogs.
- Integrated Dual Feed (IDF): A built-in system (popularized by brands like Pfaff) where a small “walking” mechanism pulls down from behind the needle to grip the top layer of fabric.
Why it matters: This is the ultimate solution for preventing layers of fabric from shifting. It’s an absolute must-have for quilting, where you’re sewing through a “quilt sandwich” (top, batting, and backing). It’s also brilliant for matching plaids or stripes perfectly and for sewing tricky fabrics like velvet, vinyl, or slippery knits that tend to creep and pucker.
21. Knee Lifter
What it is: A lever that plugs into the front of the machine and rests against your knee or thigh. Pushing the lever with your knee raises and lowers the presser foot, leaving both of your hands free.
Why it matters: This is an efficiency and precision tool loved by quilters and artisans. It allows you to keep both hands on your fabric at all times for maximum control, especially when chain piecing or maneuvering complex appliqué shapes. You can pivot and reposition without ever taking your hands off your work.
A Note on Safety First
As you explore these powerful features, never forget the basics of safety. Always be mindful of where your fingers are in relation to the needle. For a great refresher, check out our essential sewing machine safety tips before starting any new project.
Part 4: Top-Rated Machines Featuring These Functions
Now that you’re an expert on features, let’s see them in action. Here are three highly-rated sewing machines available on Amazon that exemplify different feature sets, from a reliable beginner model to a quilter’s dream.

Best for Beginners: Brother CS6000i
- LCD Screen
- 60 Built-in Stitches
- Automatic Needle Threader
- One-Step Buttonhole (7 styles)
- Start/Stop Button & Speed Control
- Includes Extension Table
The CS6000i is legendary in the sewing community for a reason. It packs an incredible number of user-friendly computerized features into a very affordable package. It’s the perfect machine to learn and grow with.
Check Price on Amazon
Best for Creatives: Singer Quantum Stylist 9960
- Large LCD Screen
- 600 Built-in Stitches + 5 Fonts
- Automatic Thread Cutter
- Needle Up/Down Function
- One-Step Buttonhole (13 styles)
- Extension Table & Bonus Feet
If you’re ready for maximum creative freedom, the 9960 is a workhorse. The sheer number of stitches, plus the essential time-savers like a thread cutter and needle-down positioning, make it a fantastic choice for dressmaking and home decor.
Check Price on Amazon
Best for Quilters: Juki HZL-F600
- Box Feed System (Superior Feed)
- 225 Stitches + 4 Fonts
- Knee Lifter
- Automatic Thread Cutter
- Large Workspace & Extension Table
- Random Stitch Feature
Juki is known for its industrial-strength machines, and the F600 brings that power home. Its legendary Box Feed system grips fabric better than anything else, and features like the knee lifter and huge throat space make it an absolute dream for serious quilters.
Check Price on AmazonPart 5: Frequently Asked Questions (FAQ)
1. Do I really need a machine with hundreds of stitches?
Honestly, for most garment and basic sewing, you only need a handful: straight stitch, zigzag, a stretch stitch, and a buttonhole. However, the extra stitches are fantastic for decorative embellishments, quilting, and crafting. Think of it like this: you don’t need them, but they open up a huge range of creative possibilities. If you’re purely utilitarian, a basic machine is fine. If you see sewing as an artistic hobby, you’ll love having more options.
2. Is an automatic needle threader really worth the extra money?
Yes. 100% yes. This is one of those quality-of-life features that seems minor until you use it. It completely eliminates the most frustrating part of setting up a machine. It saves time, reduces eye strain, and gets you sewing faster. For its relatively small impact on price, it provides a massive improvement in user experience.
3. What’s the difference between a top-loading (drop-in) bobbin and a front-loading bobbin?
A top-loading (or drop-in) bobbin is the most common system on modern computerized machines. You simply remove a clear plastic cover, drop the bobbin in, and you’re done. The clear cover lets you see how much thread is left. A front-loading bobbin system involves a separate metal bobbin case that you have to remove from a compartment on the front of the machine, insert the bobbin, and then re-insert the whole case. Top-loading systems are generally considered much more beginner-friendly and convenient.
4. What is the most important feature for sewing heavy fabrics like denim or canvas?
While a “heavy-duty” label helps, the most important feature is a strong motor and a sturdy, metal internal frame. These components provide the piercing power to get through thick layers without the needle deflecting or the machine stalling. Additionally, features like a presser foot pressure adjustment dial can be very helpful to properly manage thick fabric layers.
5. Can I add features like a walking foot to any machine?
Yes, a walking foot is an accessory presser foot that can be purchased and added to almost any modern sewing machine. You’ll just need to make sure you buy one that is compatible with your machine’s shank type (most modern home machines are low-shank). Features like a built-in needle threader or thread cutter, however, are part of the machine’s core construction and cannot be added later.
Conclusion: From Confused to Confident
Understanding the features of a sewing machine is the first step toward becoming its master. By learning the language of your machine—from the fundamental tension dial to the convenient needle-down button—you empower yourself to tackle any project with confidence. The right features don’t just make sewing easier; they make it more joyful, more creative, and more professional.
We hope this comprehensive guide has illuminated the path for you. Now, go forth and create something beautiful!


