
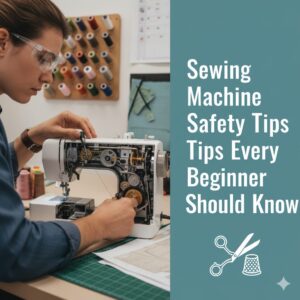
The Ultimate Guide to Sewing Machine Safety (2025): 24 Essential Tips for a Secure Studio
We’ve all had that heart-stopping moment: the needle gets terrifyingly close to a fingertip, a rotary cutter slips, or you sew directly over a pin with a loud *CRACK*. In the blissful zone of creative focus, it’s easy to forget that a sewing machine is a powerful tool, and our studios are filled with sharp objects.
As a sewing instructor with over 15 years of experience teaching everyone from nervous beginners to confident experts, I’ve learned that sewing safety isn’t about fear. It’s about developing a deep respect for your tools and cultivating mindful habits. A safe sewing practice isn’t just about avoiding injury—it’s about protecting your machine, your projects, and your long-term health. This comprehensive guide is the culmination of every safety lesson I’ve ever taught, designed to make your creative space a true sanctuary.
Disclosure: This post contains affiliate links. If you purchase through these links, we may earn a commission at no extra cost to you. This helps support our work. We only recommend products we’ve personally tested and believe in for their safety and quality.
A Roadmap to a Safer Sewing Space
Section 1: The Golden Rules: Core Machine Operation Safety
These are the absolute non-negotiables. Mastering these foundational habits is the first and most important step in learning how to use a sewing machine safely.
1. Read Your Machine’s Manual
I know, I know—it’s not the most exciting read. But your manual is the single most important safety document you own. It contains specific information about your machine’s features, warnings, and proper maintenance procedures. Every machine is slightly different, and the manual will tell you where critical parts are, what error codes mean, and how to perform basic tasks correctly. Keep it handy!
2. Keep Fingers a Safe Distance from the Needle
This sounds obvious, but when you’re focused on guiding fabric, your fingers can creep dangerously close. Make it a habit to keep your fingers on either side of the presser foot, at least an inch away from the needle area. Use a stiletto or the eraser end of a pencil to guide fabric on those last few stitches, not your fingertips.
3. Never, Ever Sew Over Pins
This is one of the most common and dangerous beginner mistakes. Hitting a pin with a needle moving at hundreds of stitches per minute can have several disastrous outcomes:
- The needle can shatter, sending metal shards flying toward your face and eyes.
- The pin can be driven down into your bobbin case, jamming and damaging the machine’s delicate mechanism.
- It can throw off your machine’s timing, a repair that requires a professional technician.
The Fix: Adopt the “sew and pull” method. Sew up to about an inch before a pin, stop with the needle down, pull the pin out, and then continue sewing. A magnetic pin cushion on your machine bed makes this easy.
Critical Warning: Eye Protection is Non-Negotiable
A shattering needle is a serious risk. I strongly recommend wearing safety glasses or even your regular prescription glasses whenever you are operating the machine. It’s a simple precaution that can save you from a devastating eye injury.
4. Turn Off the Power When Changing Needles or Feet
Always turn the main power switch off—or better yet, unplug the machine completely—before changing the needle, presser foot, or performing any maintenance. A stray foot on the pedal at the wrong moment can lead to a serious puncture wound. Make this an automatic habit.
5. Use the Handwheel Correctly
The handwheel (the large wheel on the right side) is for precise, manual control. Always turn it towards you. Turning it away from you can create thread tangles and jam the machine. Use it to slowly lower the needle to your starting point or to sew a single stitch when pivoting.
6. Don’t Force or Pull Fabric
Your machine’s feed dogs are designed to pull the fabric through at a consistent pace. Your job is simply to guide it. Pushing or pulling the fabric not only results in uneven stitches but also puts stress on the needle, causing it to bend and potentially break. If your fabric isn’t feeding correctly, it’s a sign of a problem you need to investigate, not power through. This is often one of the first common sewing machine problems and fixes a new sewer learns.
Section 2: Power Play: Electrical Safety for a Hazard-Free Zone
We’re dealing with electrical appliances. A bit of caution goes a long way in preventing shocks, power surges, and even fires.
7. Use a High-Quality Surge Protector
A sewing machine, especially a modern computerized one, has sensitive electronic components. A power surge from a thunderstorm or a grid fluctuation can fry its circuit board, resulting in a costly repair. Don’t plug your machine directly into the wall. Invest in a good quality surge protector with a high “joule” rating.
8. Tidy Up Your Cords
Keep the power cord and foot pedal cord untangled and out of main foot-traffic areas. A tangled mess is a tripping hazard for you and anyone else in your home. Regularly inspect cords for any signs of fraying, cracking, or exposed wires. If you see any damage, replace the cord immediately.
9. Unplug When Not in Use
When you’re finished sewing for the day, unplug your machine from the surge protector. This is the most foolproof way to protect it from power surges and is an important safety step if you have children or pets in the home.
10. Keep Liquids Far Away
Your morning coffee or tea should have its own designated spot, far from your sewing machine and any electrical outlets. A spill could cause a short circuit, electrocution, or permanent damage to your machine.
Section 3: A Cut Above: Tool, Workspace, and Material Safety
Your sewing machine isn’t the only potential hazard in your studio. Your cutting tools, iron, and even your materials require respect.
11. Master Rotary Cutter Safety
A rotary cutter is an incredibly sharp and efficient tool, but it demands constant vigilance.
- Always Engage the Safety: Make it a muscle memory to retract the blade the *instant* you finish a cut. Never set it down with the blade exposed.
- Cut Away From Your Body: Always position your material so you are cutting away from yourself, never towards.
- Use a Safety Ruler: Use a thick acrylic ruler designed for rotary cutting. Keep your guiding fingers well away from the edge. A ruler with a protective finger guard is an excellent investment.
- Use a Self-Healing Mat: Only use a rotary cutter on a designated self-healing mat. Cutting on any other surface will dull the blade instantly and can cause it to skip and slip.
- Change Blades Carefully: Use a tool or magnet to handle the blade when changing it to avoid touching the sharp edge.
12. Handle Scissors and Shears with Care
Good sewing shears are razor-sharp. Don’t treat them like craft scissors.
- Pass Them Correctly: If handing scissors to someone, close the blades and offer them the handle first.
- Store Them Safely: Keep them closed and in a designated spot when not in use. Don’t leave them open on your sewing table.
- Don’t Multitask: Never try to walk around or carry other items while holding open shears.
13. Manage Pins and Needles Safely
A stray pin on the floor can lead to a very painful surprise.
- Use a Magnetic Caddy: A magnetic pin cushion or bowl is your best friend. It keeps pins contained and makes cleanup a breeze. Sweep it over your work area and floor after a project to find any strays.
- Dispose of Broken/Dull Needles Properly: Don’t just toss a broken or used needle in the trash. It can poke through the bag and injure a family member or sanitation worker. Keep a small, designated “sharps container” like an old medicine bottle or a mint tin clearly labeled “SHARPS” for safe disposal.
14. Respect Your Iron
A hot iron is a significant burn and fire risk.
- Use an Auto-Shutoff Iron: The single best safety feature on a modern iron. If you forget to turn it off, it will do it for you after a set period of inactivity.
- Never Leave it Face Down: Always rest your iron on its heel when not in use.
- Manage the Cord: Ensure the cord isn’t dangling where it can be snagged by a person or pet, pulling the hot iron down.
- Keep it Stable: Use a sturdy, stable ironing board that won’t wobble or collapse.
Workspace Safety Checklist
- Is your sewing area well-lit to prevent eye strain and mistakes?
- Are your electrical cords managed and out of the way?
- Are sharp tools like rotary cutters and scissors stored safely?
- Is your iron in a stable position with a clear cord path?
- Do you have a designated container for broken pins and needles?
Section 4: The Ergonomics of Sewing: Protecting Your Body for the Long Haul
Not all sewing injuries are sudden. Repetitive strain, poor posture, and eye fatigue can cause chronic pain that robs you of your sewing joy. This is preventative safety.
15. Set Up an Ergonomic Chair and Table
Hunching over a coffee table is a recipe for back and neck pain.
- Your Chair: Use an adjustable chair that allows your feet to rest flat on the floor with your knees at a 90-degree angle. Good lumbar support is crucial.
- Your Table: The ideal table height allows you to sew with your arms at a 90-degree angle, without hunching your shoulders up to your ears. Your forearms should be parallel to the floor.
16. Invest in Excellent Task Lighting
Your room’s overhead light is not enough. Poor lighting causes eye strain, headaches, and mistakes. A dedicated task lamp that provides bright, clear, daylight-quality light directly on your sewing area is one of the best investments you can make for your health and accuracy.
17. Perfect Your Sewing Posture
Think “sew like a royal.” Sit up straight, with your shoulders back and down. Keep your back against your chair’s support. Avoid leaning in to see your work—bring your work closer to you if needed, or adjust your lighting.
18. Take Frequent Breaks
It’s easy to lose track of time when you’re deep in a project. Set a timer for every 30-45 minutes to remind yourself to stand up, stretch, walk around, and rest your eyes by looking at something in the distance. This prevents stiffness and repetitive strain.
19. Perform Hand and Wrist Stretches
The fine motor movements of sewing can be tough on your hands. Periodically, take a break to gently stretch your fingers, wrists, and forearms. Open and close your hands, rotate your wrists, and gently flex them up and down.
Section 5: Proactive Protection: Maintenance as a Safety Practice
A well-maintained machine is a safe and reliable machine. Neglecting maintenance can lead to mechanical failures that pose a safety risk. This is a core part of a good sewing machine setup for beginners and experts alike.
20. Keep Your Machine Clean
Lint and dust are your machine’s enemies. A buildup in the bobbin area and feed dogs can cause jams, overheating, and in very extreme cases, could even pose a fire risk. After every major project, unplug your machine, remove the throat plate and bobbin case, and use a lint brush to clean out all the fuzz.
21. Change Your Needle Regularly
As we’ve mentioned, a dull, bent, or damaged needle is a primary cause of it breaking and shattering. A fresh needle is a safe needle. Get in the habit of starting every new project with a new needle. It’s a tiny investment that prevents big problems.
22. Listen to Your Machine
Pay attention to the sounds your machine makes. If it starts making unusual clunking, grinding, or squeaking noises, stop immediately. These are warning signs that something is wrong. Continuing to sew could cause a jam or break a part, creating an unsafe situation.
Know Your Machine Type
Safety and maintenance can differ slightly depending on your machine. A computerized sewing machine might alert you to a problem with an error code, which is a great safety feature. A mechanical sewing machine requires you to be more attuned to its sounds and feel. Both benefit hugely from regular cleaning.
Section 6: Special Safety Considerations
Safety needs can change depending on who is in your sewing space and what you’re working on.
23. Sewing with Children
- Constant Supervision is Key: A child should never be left alone with a sewing machine.
- Use a Finger Guard: Many machines accept a plastic finger guard that fits around the presser foot, making it impossible for small fingers to get under the needle.
- Control the Speed: If your machine has a speed control slider—a fantastic safety feature—set it to the slowest possible speed. Learn more about such tools in our sewing machine features explained guide.
- Teach Respect, Not Fear: Teach them the core safety rules from the very beginning, explaining the ‘why’ behind each one.
24. Sewing with Pets
Cats and dogs can be very curious about dangling threads and whirring machines.
- Thread is a Danger: Ingested thread can cause severe and life-threatening internal injuries to pets. Always snip your thread tails and dispose of them in a covered trash can.
- Pins and Needles: Keep all pins and needles securely stored and off the floor.
- Secure Your Space: If possible, keep pets out of your sewing room when you’re not there to supervise.
Your Essential Safety Toolkit
Equipping yourself with the right tools can significantly enhance the safety of your sewing environment. Here are my top recommendations, all available on Amazon.
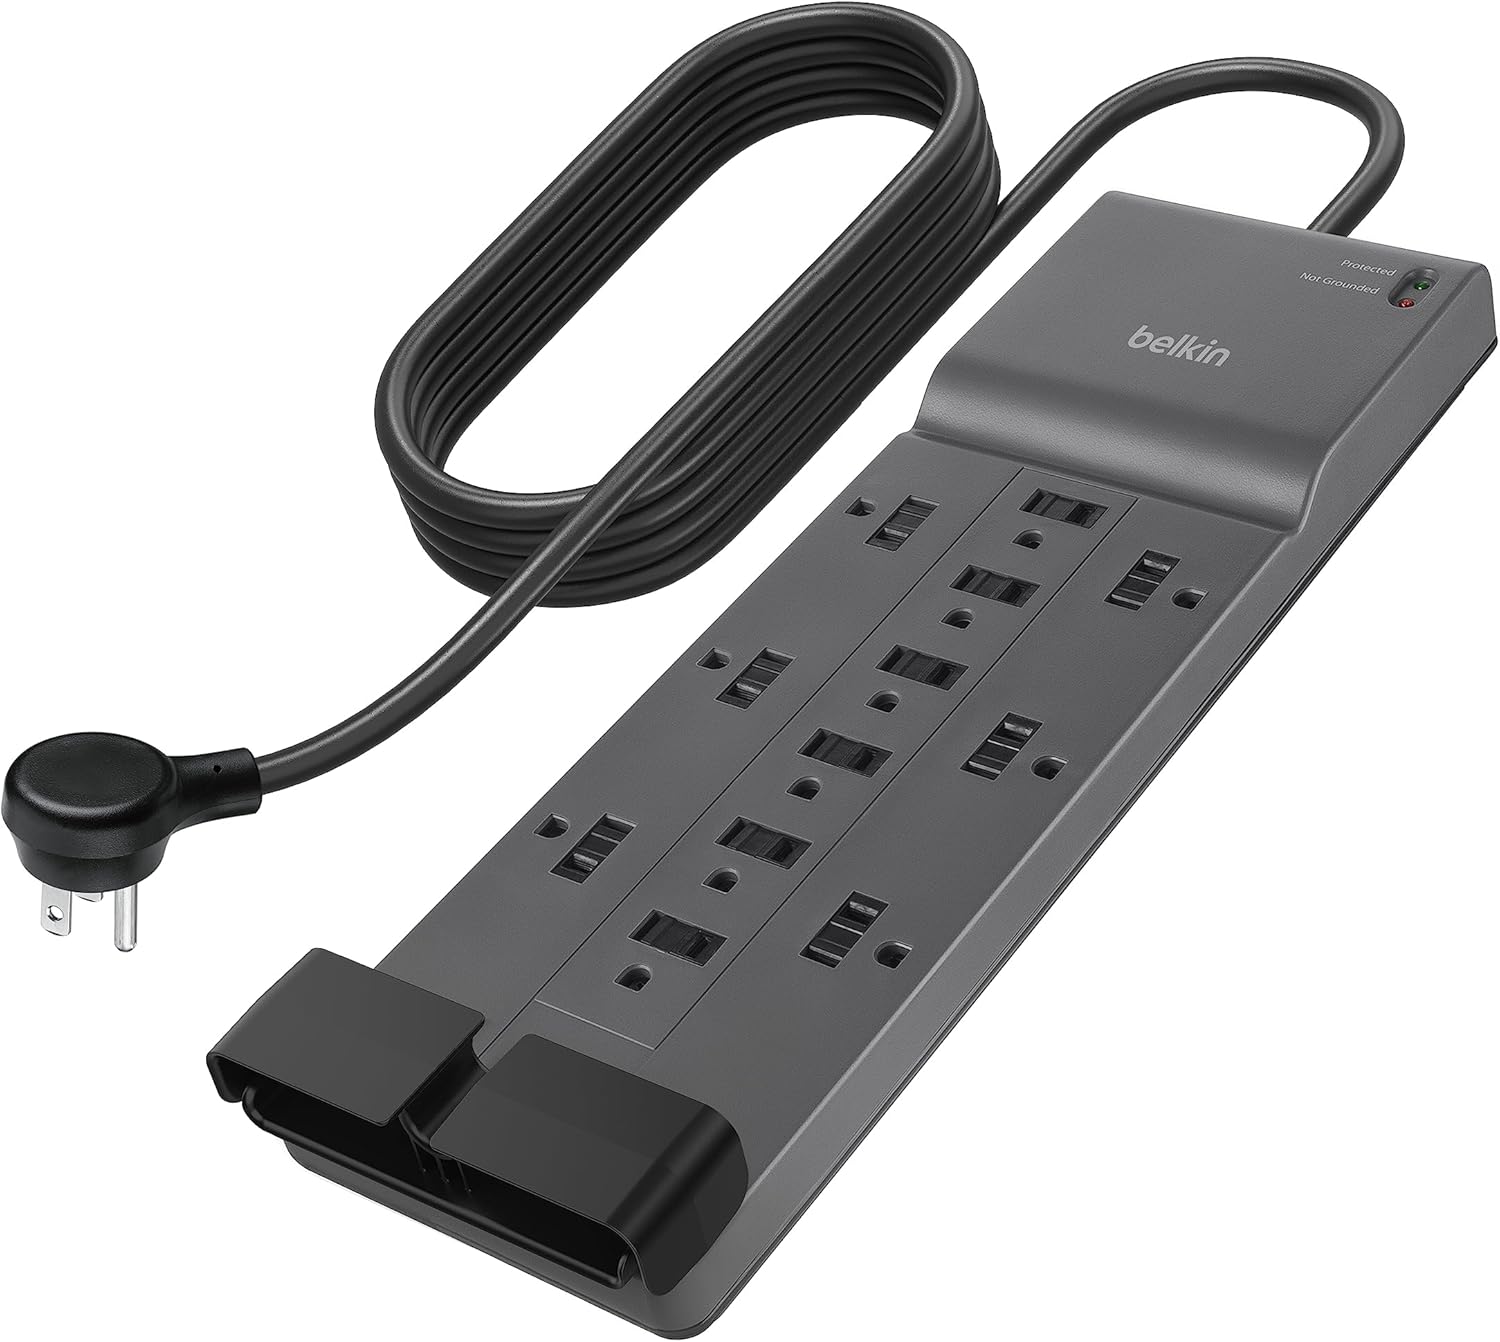
1. Surge Protector
Belkin Power Strip Surge Protector: Don’t risk your machine’s electronics. This highly-rated protector provides ample outlets for your machine, lamp, and iron, with a high joule rating for superior protection.
Check Price on Amazon
2. Quality Task Lamp
OttLite LED Task Lamp: This is a game-changer for reducing eye strain. It provides clear, bright, low-glare illumination that mimics natural daylight, helping you see your work accurately and safely.
Check Price on Amazon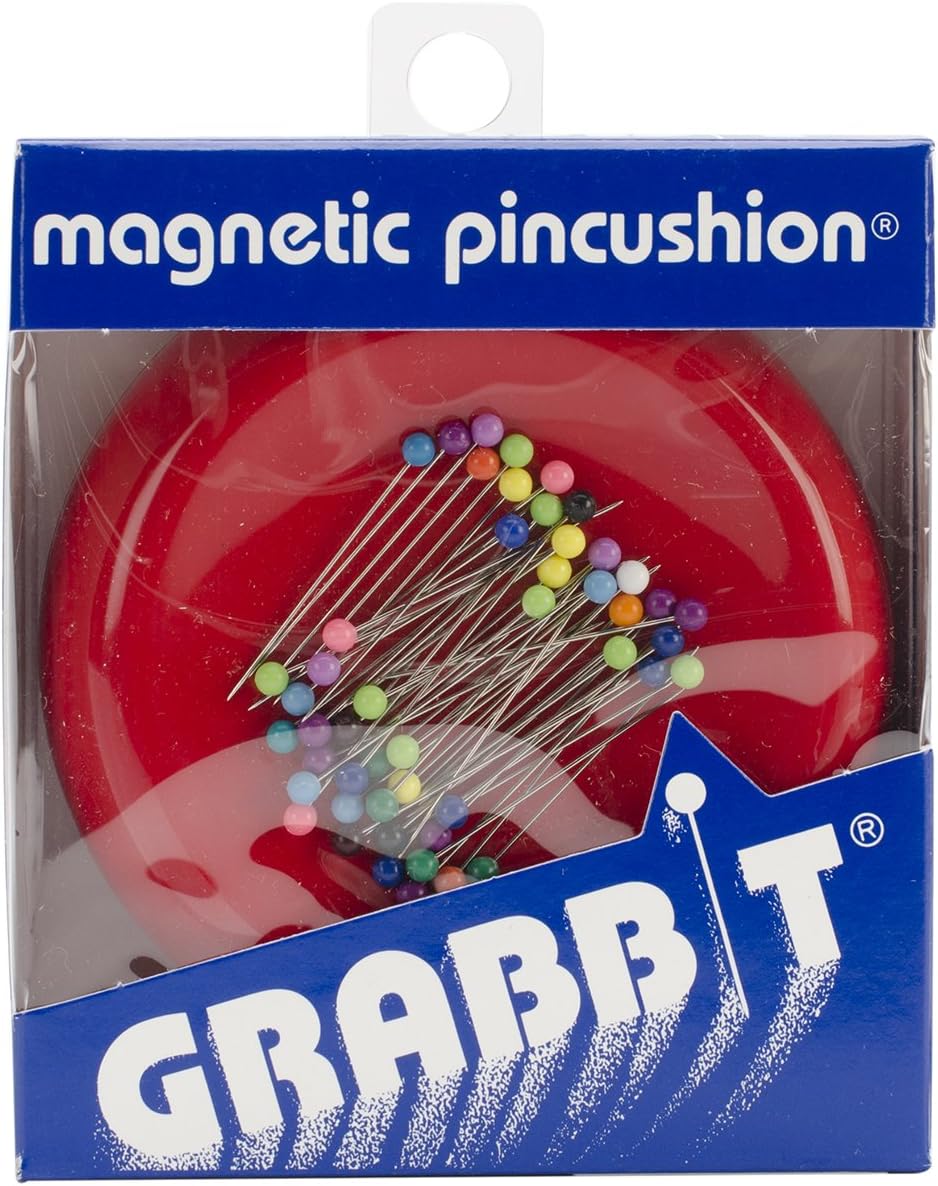
3. Magnetic Pin Caddy
Gratten Magnetic Pin Cushion: Keep your pins off the floor and out of your carpet. This powerful magnet securely holds pins and makes picking up a dropped handful effortless. It’s a must-have for every sewing table.
Check Price on AmazonSewing Safety: Frequently Asked Questions (FAQ)
Q1: Is it really necessary to wear safety glasses while sewing?
A: While it may feel like overkill for everyday sewing, it is highly recommended. The risk of a needle shattering, especially when sewing over thick seams or accidentally hitting a pin, is real. A small metal fragment can cause permanent eye damage. It’s a simple, zero-cost precaution if you already wear glasses, and a very low-cost one if you don’t. Better safe than sorry.
Q2: My machine has a finger guard. Do I still need to be careful?
A: Yes! A finger guard is an excellent safety aid, particularly for children and absolute beginners, but it’s not foolproof. It provides a physical barrier, but you should still practice the core habit of keeping your fingers a safe distance away. Think of it as a seatbelt—it’s there to protect you in a crash, but you still need to drive safely.
Q3: How often should I get my sewing machine professionally serviced for safety?
A: For a casual home sewer, getting a professional tune-up every 2-3 years is a good rule of thumb. If you sew daily or run a small business, an annual service is a wise investment. A technician will clean, oil, and adjust internal components (like the timing and motor belts) that you can’t access, ensuring the machine runs safely and efficiently.
Conclusion: A Confident and Creative Future
Sewing should be a relaxing and rewarding activity, not a source of stress or injury. By internalizing these safety practices, you transform them from a list of rules into unconscious habits. This frees up your mind to focus on what truly matters: your creativity and the joy of making.
If you’re looking to purchase a new machine, consider these safety aspects in our sewing machine buying guide, whether you’re a beginner or seeking one of the best sewing machines for intermediate sewers. A safe setup is the foundation of a lifetime of happy sewing.


