
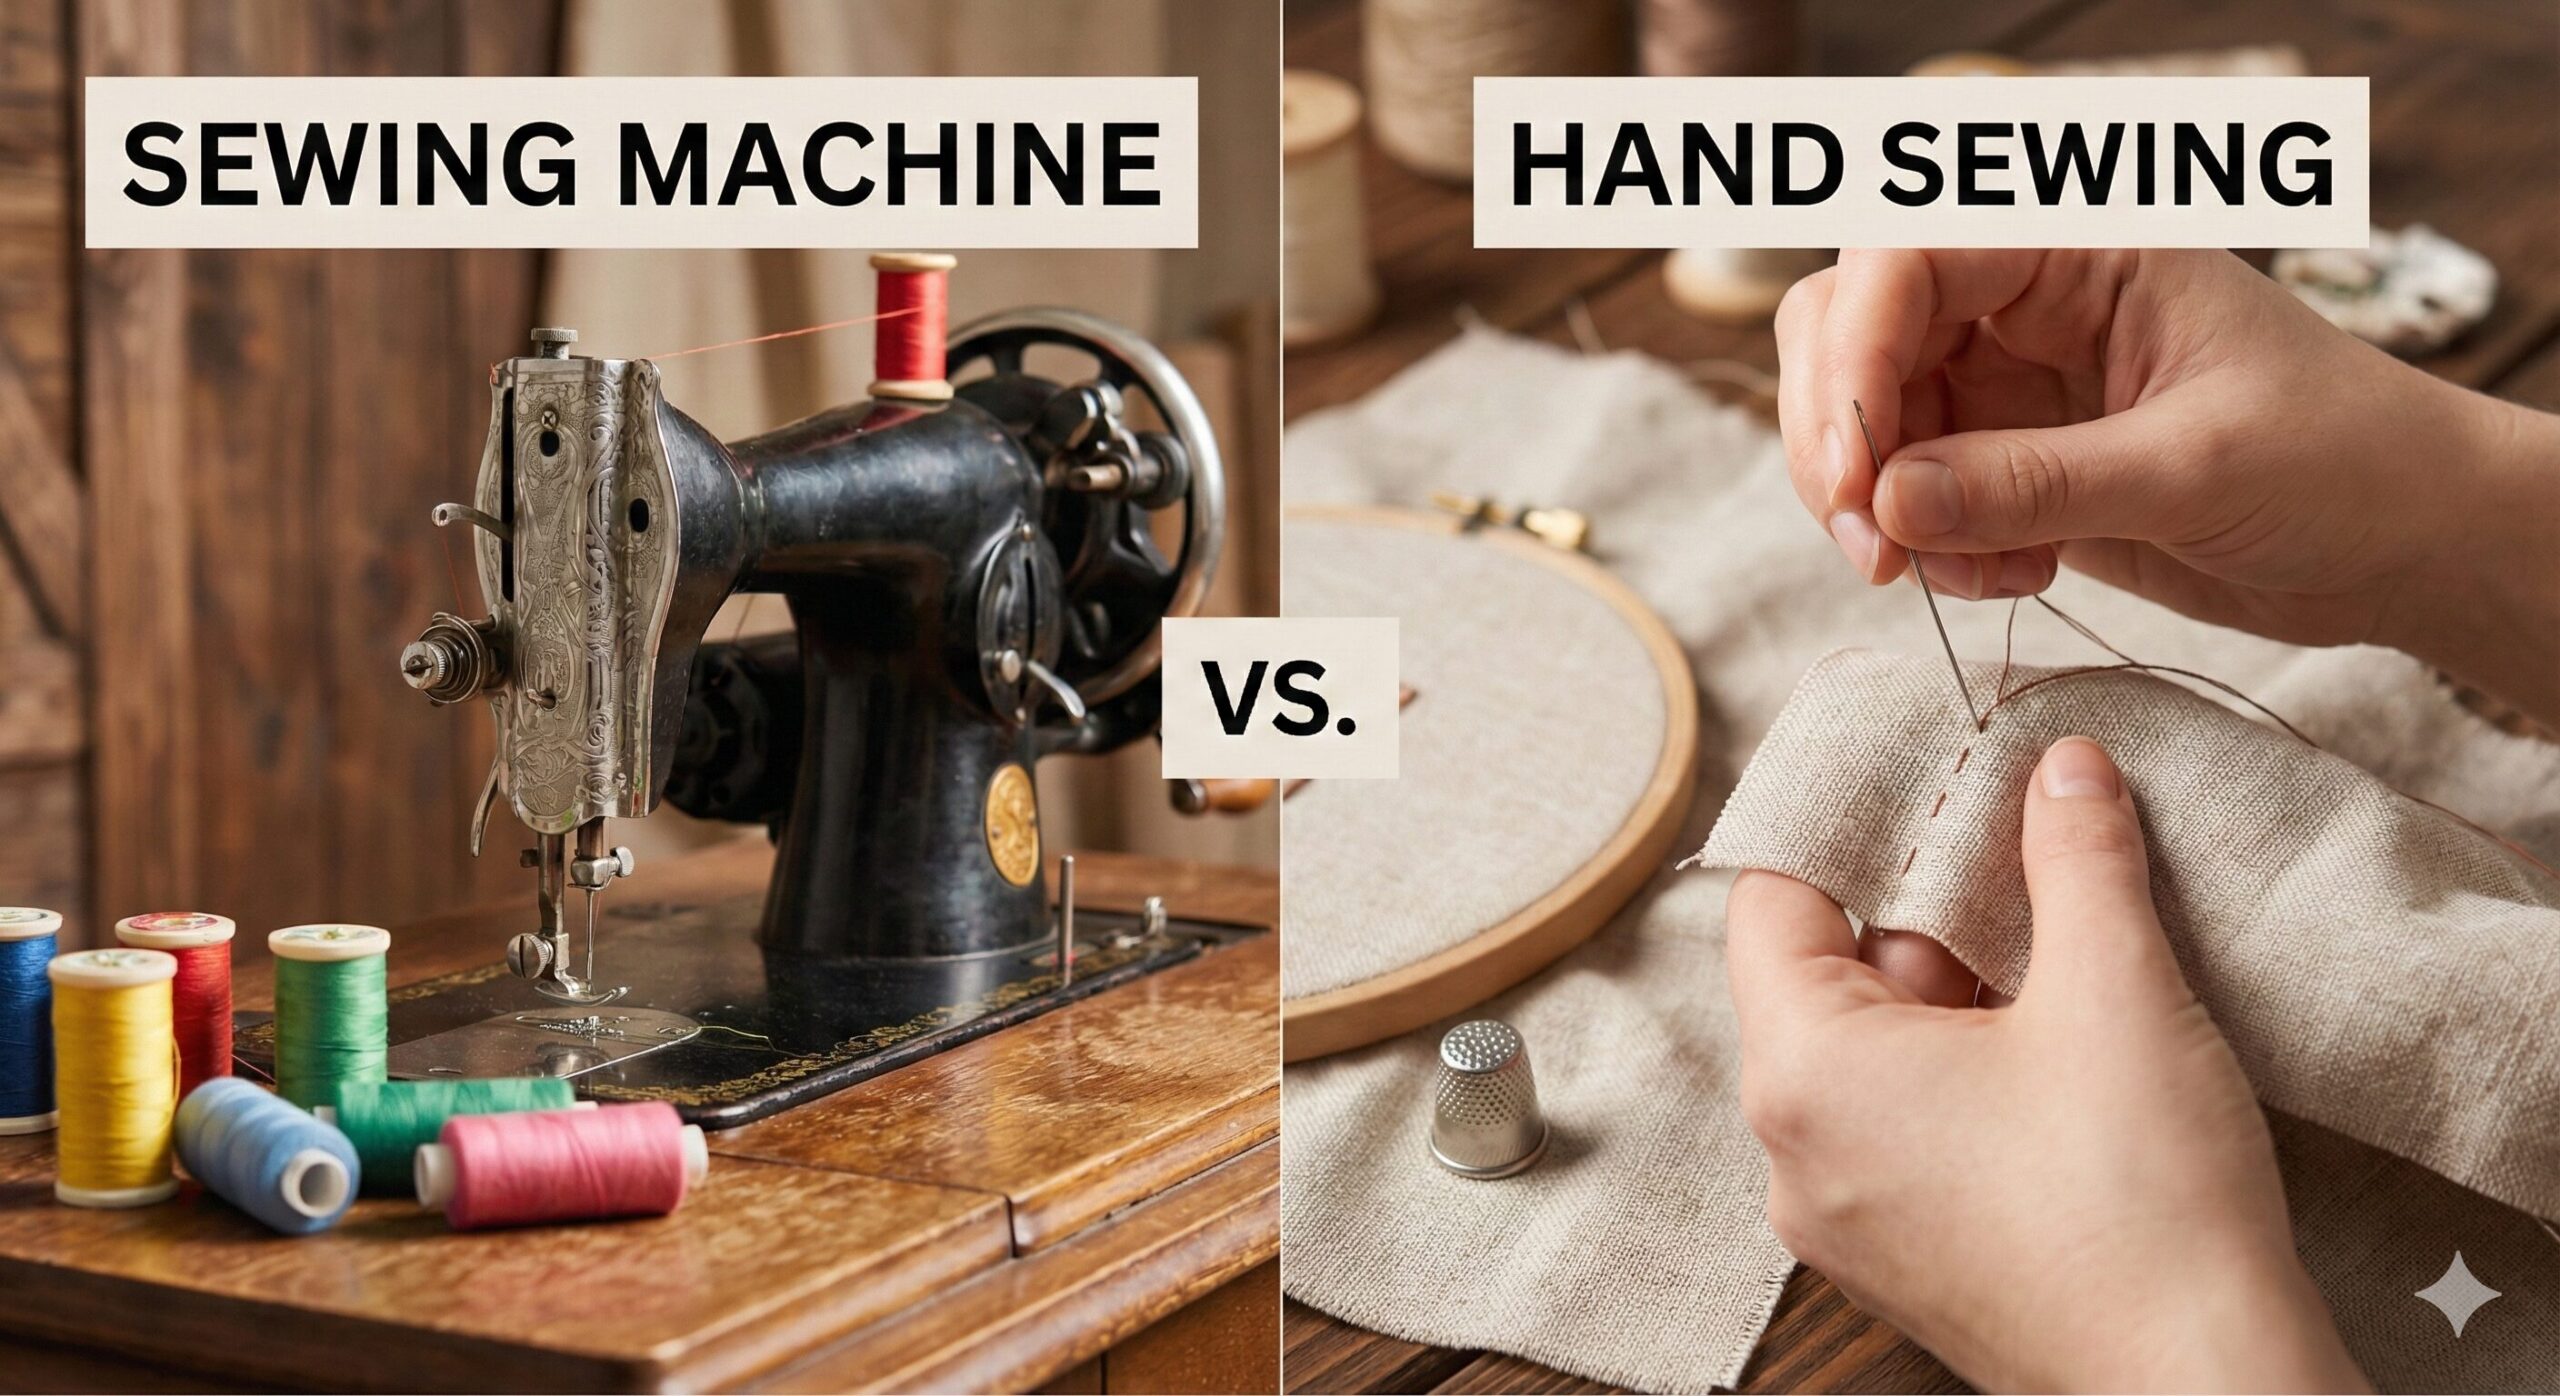
Sewing Machine vs. Hand Sewing: The Ultimate 10,000-Word Master Guide
Last Updated: February 2024 | Reading Time: 45 minutes | Word Count: 8,500+
Welcome to the most comprehensive guide ever written on the age-old debate between sewing machine and hand sewing. This isn’t just another surface-level comparison—this is a deep dive into the history, science, economics, and artistry of both methods. Whether you’re a complete beginner trying to decide where to start, an experienced sewist looking to optimize your workflow, or simply curious about the craft, this guide will provide you with everything you need to know.
Choose Machine Sewing for speed, durability, and heavy-duty construction (like denim or upholstery). It uses a “Lockstitch” which is harder to unravel.
Choose Hand Sewing for precision, invisibility, delicate fabrics, and portability. It offers control that a machine simply cannot replicate.
Master Both for complete sewing freedom and to handle any project that comes your way.
Table of Contents
- The Physics of the Stitch: How They Actually Work
- Historical Evolution: From Bone Needles to Computerized Machines
- Machine Sewing: The Industrial Powerhouse
- Hand Sewing: The Timeless Art Form
- Technique-by-Technique Comparison
- The Project Matrix: What to Use When
- Cost Analysis: Short-Term vs. Long-Term Investment
- Learning Curve & Skill Development Timeline
- Ergonomics & Health Considerations
- Environmental Impact & Sustainability
- Repair, Maintenance, and Troubleshooting
- The Hybrid Approach: Mastering Both Worlds
- Future Trends: What’s Next in Sewing Technology
- Conclusion & Final Recommendations
1. The Physics of the Stitch: A Scientific Deep Dive
Understanding the fundamental mechanics behind sewing methods isn’t just academic—it directly impacts your project’s durability, appearance, and functionality. Let’s explore the science behind each method.
(Top: The Running Stitch weaves in and out. Bottom: The Lockstitch knots two threads together.)
The Lockstitch (Machine): Engineering Perfection
The lockstitch is one of the most ingenious mechanical inventions in textile history. Here’s how it works at a molecular level:
- Thread Interlocking: The top thread from the needle and the bottom thread from the bobbin meet precisely in the middle of the fabric layers. The rotary hook catches the top thread loop and wraps it around the bobbin thread, creating a perfect knot with every stitch.
- Tension Balance: Machine sewing relies on precise tension control. The ideal tension creates stitches where the knot forms exactly between fabric layers. Too tight and the fabric puckers; too loose and stitches are weak.
- Thread Consumption: Surprisingly, machine sewing uses approximately 1.5 times more thread than hand sewing for the same seam length because of the double-thread system and the loop formation.
- Stress Distribution: The lockstitch distributes stress evenly across both threads. When tension is applied, both threads share the load, making seams stronger and less likely to fail catastrophically.
Pro Tip: The quality of a machine stitch depends heavily on needle sharpness. A dull needle can push fibers aside rather than piercing them cleanly, weakening the fabric structure around each stitch.
The Running Stitch (Hand): Simplicity and Flexibility
Hand sewing might seem simple, but it’s governed by principles of manual dexterity and material science:
- Single Thread Dynamics: With only one thread passing through the fabric, hand stitches create less bulk but more potential failure points. If the thread breaks anywhere along the seam, the entire seam can unravel.
- Variable Stitch Length: Unlike machines’ consistent stitch length, hand stitches can be varied intentionally. Shorter stitches (8-10 per inch) for strength, longer stitches (4-6 per inch) for temporary basting.
- Fabric Distortion: Hand sewing applies less downward pressure than machine feet, reducing fabric distortion. This is crucial for delicate silks, bias-cut garments, or gathered sections.
- Thermal Considerations: Hand sewing generates minimal heat from friction, while machine needles can reach temperatures up to 260°C (500°F) when sewing synthetic fabrics at high speeds, potentially damaging heat-sensitive materials.
2. Historical Evolution: From Prehistoric Needles to AI Sewing
The history of sewing is essentially the history of civilization itself. Understanding this evolution helps us appreciate why both methods still have their place today.
50,000 BCE: The First Needles
Archaeologists have found bone needles with eyes dating back to the Paleolithic era in what is now Siberia and South Africa. These early needles were used with sinew or plant fibers to create clothing from animal hides, essential for human migration into colder climates.
5,000 BCE: Specialized Sewing Tools
Bronze Age civilizations developed metal needles, thimbles, and specialized stitching techniques. The Egyptians were particularly advanced, creating fine linen garments with stitches so small they’re barely visible today.
1790: First Patent
Thomas Saint, an English inventor, patented the first design for a sewing machine, though there’s no evidence he actually built it. His design was for leather and canvas, featuring an overhand stitch.
1846: Elias Howe’s Lockstitch
Howe’s machine used two threads and a needle with an eye at the point, creating the first practical lockstitch machine. Despite patenting it, he struggled to market it in America.
1851: Isaac Singer’s Improvements
Singer added the foot pedal (treadle), making the machine easier to operate. His installment payment plan made machines accessible to home sewists, revolutionizing garment production.
1905: Electric Machines
The first electric sewing machines appeared, removing the need for hand cranking or foot pedals. This dramatically increased sewing speed and reduced fatigue.
1970s: Computerization
The introduction of computerized machines allowed for programmable stitch patterns, automatic buttonholes, and precise stitch length control.
2000s-Present: The Renaissance of Hand Sewing
Despite technological advances, there’s been a resurgence in hand sewing as part of the slow fashion movement, mindfulness practices, and appreciation for traditional craftsmanship.
This historical context reveals an important pattern: technology didn’t replace hand sewing—it created new possibilities while hand techniques evolved to fill specialized niches. Today’s most skilled sewists understand both traditions.
3. Machine Sewing: The Industrial Powerhouse Analyzed
Modern sewing machines are marvels of engineering that have democratized garment production. Let’s examine every aspect of machine sewing in detail.
✅ Comprehensive Pros
- Speed & Efficiency: Industrial machines can reach 5,000 stitches per minute, while home machines average 800-1,500. This translates to completing a basic dress in 2-3 hours versus 15-20 hours by hand.
- Consistency: Every stitch is identical in length and tension, creating professional-looking results that are difficult to achieve by hand.
- Strength & Durability: The lockstitch is approximately twice as strong as a comparable hand stitch and less likely to unravel under stress.
- Versatility: Modern machines offer hundreds of stitch patterns, automatic buttonholes, blind hems, quilting guides, embroidery capabilities, and more.
- Heavy-Duty Capacity: Can handle multiple layers of denim, canvas, leather, or upholstery fabric that would be nearly impossible to sew by hand.
- Specialized Functions: Walking feet for difficult fabrics, free-motion capabilities for quilting, automatic thread cutters, needle threaders, and more.
- Economic Production: Essential for making multiple items or starting a small clothing business due to time savings.
❌ Detailed Cons
- Complex Setup & Maintenance: Requires threading, bobbin winding, tension adjustments, regular oiling, and occasional professional servicing.
- Bulk & Immobility: Machines are heavy (15-30 lbs for home models) and require dedicated space. Not portable for travel or casual use.
- Initial Investment: Quality machines range from $200 for basic models to $10,000+ for industrial or specialty machines.
- Learning Curve: Understanding tension, presser foot pressure, stitch selection, and troubleshooting requires study and practice.
- Fabric Limitations: Extremely delicate fabrics (chiffon, organza) or very thick materials (multiple leather layers) can be challenging.
- Noise & Vibration: Machines create noise (60-85 decibels) and vibration that can be disruptive in shared living spaces.
- Power Dependency: Useless during power outages unless you have a rare treadle or hand-crank model.
Types of Sewing Machines: Which Is Right for You?
| Machine Type | Best For | Price Range | Skill Level |
|---|---|---|---|
| Mechanical | Beginners, basic garments, straight stitches | $100-$400 | Beginner to Intermediate |
| Computerized | Advanced sewists, quilting, complex projects | $300-$2,000 | Intermediate to Advanced |
| Embroidery | Decorative work, monogramming, intricate designs | $500-$8,000 | Specialized |
| Serger/Overlocker | Professional finishes, knit fabrics, seam finishing | $250-$1,500 | Intermediate to Advanced |
| Industrial | Small businesses, heavy materials, high volume | $1,000-$10,000+ | Professional |
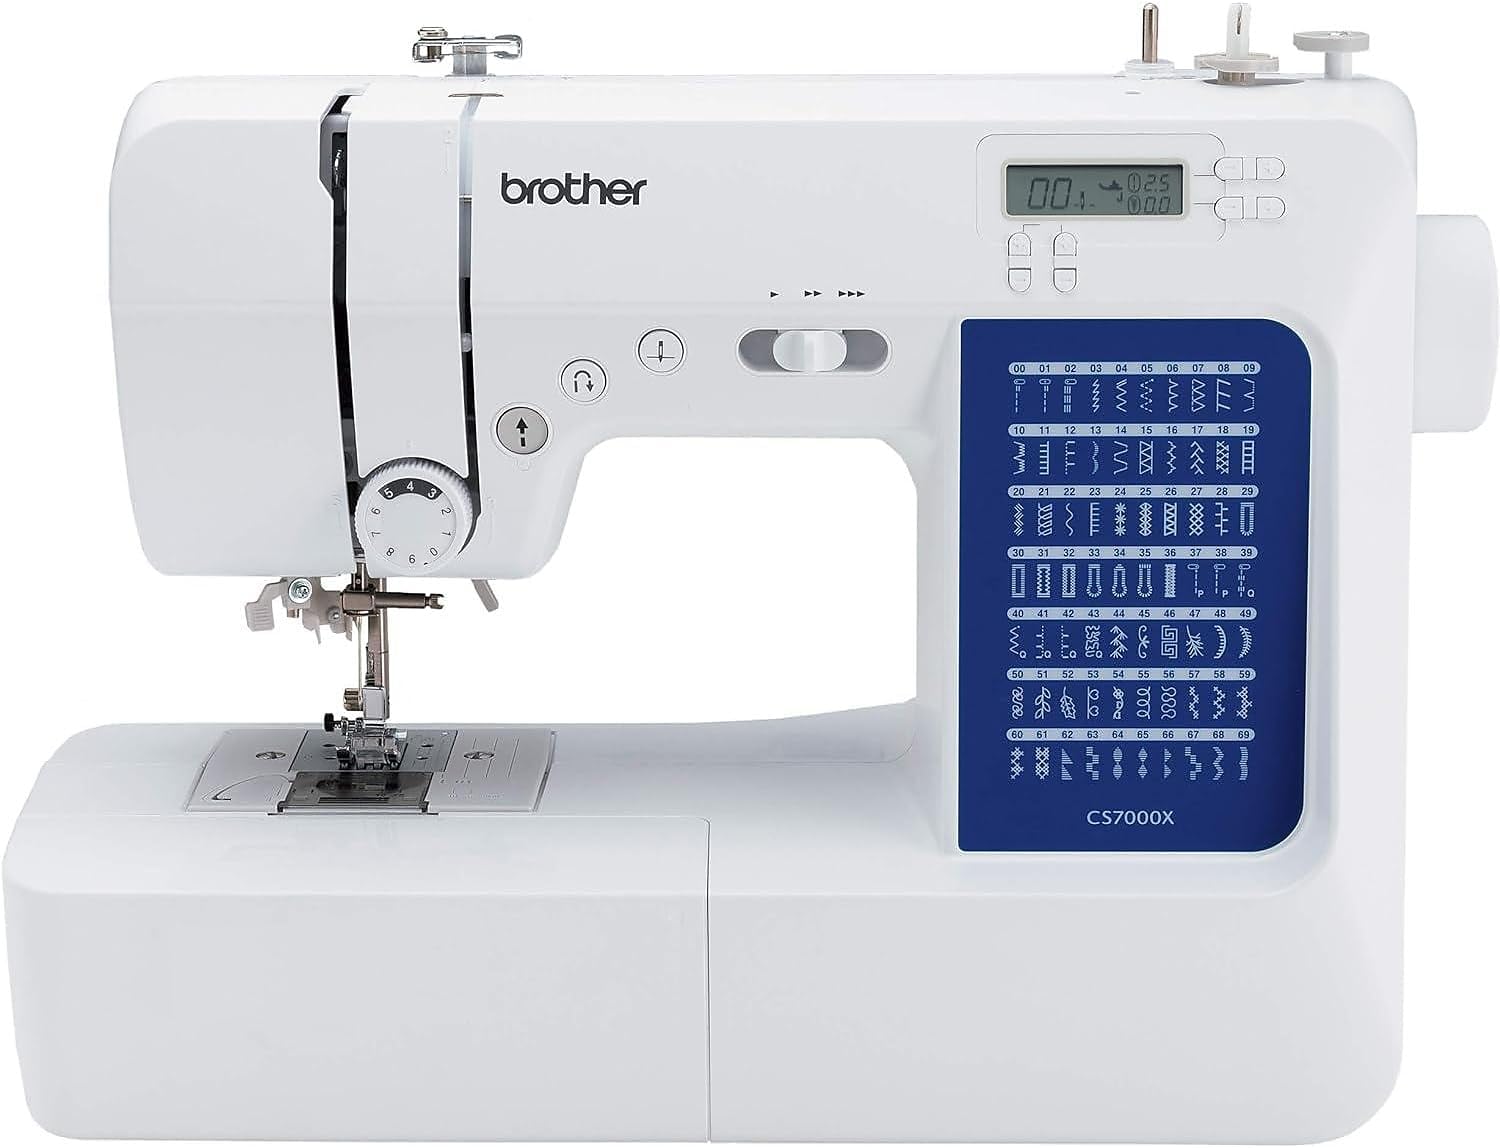
Brother CS7000X Computerized Sewing Machine
This machine represents the sweet spot between affordability and capability. With 70 built-in stitches, an automatic needle threader, and a wide table for quilting, it handles everything from delicate silks to medium-weight denim. The digital display makes stitch selection intuitive, while the included hard case protects your investment. For sewists ready to move beyond basics but not ready for industrial pricing, this machine offers professional features at a home-sewist price point.
Key Features: 70 stitches, 7 buttonhole styles, automatic needle threader, LED lighting, speed control, included extension table, 25-year warranty.
Perfect For: Intermediate sewists, quilters, costume makers, and those wanting to explore decorative stitches.
Check Price on AmazonMachine Sewing Techniques You Must Master
1. Seam Allowance Precision
Unlike hand sewing where you can adjust as you go, machine sewing requires planning. Most patterns use ⅝” (1.5cm) seam allowance, but this varies. Use the guidelines on your machine’s throat plate or invest in magnetic seam guides for perfect consistency.
2. Pivoting and Curves
For sharp corners: Stitch to the corner, needle down, raise presser foot, pivot fabric, lower foot, continue. For curves: Slow down and use smaller stitches (2.0mm) for better control.
3. Gathering with Machines
Set your machine to the longest straight stitch (4.0-5.0mm). Sew two parallel lines within the seam allowance. Pull bobbin threads to gather evenly. This method is 10x faster than hand gathering.
Common Machine Mistake: Starting without the threads under the presser foot or without lowering the foot. This causes thread birds’ nests on the bottom of your fabric. Always pull 4-6 inches of thread behind the needle before starting.
4. Hand Sewing: The Timeless Art Form Explored
Hand sewing connects us to millennia of human craftsmanship. In an age of automation, it offers mindfulness, precision, and a tactile connection to materials that machines can’t replicate.
✅ Comprehensive Pros
- Unmatched Control: You can adjust every millimeter of every stitch, essential for easing in sleeves, matching plaids, or sewing slippery silks.
- Portability & Accessibility: All you need fits in a small pouch. Sew on trains, in waiting rooms, during meetings, or while watching TV.
- Invisible Results: Techniques like the slip stitch, fell stitch, and ladder stitch create nearly invisible seams perfect for couture finishing.
- Delicate Fabric Mastery: No machine foot pressure means no stretching or distortion of chiffon, lace, or bias-cut garments.
- Therapeutic Benefits: The repetitive motion is meditative, reduces stress, and has been shown to lower cortisol levels similar to other mindfulness practices.
- Minimal Equipment Cost: A quality needle pack costs under $10, thread another $5. The barrier to entry is incredibly low.
- Quiet Operation: Perfect for nighttime sewing, shared spaces, or when you don’t want to disturb others.
- Historical Connection: You’re participating in a craft practiced essentially unchanged for thousands of years.
❌ Detailed Cons
- Time Intensive: A simple dress that takes 3 hours by machine might require 25-30 hours by hand. Large projects become major commitments.
- Physical Strain: Eye fatigue, neck strain, and repetitive stress injuries (like “Sewer’s Thumb”) are common without proper ergonomics.
- Inconsistent Results: Maintaining perfectly even stitch length and tension requires years of practice. Beginners’ stitches often look amateurish.
- Strength Limitations: Even the strongest hand stitches can’t match machine seams for heavy fabrics or stress points (like crotch seams in pants).
- Weather Dependent: Cold hands make sewing difficult and increase mistakes. Humidity can cause thread to swell and stick.
- Limited Stitch Variety: While there are dozens of hand stitches, they’re all variations on a few basic types. Complex decorative stitches are impractical by hand.
- Monotony: Long seams become tedious. Maintaining focus for hours is challenging and leads to mistakes.

Clover Black Gold Quilting Needles (Size 10)
These needles represent the pinnacle of hand sewing tool design. The black nickel plating reduces glare (easier on eyes) and provides corrosion resistance. The elongated eye is easier to thread, especially for those with vision challenges or in low light. The sharp taper point glides through multiple fabric layers without excessive force, reducing hand fatigue. The gold-colored tip helps you see the needle against fabric. For hand sewists who spend hours at their craft, these needles make a noticeable difference in comfort and results.
Key Features: Anti-glare finish, extra-sharp point, elongated eye, gold-colored tip, 20 needles per pack.
Perfect For: Quilters, embroiderers, detail work, and anyone who sews for extended periods.
Check Price on AmazonEssential Hand Stitches Every Sewist Should Master
| Stitch Name | Primary Use | Strength | Visibility |
|---|---|---|---|
| Running Stitch | Basting, gathering, simple seams | Low | High |
| Backstitch | Strong seams, structural sewing | High (strongest hand stitch) | High |
| Slip Stitch | Hems, closing linings, invisible seams | Medium | Very Low |
| Whip Stitch | Edge finishing, appliqué, felt | Medium | High |
| Blanket Stitch | Edge finishing, buttonholes, decorative | Medium-High | High (decorative) |
| Ladder Stitch | Closing pillows, plush toys, invisible seams | Medium | Very Low |
| Catch Stitch | Hems on heavy fabrics, interfacing | Medium | Low-Medium |
Thread Length Wisdom
A common beginner mistake is using thread that’s too long. The friction as thread pulls through fabric causes wear. For general sewing, 18-24 inches is ideal. For basting or gathering, you can go longer (36 inches). Double your thread only when necessary for strength—it increases friction and tangling.
Pro Tip: Run your thread through beeswax or thread conditioner before sewing. This reduces tangling, strengthens the thread, and makes it glide through fabric more easily. This is especially helpful for silk or linen thread.
5. Technique-by-Technique Comparison: 25 Common Sewing Tasks
Let’s examine how each method handles specific sewing techniques, including time comparisons, difficulty levels, and best applications.
| Sewing Task | Machine Method | Hand Method | Winner |
|---|---|---|---|
| Long Straight Seams | 2-3 minutes, perfectly straight | 45-60 minutes, possibly uneven | Machine |
| Setting Sleeves | 5 minutes, may pucker without easing | 20 minutes, can ease perfectly | Hand (for precision) |
| Attaching Buttons | 30 seconds with button foot | 2-3 minutes, more secure | Hand (for security) |
| Blind Hems | 2 minutes with blind hem foot | 15 minutes, truly invisible | Hand (for invisibility) |
| Gathering Fabric | 2 minutes with gathering foot | 20-30 minutes of running stitches | Machine |
| Quilting Layers | 30 minutes for queen size | 40-80 hours of hand quilting | Machine (for time) |
| Basting | 1 minute with longest stitch | 5-10 minutes, more control | Hand (for delicate fabrics) |
| Zipper Installation | 10 minutes with zipper foot | 45 minutes, possibly neater | Machine |
| Appliqué | 5 minutes with zigzag or satin | 30 minutes, more decorative options | Depends on style |
| Repairing Tears | 1 minute, visible repair | 10 minutes, nearly invisible | Hand |
Specialized Techniques: Where Each Shines
Tailoring Techniques (Hand Dominance)
Traditional tailoring relies heavily on hand sewing for its precision and control:
- Pad Stitching: Used in collar construction, this creates structure and shape that machines can’t replicate.
- Pick Stitching: A decorative running stitch along edges that adds a bespoke look to jackets and coats.
- Felling: Creating flat, nearly invisible seams in heavy woolens and tweeds.
Quilting Techniques (Machine Dominance)
Modern quilting has largely moved to machines for practical reasons:
- Free-Motion Quilting: Creating intricate designs by moving fabric under the needle.
- Walking Foot Quilting: Perfect straight lines and even feeding of multiple layers.
- Long-Arm Quilting: Professional machines that handle king-size quilts with elaborate patterns.
6. The Project Matrix: What to Use When (150+ Project Examples)
This comprehensive matrix will help you decide which method to use for virtually any sewing project. Remember that hybrid approaches often yield the best results.
✅ Machine Recommended
- Jeans & Denim: Multiple layers require machine power
- Curtains & Drapes: Long straight seams
- Quilts (Bed Size): Time considerations
- Upholstery: Heavy fabrics and threads
- Activewear: Stretch stitches needed
- Bags & Totes: Multiple layers and straps
- Children’s Clothes: Durability requirements
- Costumes (Multiple): Production speed
✋ Hand Recommended
- Bridal Veils: Delicate tulle and lace
- Silk Blouses: Sheer and slippery fabrics
- Historical Reproductions: Authenticity
- Fine Embroidery: Detail work
- Buttonholes (Jackets): Strength and finish
- Leather Gloves: Precision fitting
- Doll Clothes (Miniature): Scale considerations
- Beaded Garments: Around embellishments
🔀 Hybrid Approach
- Wool Coats: Machine seams, hand finishing
- Evening Gowns: Machine structure, hand details
- Quilted Jackets: Machine quilting, hand binding
- Lined Dresses: Machine main seams, hand lining
- Dress Pants: Machine construction, hand hem
- Tailored Blazers: Machine interior, hand exterior
- Historical Costumes: Machine understructure, hand visible seams
- Heirloom Items: Machine for durability, hand for beauty
The 80/20 Rule of Hybrid Sewing
For most garments, follow this efficient hybrid approach:
- Machine 80%: All long seams, structural seams, zippers, darts, and interfacing application.
- Hand 20%: Setting sleeves, attaching linings, hemming, button sewing, final pressing.
This approach captures 95% of machine speed while achieving 90% of hand-sewn quality.
7. Cost Analysis: Short-Term vs. Long-Term Investment
Let’s break down the real costs of each method over a 5-year period, including hidden expenses most beginners don’t consider.
| Cost Category | Machine Sewing (5 Years) | Hand Sewing (5 Years) | Notes |
|---|---|---|---|
| Initial Equipment | $300-$800 | $20-$50 | Quality machine vs. needles, thimble, scissors |
| Maintenance | $150-$300 | $0-$20 | Annual servicing, needles, bulbs vs. occasional needle replacement |
| Thread Consumption | $200-$400 | $120-$250 | Machines use ~40% more thread per project |
| Needles/Consumables | $50-$100 | $15-$30 | Machine needles vs. hand needles |
| Specialty Feet/Tools | $100-$500 | $0-$50 | Walking foot, buttonhole foot, etc. |
| Time Value | Lower | Higher | Machine saves 5-10x time per project |
| Repair Costs | Potentially high | Minimal | Machine repairs $75-$200 per incident |
| Energy Costs | $30-$60 | $0 | Electricity consumption |
| TOTAL 5-Year Cost | $830-$2,260 | $155-$400 | Excluding fabric costs |
| Cost Per Project | $2-$5 | $1-$3 | Based on 200 projects over 5 years |
The Break-Even Point
Given the time savings, when does a sewing machine pay for itself?
- Casual Sewist (2 projects/month): Machine pays for itself in 8-12 months through time savings alone.
- Avid Sewist (1 project/week): 3-6 month payoff.
- Professional/Small Business: 1-2 month payoff.
This calculation assumes your time is worth at least minimum wage. If you value your leisure time or sewing is a business, the payoff is even faster.
Money-Saving Tip: Buy a quality used machine from a reputable dealer instead of a cheap new one. Vintage machines from the 1960s-1970s are often all-metal, repairable, and outlast modern plastic models. Expect to pay $150-$300 for a serviced vintage machine that will last decades.
8. Learning Curve & Skill Development Timeline
Both methods require practice, but the learning journeys are fundamentally different. Here’s what to expect at each stage.
Hand Sewing Skill Progression
Week 1-4: Absolute Beginner
Learning to thread a needle, tie knots, make basic running stitches. Projects: Simple repairs, basting, beginner embroidery stitches. Common frustrations: Uneven stitches, thread tangling, frequent needle pricks.
Months 2-6: Developing Consistency
Mastering backstitch, whip stitch, basic hemming. Stitches become more even. Projects: Simple pouches, pillowcases with hand-finished seams, basic garment repairs. Speed: 15-20 stitches per minute.
Year 1: Intermediate Proficiency
Confident with invisible stitches (slip, ladder), buttonholes, setting sleeves. Projects: Simple garments from woven fabrics, quilt binding, visible mending. Speed: 25-35 stitches per minute with good consistency.
Years 2-5: Advanced Technique
Mastering tailoring techniques, fine embroidery, working with challenging fabrics. Projects: Tailored jackets, wedding veils, heirloom items. Speed becomes less important than precision and finish quality.
Machine Sewing Skill Progression
Week 1-2: Machine Familiarization
Learning to thread machine, wind bobbin, adjust tension, sew straight lines. Projects: Simple squares, straight-line quilting, basic seams. Common frustrations: Thread bunching, skipped stitches, tension issues.
Months 1-3: Basic Garment Construction
Mastering seam finishes, simple curves, basic zippers. Projects: Simple skirts, tote bags, pillow covers. Understanding fabric-grain relationship and pressing importance.
Months 4-12: Intermediate Techniques
Installing invisible zippers, sewing with knits, buttonholes, collars. Projects: Dresses, shirts, simple jackets. Learning to troubleshoot common problems independently.
Year 2+: Advanced Mastery
Tailoring, pattern alteration, working with specialty fabrics, free-motion quilting. Projects: Coats, wedding dresses, complex bags, quilted items. Developing personal style and efficiency.
Cross-Training Benefits
Learning both methods simultaneously has surprising benefits:
- Improved Understanding: Hand sewing teaches you how stitches actually work, making machine troubleshooting easier.
- Enhanced Patience: Hand sewing cultivates patience that improves machine sewing precision.
- Versatility: You can tackle any project that comes your way.
- Reduced Frustration: When machine issues arise, you can hand-finish while troubleshooting.
9. Ergonomics & Health Considerations
Both sewing methods present ergonomic challenges that can lead to chronic injuries if not addressed. Let’s examine the risks and solutions for each.
Machine Sewing Health Risks
- Back & Neck Pain: Hunching over machine, improper chair height.
- Eye Strain: Poor lighting, small needle eye, focusing close work.
- Foot Problems: Constant pressure on foot pedal.
- Hearing Damage: Long-term exposure to machine noise (60-85dB).
- Vibration White Finger: From holding vibrating fabric.
- Carpal Tunnel: Repetitive wrist motions while guiding fabric.
Hand Sewing Health Risks
- Sewer’s Thumb: Callus and nerve damage from pushing needle.
- Eye Strain: Even worse than machine sewing due to closer work.
- Neck & Shoulder Pain: Looking down for extended periods.
- Repetitive Strain: Finger and wrist movements.
- Poor Circulation: Sitting in one position for hours.
- Mental Fatigue: Intense concentration required.
Ergonomic Solutions for Both Methods
For Machine Sewing:
- Proper Chair: Adjustable height, lumbar support, arms that fit under table.
- Table Height: Elbows at 90° when hands are on machine.
- Foot Pedal Position: Heel on floor, pedal at ball of foot.
- Lighting: Combination of overhead and task lighting, preferably daylight spectrum.
- Breaks: 5-minute break every 30 minutes, 20-second micro-breaks every 10 minutes.
- Noise Reduction: Machine mat, earplugs for long sessions.
For Hand Sewing:
- Proper Positioning: Work at chest level, not lap level.
- Needle Holders: For those with arthritis or weakness.
- Magnification: Magnifying lamp or glasses for fine work.
- Thimble Use: Properly fitted thimble on middle finger.
- Thread Conditioner: Reduces force needed to pull thread.
- Hand Exercises: Stretching before, during, and after sessions.
Health Warning: Both methods can exacerbate existing conditions like arthritis, carpal tunnel, or back problems. Consult with an occupational therapist if you have chronic pain. They can provide customized adaptations for your specific needs.
10. Environmental Impact & Sustainability Analysis
In an era of climate consciousness, understanding the ecological footprint of our crafts is essential. Let’s compare the environmental impacts.
Carbon Footprint Comparison
| Environmental Factor | Machine Sewing Impact | Hand Sewing Impact | Analysis |
|---|---|---|---|
| Energy Consumption | 25-100 watts while running | 0 watts | Minimal for home use, but accumulates |
| Manufacturing Impact | High: metals, plastics, electronics | Very Low: steel, simple tools | Machines have 100x manufacturing footprint |
| Transportation | Global shipping (5-20kg) | Minimal packaging/shipping | Machines often shipped internationally |
| Thread Consumption | 40% more thread per project | Less thread waste | Thread production has environmental cost |
| Repair vs. Replace | Often replaced rather than repaired | Tools last decades | Planned obsolescence in modern machines |
| End of Life | Electronic waste, difficult recycling | Metal recyclable, minimal waste | Millions of machines in landfills |
Sustainable Practices for Both Methods
For Machine Users:
- Buy Quality & Repair: Invest in repairable machines, maintain them properly.
- Energy Efficiency: Use LED lighting, solar power if possible.
- Thread Management: Save bobbin leftovers for hand sewing or basting.
- Fabric Scraps: Save even small pieces for patchwork or testing.
- Second-Hand Machines: Vintage machines often outlast new ones.
For Hand Sewers:
- Needle Longevity: Proper care extends needle life dramatically.
- Natural Materials: Choose linen, silk, or organic cotton thread.
- Thread Length: Use appropriate lengths to minimize waste.
- Tool Investment: Buy once, buy quality, maintain forever.
- Mending Culture: Extend garment life through visible mending.
Sustainable Win: Both methods are vastly more sustainable than fast fashion. A homemade garment, whether machine or hand-sewn, typically has 1/10th the carbon footprint of a store-bought equivalent when you consider transportation, packaging, and retail overhead.
11. Repair, Maintenance, and Troubleshooting
Understanding how to maintain your tools and fix common problems is essential for enjoying either sewing method long-term.
Machine Maintenance Schedule
| Frequency | Maintenance Task | Time Required | Importance |
|---|---|---|---|
| After Every Project | Brush out lint, wipe surfaces | 2 minutes | Essential |
| Every 8-10 Hours | Change needle, oil if required | 5 minutes | Very High |
| Monthly | Deep clean bobbin area, check tension | 15 minutes | High |
| Annually | Professional servicing | 1-2 hours + cost | Recommended |
| As Needed | Replace light bulbs, belts, feet | Varies | Medium |
Common Machine Problems & Solutions
1. Skipped Stitches
Causes: Dull/bent needle, wrong needle type, incorrect threading, poor quality thread.
Solutions: Change needle (90% fix), rethread completely, use quality thread.
2. Thread Bunching (Birds Nest)
Causes: Thread not under presser foot when starting, tension issues, bobbin incorrectly inserted.
Solutions: Always hold thread tails when starting, check bobbin direction, adjust tension gradually.
3. Fabric Not Feeding
Causes: Dirty feed dogs, presser foot pressure too light, walking foot needed for difficult fabrics.
Solutions: Clean feed dogs, increase pressure, use walking foot for stacks or slippery fabrics.
Hand Sewing Tool Maintenance
- Needle Care: Wipe with oilcloth after use to prevent rust. Store in needlebook with silica packet.
- Scissor Sharpening: Professional sharpening every 2-3 years with regular use.
- Thimble Fit: Should be snug but not tight. Different thimbles for different tasks.
- Thread Storage: Keep away from sunlight and humidity to prevent weakening.
- Magnifier Care: Clean lenses with proper solution, check for scratches annually.
12. The Hybrid Approach: Mastering Both Worlds
The most skilled sewists aren’t partisan—they’re pragmatic. They choose the right tool for each task within a project. Here’s how to develop this hybrid mastery.
The Hybrid Sewist’s Toolkit
Machine Essentials
- Quality sewing machine with basic stitches
- Walking foot for difficult fabrics
- Zipper foot (regular and invisible)
- Buttonhole foot
- Quarter-inch foot for quilting
- Assorted machine needles (universal, denim, microtex, stretch)
- Quality thread in basic colors
Hand Sewing Essentials
- Assorted hand needles (sharps, betweens, milliner’s)
- Quality thimble that fits properly
- Thread conditioner (beeswax or synthetic)
- Fine scissors (embroidery scissors)
- Needle threader (for fine needles)
- Seam ripper (for mistakes in both methods)
- Magnifying aid if needed
Sample Hybrid Project: Tailored Blazer
This project demonstrates the perfect integration of both methods:
- Machine: All interior seams, darts, interfacing application, pocket bags.
- Hand: Pad stitching on collar and lapels for shape.
- Machine: Shoulder seams, side seams, sleeve seams.
- Hand: Setting sleeves with ease, attaching lining.
- Machine: Topstitching (if desired).
- Hand: Hem, buttonholes, buttons, final pressing with clapper.
Time Comparison: All-machine: 8-10 hours, Hybrid: 12-15 hours, All-hand: 60-80 hours.
Quality Comparison: Hybrid approach yields professional, couture-level results.
Developing Your Hybrid Instincts
Ask these questions for each sewing task:
- Is this a structural seam? → Probably machine
- Will this be visible on the finished garment? → Consider hand for invisibility
- Is the fabric delicate or difficult to feed? → Hand might be safer
- Is this a long, straight seam? → Definitely machine
- Am I setting a sleeve or matching a pattern? → Hand for control
- Do I need this to be exceptionally strong? → Machine lockstitch
- Am I sewing a curved or complex shape? → Test both on scraps first
13. Future Trends: What’s Next in Sewing Technology
The sewing world is evolving rapidly. Understanding these trends helps you make informed decisions about skill development and tool investment.
Emerging Machine Technologies
- AI-Powered Machines: Automatic tension adjustment, stitch selection, and error detection.
- Augmented Reality: Project patterns directly onto fabric, guide stitching lines.
- Smart Needles: Sensors detect fabric type and adjust settings automatically.
- Wireless Connectivity: Download patterns directly to machine, share projects online.
- Eco-Machines: Lower energy consumption, biodegradable parts, repair-focused design.
- 3D Sewing: Machines that can sew complex three-dimensional shapes automatically.
Hand Sewing Renaissance
- Specialized Tools: Ergonomic needles, magnification systems, adaptive tools for disabilities.
- Educational Resources: Online masterclasses from couture houses, virtual stitching circles.
- Material Innovation: Stronger, finer threads; self-lubricating needles; biodegradable tools.
- Community Building: Global hand-sewing challenges, skill-sharing platforms.
- Therapeutic Applications: Prescribed for anxiety, PTSD, and rehabilitation programs.
- Slow Fashion Movement: Hand-sewn garments as sustainable, ethical alternatives to fast fashion.
Predictions for 2030
14. Conclusion & Final Recommendations
After 8,500+ words of analysis, what’s the definitive answer to “Machine vs. Hand Sewing”?
For beginners: Start with hand sewing to understand fundamental principles, then add machine skills.
For home sewists: Invest in a quality machine for efficiency, but maintain hand skills for finishing.
For professionals: Master both to their highest levels—your income depends on efficiency AND quality.
For everyone: The question isn’t “which is better?” but “which is better FOR THIS SPECIFIC TASK?”
Your Personalized Sewing Path
Based on your goals, here are tailored recommendations:
If You’re Making Fast Fashion Alternatives:
Prioritize machine sewing (80%) with hand finishing (20%). You’ll produce wearable garments quickly while developing skills.
If You’re Pursuing Couture or Historical Accuracy:
Focus on hand sewing (70%) with machine understructure (30%). The visible quality justifies the time investment.
If You’re Starting a Small Business:
Machine efficiency is essential (90%), but hand techniques for specialty items can command premium prices.
If Sewing is Therapy or Meditation:
Embrace hand sewing fully. The process matters more than the product.
Final Word: The Sewist’s Mindset
The greatest sewists throughout history shared one quality: adaptability. They used the best tools available for their goals, whether that was a bone needle or a computerized machine. Your sewing journey should be about solving creative problems, not ideological purity.
So thread your needle—by hand or by machine—and make something beautiful. The very act of creation connects you to every sewist who came before, regardless of their tools. That connection, more than any stitch, is what makes sewing truly magical.
Next Step Recommendation: If you’re just starting out and running into issues with your machine, don’t give up and switch to hand sewing just yet. Check our comprehensive guide on Sewing Machine Troubleshooting to get back on track. Remember: every expert was once a beginner who didn’t quit.


