
Sewing Machine Needle Problems Solved: The Ultimate Troubleshooting Master Guide
The needle is the heart of your sewing machine’s operation—the critical point where thread meets fabric to create every stitch. When needle problems strike—whether it’s a stuck needle, constant breakage, hitting the plate, or mysterious skipping—it can bring your creative projects to a screeching halt. That alarming “clunk” sound or sudden thread snap often sends sewists into panic mode, convinced their machine needs expensive professional repair.
As sewing machine specialists with decades of combined experience, we’re here to deliver reassuring news: Over 90% of needle-related issues are simple setup errors, not mechanical failures. This comprehensive guide serves as your ultimate troubleshooting manual, covering everything from basic needle selection to advanced mechanical diagnostics. We’ll transform you from a frustrated sewist into a confident troubleshooter who can solve needle problems like a professional technician.
⚠️ Safety First: Always unplug your sewing machine before performing any maintenance or troubleshooting that involves removing covers or accessing internal components. Never force moving parts. If you encounter resistance, stop and reassess.
Chapter 1: Comprehensive Needle Movement Diagnostics
A non-moving needle is perhaps the most alarming sewing machine problem. The machine powers on, lights illuminate, but pressing the foot pedal yields nothing—no movement, no sound, just frustrating silence. Before assuming the worst, systematically work through this diagnostic checklist.
Step 1: Bobbin Winder Engagement Check
Problem: Most sewing machines have a safety feature that disengages the needle mechanism when the bobbin winder is active. If you recently wound a bobbin and forgot to disengage the winder, your needle won’t move.
Solution: Locate the bobbin winder spindle on top of your machine. Push it fully to the left (or toward the “sew” position, usually marked with a needle icon). You should hear or feel a subtle click as it disengages from winding mode.
Pro Tip: On many Brother, Singer, and Janome machines, the bobbin winder has a small pin that must be fully retracted. If it’s partially engaged, it can still block needle movement.
Step 2: Handwheel Position Analysis
Problem: Many machines feature a handwheel that can be pulled outward to disengage for bobbin winding. If not pushed fully back in, the needle mechanism remains disconnected.
Solution: Grasp the handwheel (the large wheel on the right side of your machine) and gently push it toward the machine body. You should feel it engage with a subtle click or resistance change.
Technical Insight: This mechanism works via a clutch system. When disengaged, the handwheel spins freely without turning the internal gears that control the needle bar.
Step 3: Presser Foot Sensor Diagnostics
Problem: Modern computerized machines (Brother CS6000i, Singer Quantum, Janome Memory Craft) have safety sensors that prevent sewing when the presser foot is raised. This prevents needle breakage and thread tangles.
Solution: Lower the presser foot completely. Listen for a soft click on some models. Check your machine’s display—many show a foot icon when correctly engaged.
Advanced Check: If your machine still won’t sew with the foot down, the sensor might be dirty or malfunctioning. Gently clean around the presser foot lever with compressed air.
Step 4: Thread Jam Assessment Protocol
Problem: A severe thread jam (bird’s nest) in the bobbin area can physically lock the mechanism, preventing any movement.
Solution:
- Unplug the machine immediately
- Remove the needle plate screws (usually 1-3 screws)
- Lift off the needle plate to access the bobbin area
- Use tweezers to carefully remove tangled thread
- Check the bobbin case for thread wrapped around the hook
- Turn the handwheel manually to test movement
Critical: Never force the handwheel. If it won’t turn, there’s likely thread wrapped around the hook race—this requires careful removal to avoid damaging delicate parts.
Step 5: Electrical and Power System Check
Problem: While less common, electrical issues can cause partial operation—lights work but motor doesn’t engage.
Solution:
- Check foot pedal connection (unplug and replug)
- Test outlet with another device
- Check for blown fuses in the machine (consult manual)
- Listen for humming—if motor hums but doesn’t turn, it may be jammed

The Essential Foundation: Professional-Grade Needle Collection
Investing in high-quality needles is the single most effective way to prevent 80% of sewing problems. Schmetz needles, engineered in Germany, feature precision-ground points, specially hardened steel, and consistent sizing that generic needles can’t match. This comprehensive variety pack includes the essential types: Universal (sizes 70/10-100/16), Jeans/Denim, Microtex for fine fabrics, Stretch for knits, and Leather needles. Each needle type is optimized for specific fabrics, ensuring clean penetration, minimal deflection, and perfect stitch formation.
Professional Insight: Needle manufacturers recommend changing needles every 6-8 hours of sewing. For perspective: a single garment project typically requires 2-3 needle changes. Mark your calendar or set phone reminders. Fresh needles prevent skipped stitches, thread breaks, and fabric damage.
Check Professional Needles on AmazonChapter 2: Needle Breakage and Plate Collision Analysis
🧠 Understanding the Physics: Needle breakage occurs when lateral forces exceed the needle’s structural limits. A standard sewing machine needle deflects approximately 0.1mm during normal operation. When this deflection exceeds 0.5mm due to fabric resistance, pulling, or obstruction, the needle fatigues and snaps.
2.1 The 10 Most Common Causes of Needle Breakage
| Cause | Identification Signs | Immediate Solution | Prevention Strategy |
|---|---|---|---|
| Fabric Pulling/Pushing | Needle bends before breaking, fabric distortion | Stop immediately, change needle | Let feed dogs move fabric, guide lightly with hands |
| Incorrect Needle Size | Breakage at thick seams, resistance before break | Use larger needle (90/14 or 100/16 for heavy fabrics) | Match needle size to fabric weight using needle chart |
| Bent Needle Continuation | Clicking sound before break, uneven stitches | Replace needle immediately | Inspect needle before each project, roll on glass to check straightness |
| Pin Impact | Clean break, pin marks on needle shank | Remove all pins 2″ before needle | Use magnetic pin catcher, remove pins early |
| Timing Issues | Needle hits bobbin hook, metallic grinding sound | Professional service required | Annual professional maintenance |
| Wrong Presser Foot | Needle strikes foot, especially with zigzag | Install correct foot for stitch type | Always test needle clearance with foot installed |
| Excessive Speed | Needle overheats, becomes brittle | Slow down, allow cooling | Use appropriate speed for fabric density |
| Throat Plate Damage | Needle hits burrs on plate opening | Replace needle plate | Regularly inspect plate for damage |
| Bobbin Case Interference | Breakage occurs during bobbin hook engagement | Clean bobbin area, check for nicks | Monthly deep cleaning |
| Multiple Layer Seams | Breakage at intersection points | Use hump jumper, hand-wheel through thick spots | Stagger seam intersections, clip excess bulk |
2.2 Fabric-Specific Needle Breakage Solutions
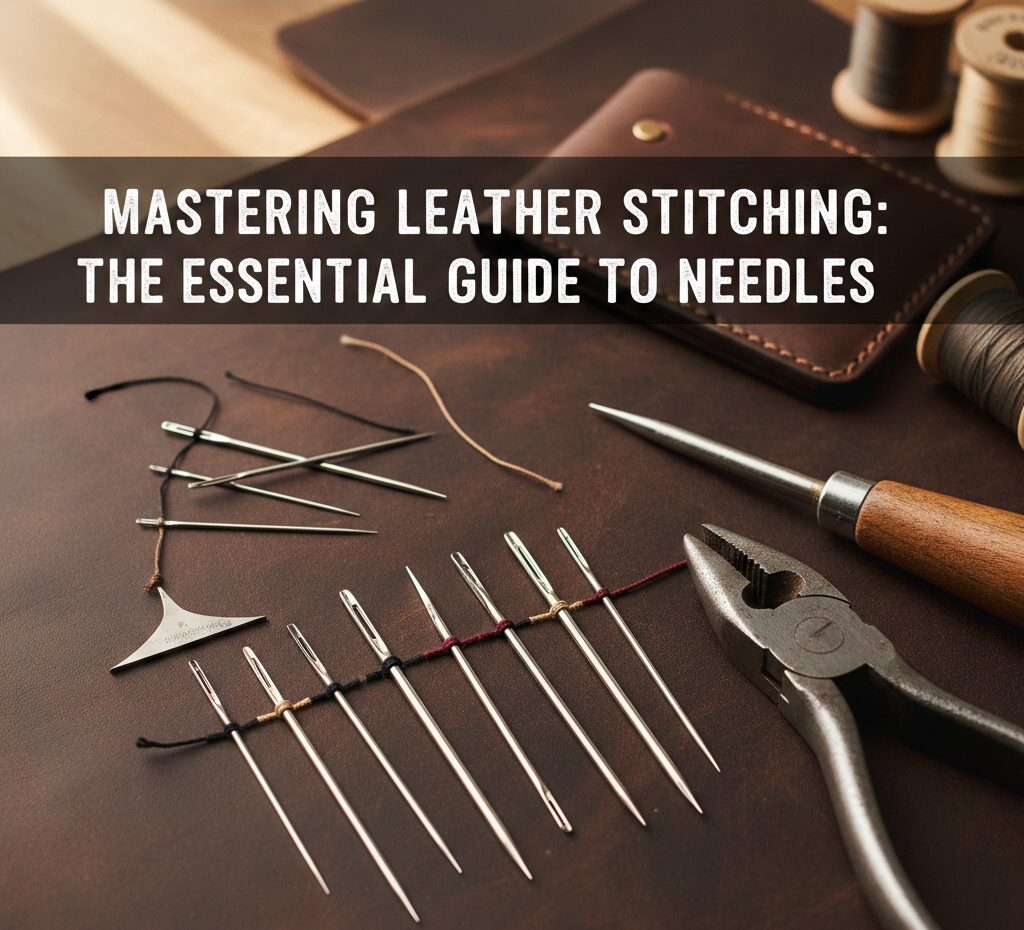
Leather & Vinyl: Use chisel-point needles that cut rather than pierce
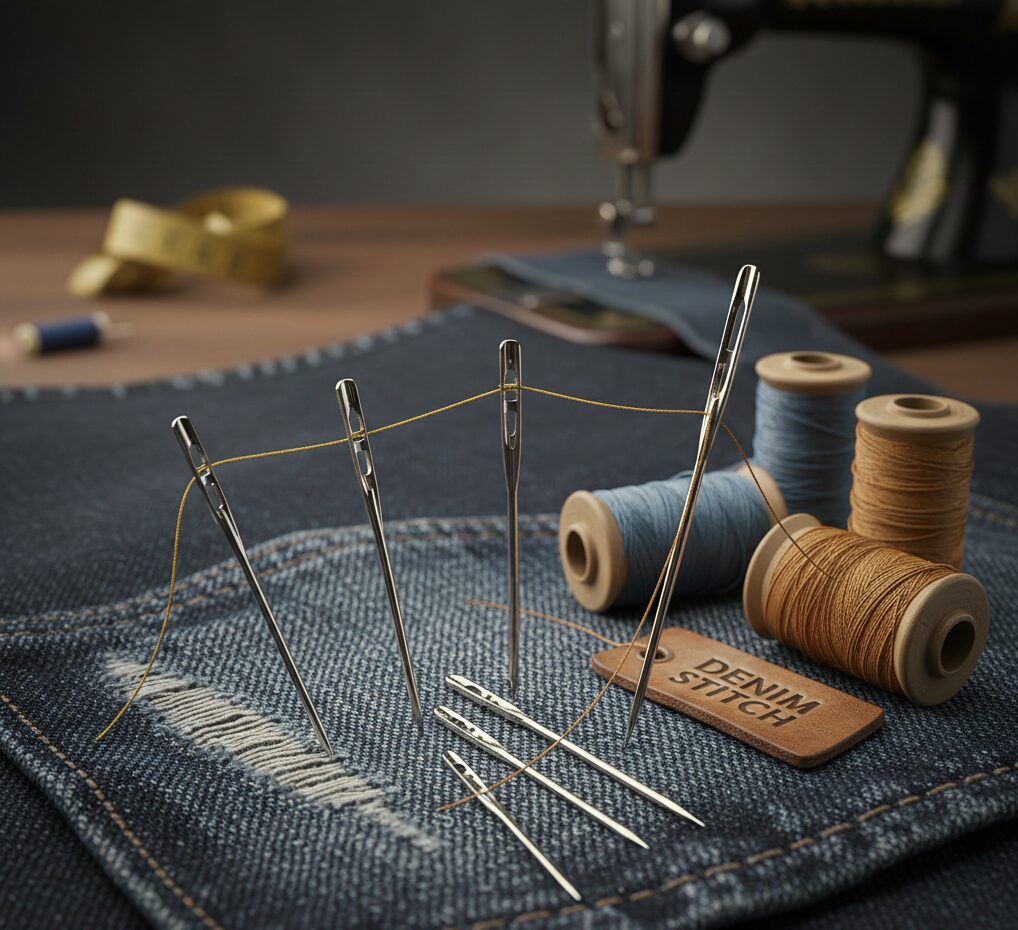
Denim & Canvas: Jeans needles (100/16) have reinforced shafts
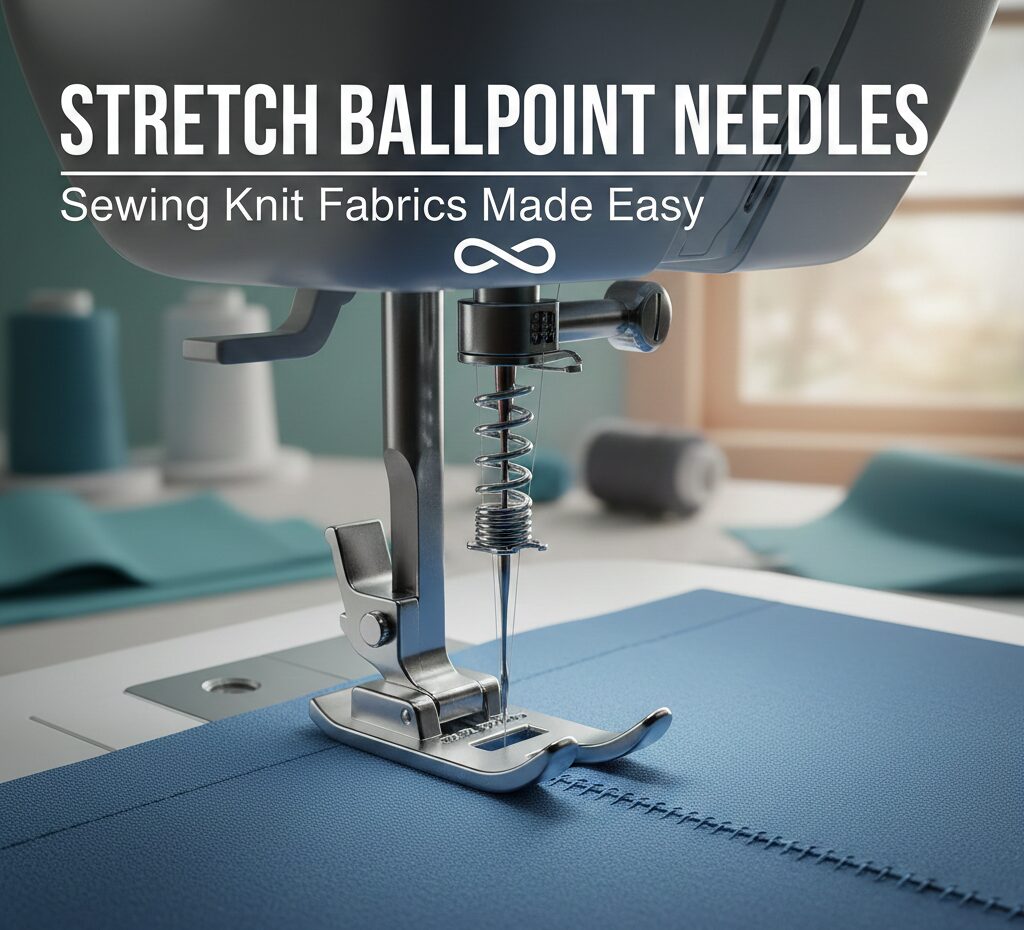
Knit Fabrics: Ballpoint needles separate fibers without breaking them
Silk & Microfibers: Microtex needles (70/10) have ultra-sharp points
Technical Deep Dive: Needle Deflection Analysis
Understanding needle deflection helps prevent breakage. When a needle penetrates fabric, it experiences:
- Compressive Forces: Downward pressure from the needle bar (typically 2-5 pounds)
- Lateral Forces: Fabric resistance causing side-to-side bending
- Thermal Stress: Friction generates heat (up to 300°F at high speeds)
- Cyclic Fatigue: Repeated bending weakens metal over time
A size 80/12 needle can withstand approximately 8 pounds of lateral force before permanent deformation. Heavy denim can generate 6-7 pounds of resistance—pushing the needle near its limits.

Safety Essential: Professional Magnetic Pin Management System
Approximately 30% of needle breakages result from accidental pin strikes. This professional-grade magnetic pin bowl features a powerful neodymium magnet that securely holds hundreds of pins, preventing them from scattering near the needle path. The wide, stable base ensures it won’t tip during enthusiastic sewing sessions. The non-slip silicone bottom keeps it firmly in place, while the generous 5-inch diameter provides easy access without looking away from your work.
Workflow Optimization: Position the magnetic bowl to the right of your machine (for right-handed sewists). Develop the muscle memory of immediately placing removed pins in the bowl. This simple habit prevents countless broken needles and potential eye injuries from flying needle fragments.
Get Pin Safety System on AmazonChapter 3: Advanced Needle Positioning and Alignment Issues
3.1 Needle Centering Diagnostics
An off-center needle can indicate various issues, from normal stitch variation to serious mechanical problems:
Normal vs. Abnormal Needle Position
Normal Variation: On machines with zigzag capability, the needle naturally moves left/right for different stitches. Test by selecting a center needle position straight stitch (usually indicated by a straight line icon). The needle should be centered in the presser foot opening.
Needle Bar Alignment Check
Diagnostic Method:
- Install a new, straight needle
- Select center needle position
- Lower the needle into the throat plate
- Observe from directly above—needle should be centered in the round hole
- Rotate handwheel to check entire rotation
Common Centering Problems
- Bent Needle Bar: Requires professional repair
- Loose Needle Clamp: Tighten screw securely
- Worn Needle Bar Bushings: Professional replacement needed
- Incorrect Needle Installation: Flat side not facing correct direction
3.2 Needle Thread Retention Problems
Thread constantly unthreading from the needle eye is frustrating but easily solvable:
| Problem | Root Cause | Immediate Fix | Long-Term Prevention |
|---|---|---|---|
| Thread unthreads on first stitch | Thread tail too short (less than 3″) | Leave 4-6″ thread tail before starting | Develop consistent thread tail habit |
| Thread slips during sewing | Needle eye too large for thread | Use smaller needle or thicker thread | Match needle size to thread weight |
| Automatic needle threader fails | Needle not at highest position | Raise needle fully before threading | Consult manual for specific positioning |
| Thread breaks at needle eye | Burr inside needle eye | Replace needle immediately | Inspect needles under bright light |
Pro Thread Retention Technique: When starting a seam, hold both thread tails (top and bobbin) to the back left of the presser foot for the first 3-4 stitches. Apply gentle backward tension—just enough to feel resistance. This prevents the take-up lever from pulling thread from the needle eye while allowing proper stitch formation.
Chapter 4: Needle Selection Master Guide
4.1 Understanding Needle Coding System
Sewing machine needles use a dual-numbering system (e.g., 80/12):
- European Metric (80): Diameter of needle shaft in hundredths of a millimeter (0.80mm)
- American (12): Arbitrary size number (higher = thicker needle)
- Common Sizes:
- 60/8: Sheer fabrics, silk, chiffon
- 70/10: Lightweight fabrics, lawn, voile
- 80/12: All-purpose, quilting cotton, linen
- 90/14: Medium-weight fabrics, denim, corduroy
- 100/16: Heavy fabrics, canvas, upholstery
- 110/18: Extra-heavy fabrics, leather, multiple layers
4.2 Needle Point Types and Applications
| Needle Type | Point Shape | Best For | Avoid Using On |
|---|---|---|---|
| Universal | Slightly rounded point | Woven fabrics, general sewing | Stretch fabrics, leather |
| Ballpoint/Jersey | Rounded ball tip | Knit fabrics, jersey, spandex | Woven fabrics, leather |
| Stretch | Specialty ballpoint | Highly elastic fabrics, swimwear | Non-stretch materials |
| Microtex/Sharp | Ultra-sharp point | Microfibers, silk, precise piecing | Heavy fabrics, knits |
| Jeans/Denim | Sharp, reinforced shaft | Denim, canvas, heavy wovens | Delicate fabrics |
| Leather | Chisel cutting point | Leather, vinyl, suede | Woven or knit fabrics |
| Topstitching | Sharp with large eye | Decorative topstitching | General construction |
| Metallic | Large eye, special coating | Metallic, specialty threads | Regular sewing thread |
Chapter 5: Brand-Specific Needle Troubleshooting
5.1 Singer Machine Needle Issues
Singer-Specific Considerations
Singer machines, particularly older mechanical models, have unique needle system requirements:
- Needle System: Most use 15×1 (HAx1) needles, same as other home machines
- Older Models (201, 66, 99): May use specific needles—check manual
- Common Issue: Needle strikes bobbin case due to timing drift with heavy use
- Solution: Annual professional timing adjustment recommended
5.2 Brother Computerized Machine Needle Problems
Brother Computerized Features
Brother machines often include advanced needle features:
- Needle Up/Down Function: Programmable position—set correctly for your project
- Sensor Issues: Dirty sensors can cause needle position errors
- Error Codes: E1-E6 often relate to needle/threading issues
- Solution: Power cycle machine, clean sensors with compressed air
5.3 Janome/Elna Needle Considerations
Janome machines are known for precision but have specific requirements:
- Needle Compatibility: Use Janome-branded or Organ needles for best results
- Common Issue: Needle deflection with non-approved needles
- Memory Craft Models: May have proprietary needle sensing systems
5.4 Bernina/Viking High-End Machine Needle Protocols
High-End Machine Warning: Bernina and Viking machines have extremely precise tolerances. Using generic needles can void warranties and cause timing issues. Always use manufacturer-recommended needles and change them every 4-6 hours of sewing.
Chapter 6: Professional Maintenance and Prevention
6.1 Daily Needle Maintenance Routine
Pre-Session Check (2 minutes)
- Visually inspect needle for bends or burrs
- Roll needle on glass surface to check straightness
- Confirm correct needle type for today’s fabric
- Check needle is fully inserted and tightened
During Sewing Monitoring
- Listen for changes in sewing sound
- Watch for thread breaks or skipped stitches
- Feel for vibration changes
- Stop immediately if needle strikes anything
Post-Session Protocol
- Note hours sewn for needle replacement schedule
- Clean needle area with soft brush
- Store machine with needle in up position
- Cover machine to prevent dust accumulation
6.2 Monthly Deep Maintenance
Beyond daily care, monthly maintenance prevents major issues:
| Maintenance Task | Procedure | Frequency | Tools Needed |
|---|---|---|---|
| Needle Bar Inspection | Check for vertical play, misalignment | Monthly | Flashlight, mirror |
| Throat Plate Examination | Inspect for burrs, needle strikes | Monthly | Magnifying glass, fingernail test |
| Bobbin Hook Check | Look for nicks from needle strikes | Monthly | Tweezers, good lighting |
| Needle Clamp Tightness | Ensure screw is secure but not overtightened | Monthly | Correct screwdriver |
🚨 Immediate Action Required If:
- Needle breaks more than twice in one session
- Needle strikes metal parts repeatedly
- Machine makes new grinding or clicking sounds
- Needle visibly bends during normal sewing
Stop sewing immediately and perform complete diagnostics.
Chapter 7: When to Call a Professional
Despite your best efforts, some issues require professional attention:
🚑 Professional Service Required For:
- Bent Needle Bar: Cannot be straightened—must be replaced
- Timing Issues: Needle consistently strikes bobbin hook
- Electrical Problems: Needle movement inconsistent or erratic
- Computerized Errors: Needle-related error codes won’t clear
- Major Impact Damage: Dropped machine or severe needle strike
- Warranty Concerns: DIY repair might void manufacturer warranty
7.1 Choosing a Qualified Technician
Not all repair shops are equal. Look for:
- Brand Certification: Authorized service center for your machine
- Experience: Minimum 5 years with your machine type
- References: Ask for customer testimonials
- Warranty: Minimum 90-day warranty on repairs
- Transparency: Clear pricing, no hidden fees
Chapter 8: Emergency Troubleshooting Flowchart
Step 1: Immediate Response
Stop sewing. Don’t force anything. Unplug machine if necessary.
Step 2: Symptom Identification
Needle won’t move? Needle breaking? Hitting plate? Unthreading? Identify primary issue.
Step 3: Basic Checks (2 minutes)
Bobbin winder disengaged? Handwheel engaged? Presser foot down? Thread jam?
Step 4: Needle Replacement
Install fresh, correct needle type. Ensure proper installation.
Step 5: Re-threading
Completely re-thread machine with presser foot up.
Step 6: Test on Scrap
Always test fixes on scrap fabric identical to project.
Step 7: Professional Assessment
If problem persists after systematic troubleshooting, contact professional.
Frequently Asked Questions (FAQ)
A: Professional recommendations vary by usage:
- Every project: For perfectionists and professionals
- Every 6-8 sewing hours: Standard recommendation
- After sewing heavy fabrics: Immediately replace
- When switching fabric types: Change needle type
- At first sign of trouble: Always replace first
Needles are inexpensive insurance against costly fabric damage and repair bills.
A: Yes, significantly. A bent needle can:
- Strike and damage the bobbin hook ($$$ repair)
- Bend the needle bar (major repair)
- Damage the throat plate
- Throw off machine timing
- Cause uneven wear on internal components
Always stop immediately if you suspect a bent needle and replace it before continuing.
A: Thick seams present multiple challenges:
- Needle deflection: Multiple layers cause lateral bending
- Increased resistance: More force required for penetration
- Heat buildup: Friction weakens needle metal
- Improper technique: Pulling fabric exacerbates bending
Solutions: Use larger needle (100/16), hand-wheel through thick spots, use hump jumper, clip seam allowances to reduce bulk.
A: While both are for knit fabrics:
- Ballpoint/Jersey: Rounded tip pushes between knit fibers without breaking them. Best for stable knits like jersey, interlock.
- Stretch Needles: Have a special scarf (indent above eye) and modified point. Designed for highly elastic fabrics like spandex, swimwear, athletic wear. Prevents skipped stitches on stretchy materials.
For most knits, start with ballpoint. If you experience skipped stitches on very stretchy fabric, switch to stretch needles.
A: Computerized machines have sensors that monitor needle position. Common causes:
- Thread wrapped around needle bar: Prevents full movement
- Dirty position sensor: Lint blocks optical sensor
- Bent needle or needle bar: Mechanical obstruction
- Software glitch: Power cycle may reset
- Motor issue: Professional diagnosis needed
First steps: Unplug machine for 5 minutes, clean around needle area with compressed air, install fresh needle, try again.
Conclusion: Mastering Needle Troubleshooting for Stress-Free Sewing
Needle problems, while initially alarming, are among the most solvable issues in sewing machine maintenance. By understanding the fundamental principles of needle operation, systematically applying diagnostic procedures, and implementing preventive maintenance routines, you transform from a frustrated sewist into a confident troubleshooter.
Key Takeaways for Needle Mastery:
- Prevention First: Fresh needles prevent most problems—change them regularly
- Systematic Diagnosis: Always start with simplest solutions first
- Proper Tools Matter: Invest in quality needles and basic maintenance tools
- Know Your Limits: Some issues require professional attention
- Continuous Learning: Each troubleshooting experience builds your skills
Remember: Your sewing machine is a precision instrument, not a mysterious black box. By applying the knowledge from this comprehensive guide, you’ll save hundreds of dollars in unnecessary repair bills, prevent countless hours of frustration, and most importantly, keep your creative projects flowing smoothly from concept to beautiful completion. The confidence gained from mastering needle troubleshooting will enhance every aspect of your sewing journey.
Final Pro Recommendation: Create a sewing machine maintenance log. Record needle changes, issues encountered, and solutions found. Over time, this personalized reference will help you identify patterns and prevent recurring problems. Happy, stress-free sewing!


