How to Use a Sewing Machine: A Beginner’s Step-by-Step Guide
Welcome to the wonderful world of sewing! At first glance, a sewing machine can look like a complex and intimidating piece of equipment with all its dials, levers, and moving parts. But don’t worry—once you understand the fundamental components and their purpose, you’ll see it’s a remarkably user-friendly tool designed to make creation easy.
As experienced sewing educators, we know that getting started is the hardest part. This guide is designed to be your friendly first lesson. We will walk you through setting up your machine, threading it correctly, and sewing your very first stitch. By the end, you’ll have the confidence to start your first project.
Step 1: Getting to Know Your Machine – The Essential Parts
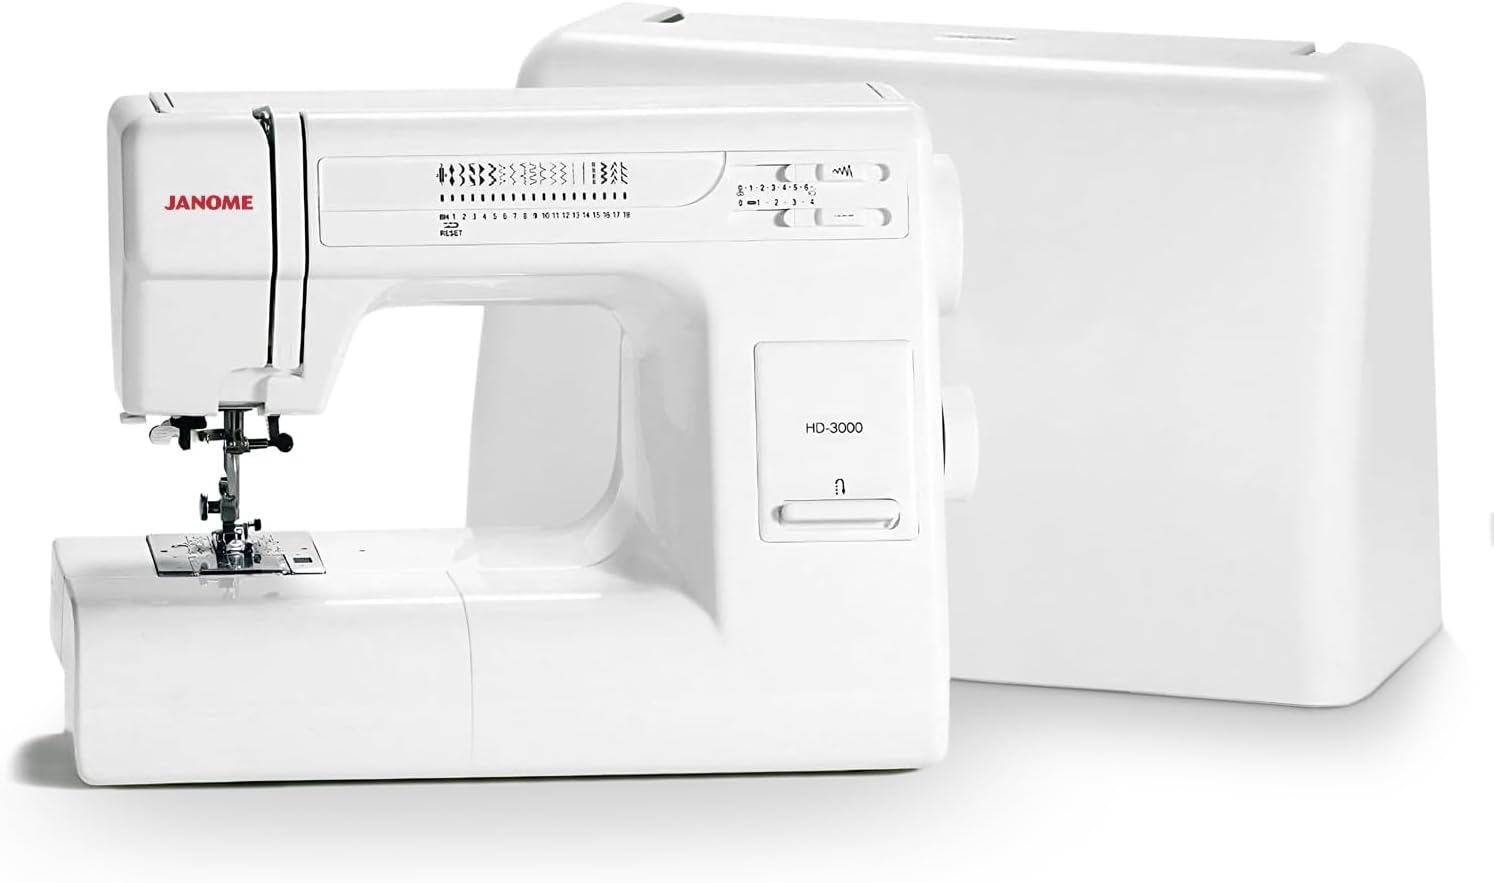
Before you can sew, you need to know the names and functions of a few key parts. Grab your machine’s manual to see what these look like on your specific model.
- Handwheel: The large wheel on the right side of the machine. It allows you to move the needle up and down manually. Rule #1: Always turn it towards you.
- Spool Pin: The post that holds your spool of thread.
- Thread Guides: The series of hooks, channels, and levers that your top thread will follow on its path to the needle.
- Tension Dial: This numbered dial controls how tight the top thread is. For now, you can leave it on the standard setting (usually marked or set to “4”).
- Take-Up Lever: This is the metal arm that moves up and down as you sew. Its most important job is to pull the thread tight after each stitch to form a perfect lockstitch.
- Needle & Needle Clamp: The needle clamp is a small screw that holds the needle in place.
- Presser Foot: The small, ski-shaped foot that holds your fabric down flat against the machine as you sew. It is raised and lowered by a lever behind the needle area.
- Needle Plate: The metal plate directly under the needle. It has lines etched into it that serve as seam allowance guides.
- Feed Dogs: The little metal teeth under the presser foot that grip your fabric and move it forward (or backward).
- Bobbin, Bobbin Case, and Cover: The bobbin is the small spool that holds the bottom thread. It sits inside the bobbin case under the needle plate.
- Foot Pedal: This is the “gas pedal” for your machine. The harder you press, the faster it sews.
Step 2: Winding the Bobbin
Your machine needs two threads to make a stitch: a top thread from the spool and a bottom thread from the bobbin. Your first task is to fill the bobbin.
- Place your spool of thread on the spool pin.
- Follow the bobbin winding thread path. Your machine will have a diagram (usually a dotted line) showing how to loop the thread around a small tension disc specifically for bobbin winding.
- Poke the end of the thread through the small hole in the top of the empty bobbin. Hold onto this thread tail.
- Place the bobbin onto the bobbin winder spindle (a small post on top of the machine) and push it to the side. This action will disengage the needle so it doesn’t move while you wind.
- Gently press the foot pedal. After the bobbin has wound a few times, you can stop and snip the thread tail close to the hole.
- Continue winding until the bobbin is full but not overflowing. Cut the thread, and slide the winder spindle back to its original position. You’re done!

1. Complete Sewing Starter Kit
To get started, you’ll need more than just the machine. This type of kit provides all the essential notions in one package: a variety of threads, a measuring tape, a seam ripper for fixing mistakes, sharp thread snips, and a pincushion. It’s the perfect companion to a new machine.
Check Price on AmazonStep 3: Threading the Machine (Top and Bottom)
This is the step that intimidates beginners the most, but modern machines make it easy with numbered guides.
The Most Important Tip for Threading: Before you begin, use the handwheel to raise the needle to its absolute highest point and, crucially, **make sure the presser foot is lifted UP.** This opens the tension discs inside the machine, allowing the thread to seat correctly.
Threading the Top Thread
Simply follow the numbered path printed on your machine. You will guide the thread from the spool, through several channels, down and then up and around the take-up lever (make sure the thread actually goes into the lever’s hook), and then back down to the needle. Use your machine’s needle threader or thread it manually from front to back. Pull about 5-6 inches of thread through.
Loading the Bobbin (Bottom Thread)
For most beginner machines (top-loading bobbins), you simply remove the cover, drop the wound bobbin in (making sure the thread is coming off in the correct direction—your manual will show this), and pull the thread through a small notch in the bobbin case.
Bringing Up the Bobbin Thread
Gently hold the top thread tail with your left hand. With your right hand, turn the handwheel **towards you** one full rotation. The needle will go down into the machine and come back up, catching the bobbin thread and pulling a loop of it to the surface. Use a small pair of scissors or a seam ripper to pull the loop all the way through. You should now have two thread tails—one from the needle and one from the bobbin. Slide them both under the presser foot and toward the back of the machine.
Step 4: Let’s Sew! Your First Straight Seam
Congratulations, the hard part is over! Now for the fun.
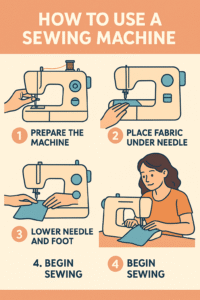
- Prepare your fabric. Take two small, simple scraps of cotton fabric and place them on top of each other.
- Position the fabric. Lift the presser foot lever. Slide your fabric under the presser foot and line up the right edge with a seam guide on the needle plate (the 5/8″ or 1.5cm line is standard). Lower the presser foot to hold the fabric in place.
- Start Sewing. Gently press your foot on the foot pedal. The machine will come to life! Use your hands to gently guide the fabric, keeping the edge aligned with your chosen seam guide. **Do not push or pull the fabric**; let the feed dogs do all the work.
- Backstitch to Lock the Seam. After sewing about half an inch, press and hold the reverse lever/button on your machine. Sew backward for 2-3 stitches right on top of your existing stitches, then release the lever and continue sewing forward. Do this again at the very end of your seam. This locks the stitches in place so they don’t unravel.
- Finish the Seam. Once you reach the end, stop, backstitch, and then turn the handwheel to raise the needle to its highest point. Lift the presser foot, pull the fabric out toward the back, and snip the threads, leaving a tail.

2. Dedicated Fabric Shears
One of the first rules of sewing is to never use your fabric scissors on paper. A good pair of 8-inch dressmaker’s shears will make cutting patterns a joy. They are engineered to cut cleanly through fabric without snagging, which is essential for a professional result.
Check Price on AmazonConclusion: Your Sewing Journey Has Begun
You did it! You have successfully set up, threaded, and used a sewing machine to create a seam. Like any new skill, sewing is all about practice. The process of threading and handling the machine will become second nature very quickly. Be patient with yourself, don’t be afraid to make mistakes (that’s what a seam ripper is for!), and have fun. An entire world of creative possibility is now at your fingertips.


