

The Ultimate Guide to Rotary Cutter Safety: From First Cut to Flawless Fabric
I still remember the day my quilting life changed forever. I was hunched over a huge piece of cotton, painstakingly tracing and snipping with a pair of shears. My hand ached, my lines were wobbly, and the process felt endless. Then, a friend introduced me to the rotary cutter. The first time I zipped that wheel across a self-healing mat, slicing through four layers of fabric like it was butter… it was pure magic. But with this incredible power comes an equally incredible responsibility. That razor-sharp blade demands respect. This guide is built from over a decade of my own experience—including one very memorable, yet thankfully minor, slip-up—to ensure your journey with this amazing tool is safe, efficient, and joyful from the very start.
Welcome, fellow creator! Whether you’re a budding quilter, a seasoned sewist, or a crafter curious about making precise cuts, you’ve come to the right place. The rotary cutter is arguably one of the most significant innovations in fabric arts since the sewing machine. It promises speed, accuracy, and the ability to cut multiple layers at once, turning hours of tedious work into minutes of satisfying productivity. However, let’s be crystal clear: a rotary cutter is not a pizza wheel. It’s a surgical-grade blade that can cause serious injury if not handled with proper care and technique.
This comprehensive guide is designed to be your trusted companion. We won’t just cover the basics; we’ll delve deep into the ergonomics of holding the cutter, the science behind the essential tools, and the ingrained habits that separate a confident cutter from a careless one. By the end of this post, you’ll not only know how to use a rotary cutter, but you’ll understand how to use it safely and effectively for years to come. Let’s get started on your path to mastering this essential tool.
What Exactly IS a Rotary Cutter? A Beginner’s Introduction
Before we dive into the safety protocols, let’s get acquainted with our tool. Imagine a pizza cutter, but instead of a dull wheel for slicing cheese and dough, it’s fitted with a circular blade as sharp as a scalpel. This tool was originally invented by the Olfa company in 1979 for the garment industry, but it was quickly adopted by quilters who discovered its astonishing ability to make long, straight, and precise cuts through thick layers of fabric.
A rotary cutter consists of a handle, a circular blade (which comes in various sizes), a screw or mechanism to hold the blade in place, and—most importantly—a safety guard or shield. The blade rotates as you push it along the fabric, creating a clean, continuous cut without the slight jaggedness that scissors can sometimes leave. This smooth action is what makes it indispensable for tasks like cutting quilt blocks, strips, and bindings where precision is paramount.
For anyone new to the craft, our beginner’s guide to rotary cutting provides a great starting point for understanding all the fundamental concepts. But for now, let’s focus on the tools you absolutely must have before you even think about making your first cut.
The Holy Trinity of Rotary Cutting: Your Essential Safety Kit
Using a rotary cutter is not a solo act. It requires a specific set of companion tools that work together to protect you, your work surface, and the blade itself. Cutting on your kitchen table or with a standard school ruler is a recipe for disaster. Investing in the right gear from the start is non-negotiable. Think of these three items as a single, interconnected system.
1. The Self-Healing Cutting Mat: Your Foundation
This is your cutting board. A self-healing mat is made of a unique composite material that allows the sharp rotary blade to sink into its surface without permanently damaging it. After the cut, the material “heals” itself, closing the incision and providing a consistently smooth surface for your next cut. This not only protects your tabletop but, crucially, it prevents the blade from skipping or veering off course, which is a major cause of accidents. Furthermore, these mats are almost always printed with a grid of measurements (both inches and metric), which is invaluable for aligning your fabric and ensuring your cuts are perfectly square.
2. The Quilting Ruler: Your Unwavering Guide
This is not your average ruler. A proper quilting ruler is made of thick, clear acrylic—typically at least 1/8 inch thick. This thickness is critical because it creates a safe edge for the rotary blade to run against. A thin ruler can allow the blade to jump over the top, heading directly for the fingers of your non-cutting hand. The transparency allows you to see the fabric underneath for precise alignment with the grid on your mat, and most high-quality rulers have non-slip grips on the underside to prevent them from sliding around during a cut. For a complete rundown, take a look at our guide to the 5 best quilting rulers for perfect cuts in 2025.
3. The Rotary Cutter: Your Precision Instrument
And of course, the star of the show. Rotary cutters come in various blade sizes, typically measured in millimeters (18mm, 28mm, 45mm, and 60mm are the most common). The 45mm cutter is the universal workhorse and the best choice for beginners. It’s versatile enough for most general cutting tasks. Many cutters also come in different handle styles, such as straight “stick” handles and ergonomic curved handles. The best one for you often comes down to personal comfort and hand strength.

Fiskars Classic Comfort Loop Rotary Cutter (45mm)
A fantastic and widely trusted choice for beginners and pros alike. The ergonomic handle is comfortable for long cutting sessions, and the blade guard slides back easily with a button press.
Check Price on Amazon
OLFA Self-Healing Cutting Mat (24″ x 36″)
OLFA invented the rotary cutter, and their mats are the gold standard. A large 24×36 inch mat is a worthy investment, giving you ample space to cut large pieces of fabric without constant repositioning.
Check Price on Amazon
Omnigrid Quilter’s Ruler (6″ x 24″)
The 6×24 inch ruler is the most versatile size you can own. It’s long enough for cutting across fabric folded off the bolt and wide enough for most quilt blocks. Omnigrid’s markings are exceptionally clear and durable.
Check Price on AmazonA Critical Warning Before We Proceed
NEVER substitute any of these items. Do not use a piece of cardboard instead of a mat. Do not use a metal yardstick instead of an acrylic ruler. Do not use a craft knife instead of a rotary cutter for this purpose. Each tool is designed for a specific safety function within the system. Compromising on even one of them dramatically increases your risk of a serious injury.
The 10 Golden Rules of Rotary Cutter Safety
Memorize these. Write them down. Post them in your sewing room. These rules are the bedrock of safe rotary cutting. Internalize them until they become second nature.
- Always Cut Standing Up. Standing gives you better leverage, stability, and a clearer line of sight over your ruler and fabric. It allows you to use your shoulder and core strength for pressure, not just your wrist, which reduces fatigue and the chance of slipping.
- The Blade Shield is Your Best Friend. The moment—the very second—the cutter leaves the fabric, engage the blade shield. Make this a muscle memory action. A blade that is closed cannot cut you. Most accidents happen with an open blade on a resting cutter.
- Always Cut Away From Your Body. Never, ever pull the cutter towards you. Always position your fabric and ruler so that your cutting motion is pushing the blade away from your body.
- Keep Your Non-Cutting Hand Safe. Your “anchor” hand, the one holding the ruler, is the most vulnerable. Keep your fingers flat on the ruler and well away from the edge. Form a “spider” or “bridge” with your hand, pressing down with your palm and fingertips, ensuring no part of your hand is hanging over the ruler’s edge.
- Use a Sharp Blade. This sounds counterintuitive, but it’s one of the most important safety rules. A dull blade requires more pressure to cut. Excessive pressure is a leading cause of the blade slipping, veering off the ruler, or jumping over it. If you find yourself pressing hard or seeing skipped threads, it’s time to change the blade. For more on this, check out our rotary cutter maintenance tips.
- Use the Right Ruler. As mentioned, always use a thick acrylic quilting ruler. It provides the necessary barrier for the blade. Ensure your ruler is long enough for the entire cut you intend to make.
- Never Cut Distracted. Rotary cutting requires your full attention. Don’t try to cut while watching TV, talking on the phone, or when you’re tired or rushed. If you’re interrupted, close the blade and put the cutter down before turning your attention elsewhere.
- Store Your Cutter Safely. When you’re finished for the day, store your cutter with the blade guard engaged, preferably in a designated spot where it can’t be accidentally knocked over or grabbed by a child.
- Pass the Cutter Safely. If you need to hand your cutter to someone, always close the blade guard first. Hand it to them handle-first, just as you would with a pair of scissors.
- Dispose of Old Blades Properly. A used rotary blade is still incredibly sharp. Never just toss it in the trash. Use a dedicated blade disposal case or wrap the old blade heavily in tape and label it “SHARP” before throwing it away. Many notions companies sell small, inexpensive “blade safes.”
Setting Up Your Cutting Station for Success and Safety
Your environment plays a huge role in your safety. A cluttered, poorly lit, or unstable workspace is an accident waiting to happen. Let’s optimize your cutting station.
Ergonomics is Everything
Your cutting surface should be at a comfortable height. For most people, this is about waist or hip height. If you’re cutting on a standard dining table, you might be hunching over, which leads to back strain and poor control. If your table is too high, you won’t be able to get enough leverage from your shoulder. Invest in a dedicated cutting table or use bed risers to elevate a standard table to the proper height. You should be able to stand with a straight back and a relaxed arm position.
Lighting and Space
Ensure your cutting area is well-lit. Good lighting reduces eye strain and helps you see the lines on your ruler and mat clearly. You also need enough space to maneuver. Clear your cutting mat of all pins, scissors, fabric scraps, and coffee mugs before you begin. The only things on your mat should be the fabric you are cutting and the ruler you are using.
Your First Cut: A Step-by-Step Tutorial
Alright, let’s put it all into practice. We’ll start by squaring up a piece of fabric and cutting a simple strip—the most common task in quilting.
- Prepare Your Fabric: Press your fabric well to remove all wrinkles. Fold it in half selvage to selvage (the finished edges of the fabric). Make sure the fold is smooth and the selvages are aligned. Place the folded fabric on your cutting mat.
- The Initial “Squaring Up” Cut: Lay your quilting ruler on top of the fabric, near the right-hand edge (or left-hand, if you’re left-handed). Align one of the horizontal lines on your ruler perfectly with the fold of the fabric. Let a small, uneven amount of fabric hang out past the right edge of the ruler. This first cut is just to create a perfectly straight, clean edge to measure from.
- Position Your Body: Stand with your feet shoulder-width apart, facing your cutting mat. Your cutting arm’s shoulder should be roughly aligned with the line you are about to cut.
- Anchor the Ruler: Place your non-cutting hand firmly on the ruler. Spread your fingers to distribute pressure evenly. Curl your fingertips up and away from the edge. Your pinky finger should be near the edge of the ruler, but not on it, acting as a final guard. Double-check that no part of your hand is in the blade’s path.
- Expose the Blade: Hold the rotary cutter in your cutting hand. With your thumb or index finger, retract the blade guard. Grip the handle firmly but not in a death grip. Your wrist should be straight.
- Make the Cut: Place the blade against the edge of the ruler, just off the fabric at the bottom. The side of the blade housing should be flush against the thick acrylic of the ruler. Now, in one smooth, continuous motion, push the cutter away from you along the ruler’s edge. Apply firm, even pressure downwards. Let your shoulder and arm do the work, not just your wrist.
- Finish the Cut: Continue pushing until the blade has rolled completely past the fabric at the top. Do not stop halfway through if you can avoid it.
- CLOSE THE BLADE. Before you even lift the ruler or move the fabric, engage the safety shield. This is the most crucial step. Make it an automatic reflex: Cut. Close.
- Admire Your Work: Remove the thin scrap strip you just cut off. You now have a perfectly straight edge to work from.
- Cut Your First Strip: Now, without moving the main piece of fabric, lift your ruler. To cut a 2.5-inch strip, align the 2.5-inch line on your ruler with the new, clean edge of your fabric. Repeat steps 4 through 8. Voilà! You’ve just safely and accurately cut your first fabric strip. Many quilting hacks for faster fabric cutting start with this fundamental skill.
Pro Tip: The “Two-Pass” Method for Thick Layers
When cutting through many layers (like 6 or 8), or dense fabric like batting, it can be tempting to apply a massive amount of force. This is risky. Instead, try a two-pass method. On the first pass, use moderate pressure to score the fabric. On the second pass, follow the same groove with moderate pressure again to cut all the way through. This gives you more control and is much safer than trying to power through it in one go. Choosing the right material is also key; learn about the best batting for quilting to make your projects easier.
Mastering the Grip: How to Hold Your Cutter Correctly
How you hold the cutter directly impacts your control and safety. While handle shapes vary, the principles remain the same.
- Straight Wrist: Avoid bending your wrist at a sharp angle. This puts strain on your joints and reduces your control. Try to keep a straight line from your elbow to the cutter.
- Fingers on the Handle: Your fingers should be wrapped securely around the handle. Your index finger can often rest in a designated groove for better directional control.
- Thumb for the Guard: Your thumb should be in a natural position to easily operate the blade guard without having to shift your grip significantly.
- Pressure from Above: The downward pressure should come from your shoulder and arm, directed through your straight wrist onto the cutter. Think of “leaning” into the cut rather than “pushing” with just your hand.
Blade Maintenance: How to Change a Rotary Blade Safely
A dull blade is a dangerous blade. Changing it is a simple process, but one that requires your undivided attention. Old blades are still sharp enough to cut you badly.
You will need: Your rotary cutter, a new replacement blade, and a safe place to dispose of the old blade.
- Work on a Clear Surface: Sit down at a clear table. Have your tools in front of you.
- Unscrew the Nut: Most cutters have a screw or nut on the back that holds the blade assembly together. Carefully unscrew this. Be mindful that some cutters have washers or springs that may come loose. Pay attention to the order in which you remove things.
- Expose the Old Blade: Once the nut is off, you can carefully slide the old blade off the central bolt. Handle it only by its sides. Never touch the sharp edge.
- Dispose of the Old Blade Immediately: Do not set the old blade down on the table. Immediately place it in your blade disposal case. If you don’t have one, carefully wrap it in several layers of masking tape and place it directly in the trash. The goal is to never leave an exposed blade lying around.
- Install the New Blade: New blades often come with a light coating of oil to prevent rust. This is normal. Carefully pick up the new blade (again, by the sides) and place it onto the bolt of your cutter. Ensure it’s facing the correct direction if your cutter has a specific orientation (most are symmetrical).
- Reassemble the Cutter: Carefully replace any washers and re-tighten the nut. Tighten it so it’s secure, but don’t overtighten, as this can prevent the blade from spinning freely. Check that the blade rotates smoothly and that the safety guard operates correctly.
This simple act of maintenance is a cornerstone of safe cutting. Avoiding it is one of the biggest quilting mistakes to avoid. If you want to dive deeper into the best tools available, our full review of the best rotary cutter for quilting can help you choose a model that is both high-performing and easy to maintain.
Choosing Your First Rotary Cutter and Other Essential Supplies
Walking into a craft store can be overwhelming. Let’s simplify the choices for the tools that truly matter.
Cutter Size and Style:
- 45mm: The All-Rounder. Perfect for beginners. It cuts strips, blocks, and trims quilts. If you only buy one, make it this one.
- 60mm: The Powerhouse. Ideal for cutting through thick materials like multiple layers of denim, canvas, or thick quilt batting. Its larger blade also makes it great for long, straight cuts.
- 28mm & 18mm: The Detailers. These smaller cutters are perfect for cutting tight curves, appliqué shapes, and working on miniature quilts.
Essential Threads and Notions:
While we’re on the topic of setting up your sewing space, don’t forget the other essentials. A quality cut is only as good as the thread that holds it together. Investing in some of the best cotton threads will ensure your beautiful, precisely-cut pieces turn into a durable, long-lasting quilt.

OLFA 45mm Ergonomic Rotary Cutter (RTY-2/DX)
This cutter is a fan favorite for its squeeze-handle design. The blade is exposed when you squeeze and retracts automatically when you let go, adding an extra layer of safety.
Check Price on Amazon
Creative Grids Quilting Ruler (6.5″ x 24.5″)
Famous for their embedded non-slip grips, Creative Grids rulers stay put. The extra half-inch on both dimensions is incredibly useful for trimming and squaring up blocks.
Check Price on Amazon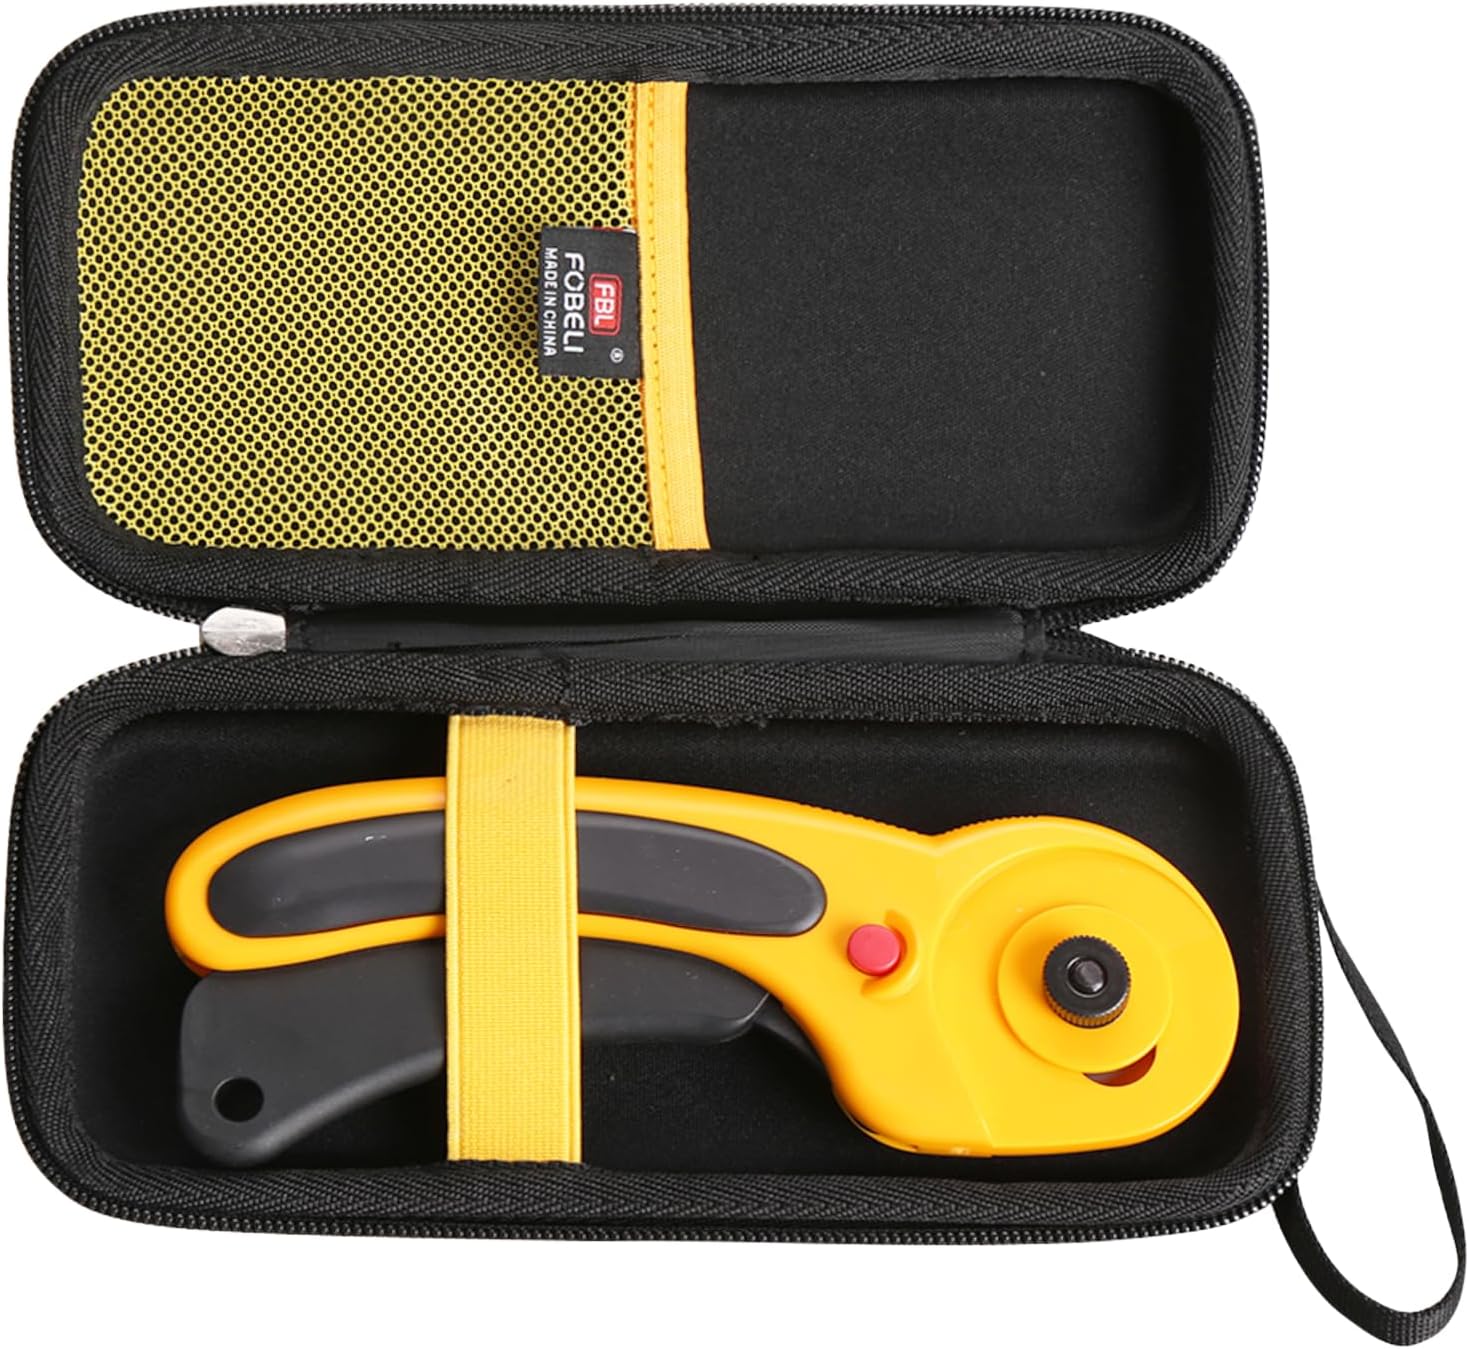
Fiskars Blade Disposal Case
A small but vital investment in safety. This case allows you to safely and easily snap off and contain used blades from rotary cutters and craft knives. A must-have for any responsible crafter.
Check Price on AmazonFrequently Asked Questions (FAQ) About Rotary Cutter Safety
Can I use my rotary cutter on paper or cardboard?
Technically, yes, but you shouldn’t. Cutting paper and cardboard will dull your fabric blade extremely quickly. It’s best practice to have a dedicated rotary cutter for fabric ONLY and a separate, cheaper one if you need to cut paper crafts.
My cuts are “skipping” threads. What’s wrong?
This is the number one sign of a dull blade. The blade is no longer sharp enough to sever every fiber, causing it to skip. Change your blade. It can also be caused by not applying enough pressure or cutting on a heavily worn-out mat that has deep grooves.
How often should I change my blade?
There’s no set time. It depends entirely on how much you cut and what you cut. A general rule of thumb is after every 2-3 large projects or whenever you notice you need to apply more pressure to get a clean cut. Cutting through batting, for instance, will dull a blade much faster than cutting through simple cotton.
I’m left-handed. Do I need a special rotary cutter?
Most modern rotary cutters are ambidextrous! You can typically assemble the blade on the opposite side of the handle to make it comfortable for left-handed use. The cutting principles of pushing away from your body and keeping your anchor hand safe remain exactly the same.
What should I do if I cut myself?
First, stay calm. Immediately apply firm, direct pressure to the wound with a clean cloth or gauze. Elevate the injured area above your heart. Rotary cutter cuts are often very clean and can bleed a lot. For any cut that is deep, won’t stop bleeding after 10-15 minutes of direct pressure, or is on a joint, seek medical attention immediately.
Conclusion: Your Journey to Confident Cutting
The rotary cutter is a tool that empowers creativity, speed, and precision. It transforms the often laborious task of cutting fabric into a quick and satisfying part of the making process. But this empowerment is built on a foundation of respect and safety. By embracing the rules, investing in the right equipment, and developing mindful habits, you are not only protecting yourself from injury—you are setting yourself up for a lifetime of happy, efficient, and successful creating.
Remember the core principles: Stand up. Cut away. Close the blade. Make these your mantra. Let safety become such an ingrained part of your process that you don’t even have to think about it. Now, go forth, unroll that beautiful fabric, and cut with confidence!


