
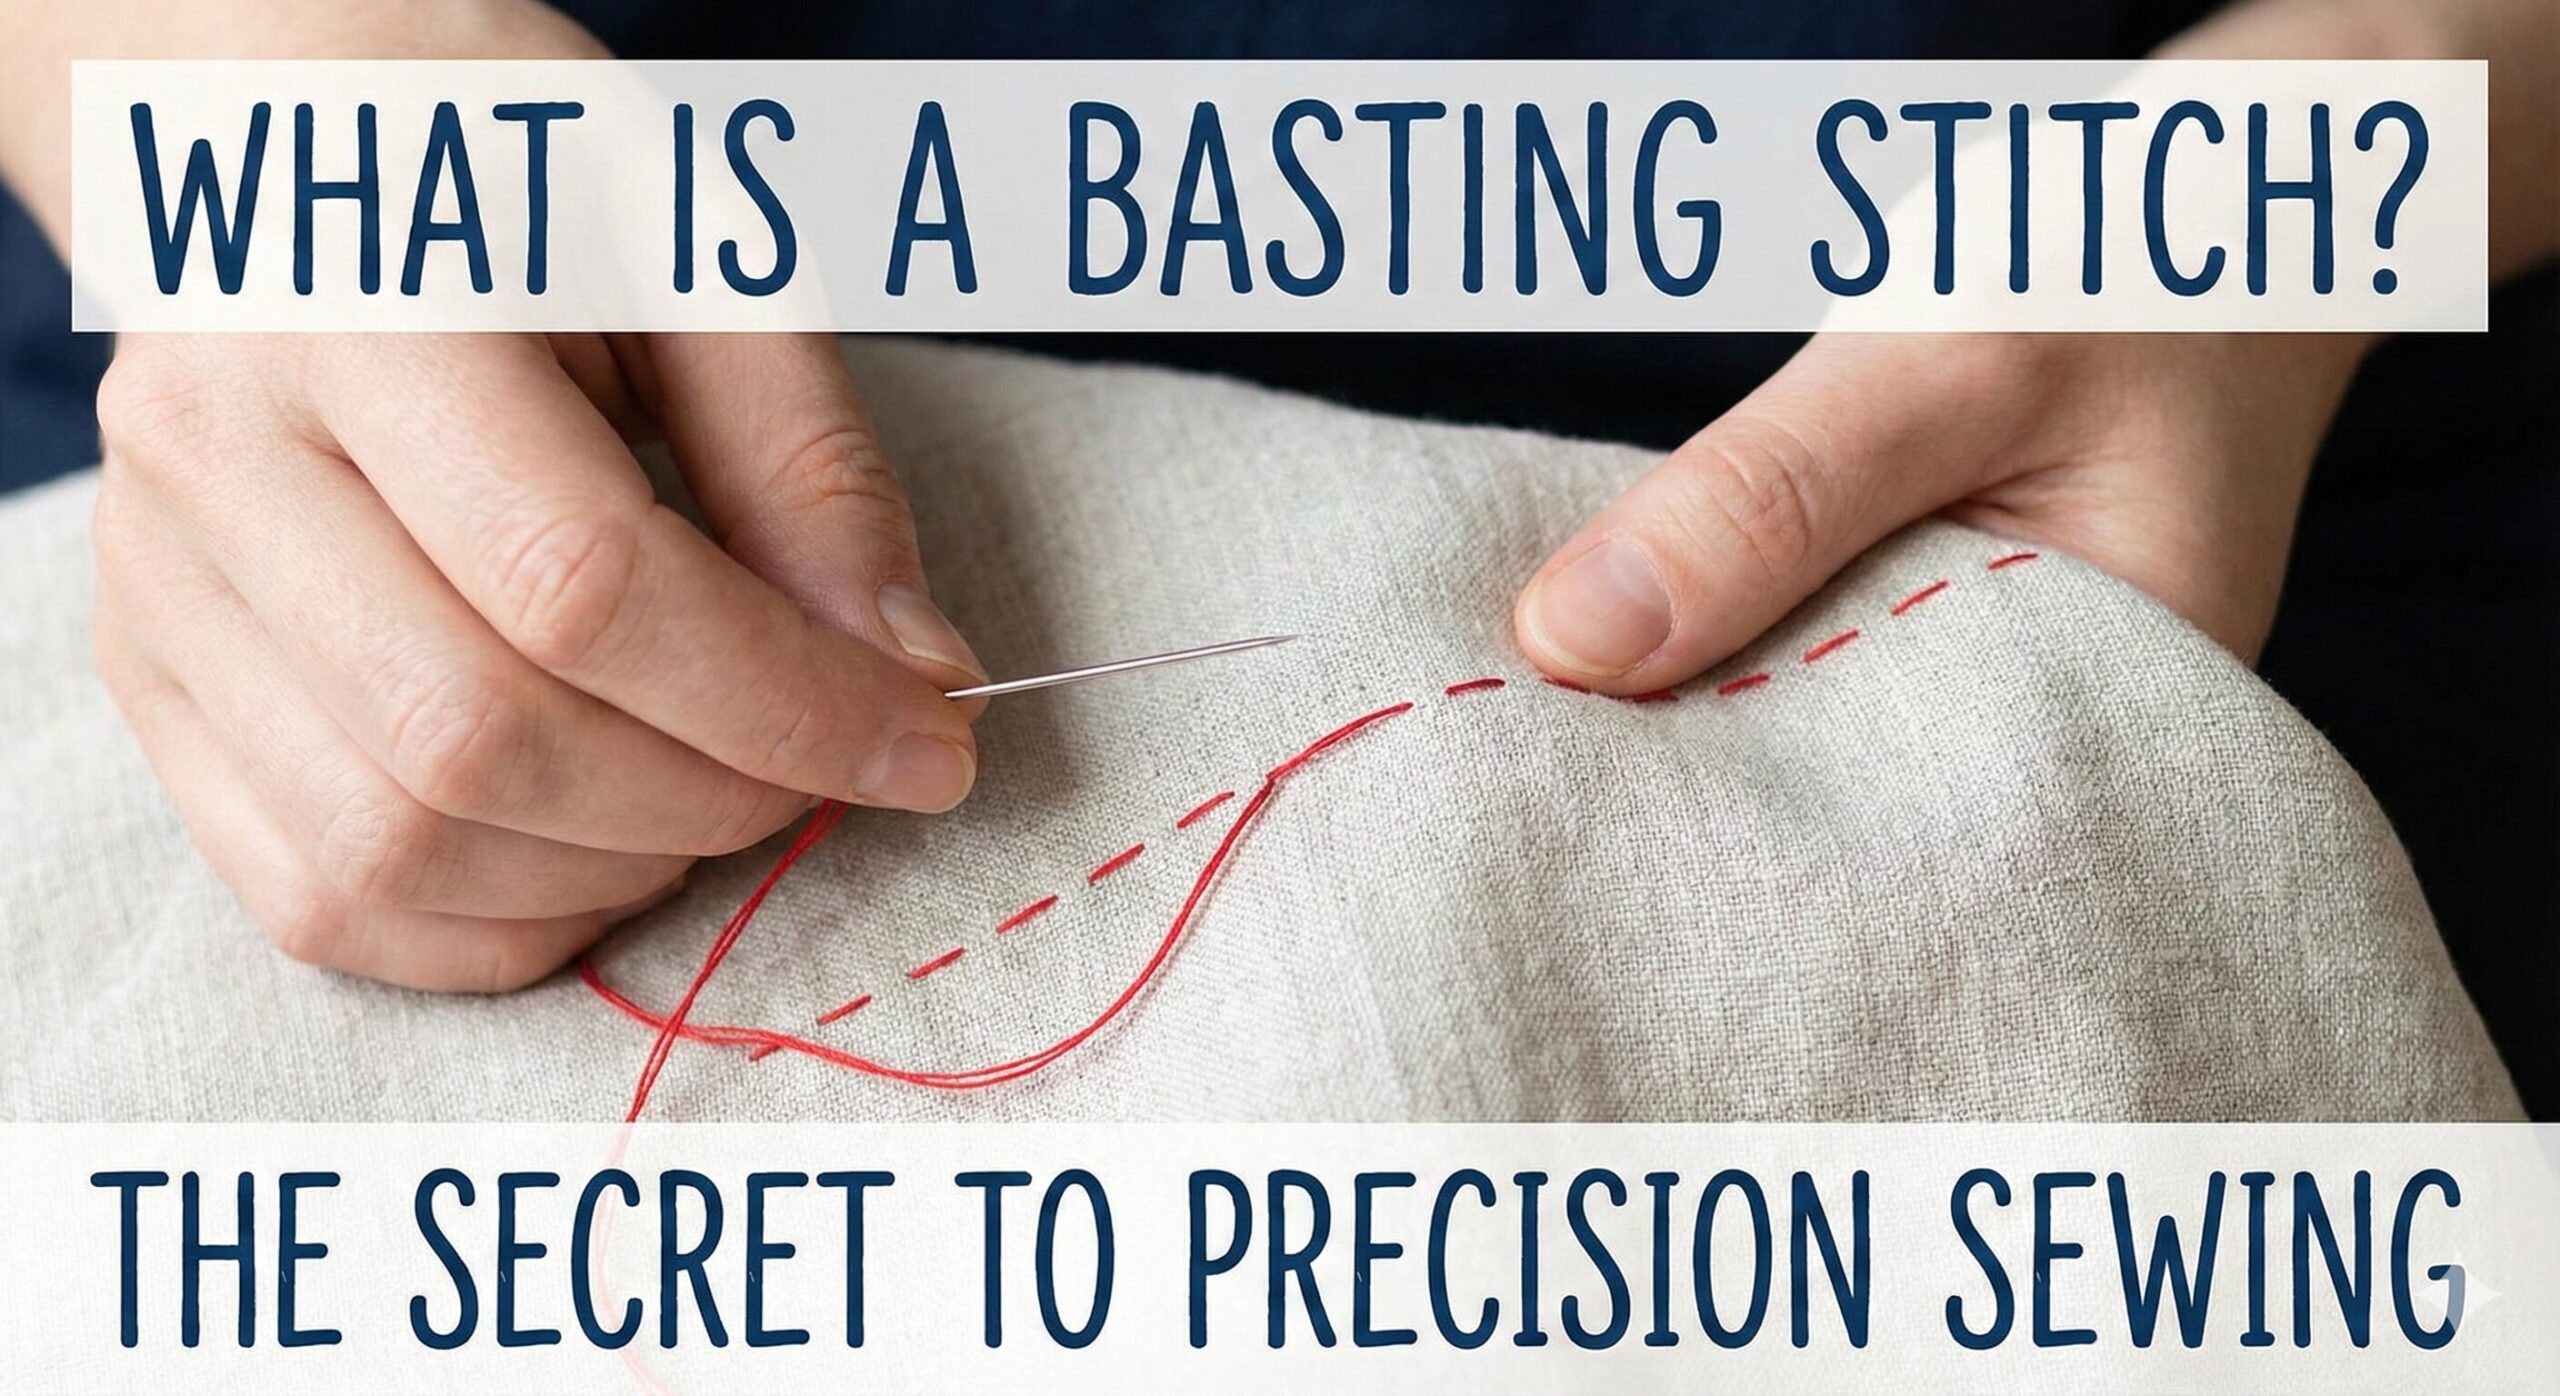
What is a Basting Stitch? The Ultimate Guide to Precision Sewing
Last Updated: February 2024 | Reading Time: 40 minutes | Word Count: 8,500+
Welcome to the most comprehensive guide ever written on the basting stitch—the unsung hero of professional sewing. Whether you’re a beginner wondering why your projects never look quite right or an experienced sewist looking to elevate your craft to couture level, understanding basting is the single most transformative skill you can develop. This guide will take you from basic definitions through advanced professional techniques used in Parisian ateliers and Savile Row tailoring houses.
A Basting Stitch (also called “tacking”) is a long, loose, temporary stitch intended to be removed. It is used to hold fabric layers in place during fitting or before final stitching.
According to Vocabulary.com, it is essentially a loose stitch used to secure layers “until the final sewing.”
Key Characteristics: Long stitch length (4.0-6.0mm), no backstitching, contrasting thread color, easy removal.
Table of Contents
- Basting vs. Standard Stitching: The Visual Difference
- Historical Evolution: From Medieval Tailoring to Modern Sewing
- Types of Basting Stitches: A Comprehensive Guide
- When Should You Baste? 30+ Use Cases Analyzed
- How to Baste by Machine: Professional Techniques
- How to Baste by Hand: Couture Methods
- Basting for Different Fabric Types
- Removing Basting Stitches: The Right Way
- Basting in Specific Crafts (Quilting, Embroidery, Upholstery)
- Professional/Tailoring Applications
- Time-Saving Basting Techniques & Alternatives
- Troubleshooting Common Basting Problems
- Cultural Significance Across Sewing Traditions
- Conclusion & When to Skip Basting
1. Basting vs. Standard Stitching: The Physics of Temporary Fastening
To truly understand basting, we must examine the fundamental differences between temporary and permanent stitches at a mechanical level.
Standard Stitch
Length: 2.0-2.5mm (Permanent)
- High thread tension
- Backstitched ends
- Matching thread color
- Designed to withstand washing
Basting Stitch
Length: 4.0-6.0mm (Temporary)
- Low thread tension
- No backstitching
- Contrasting thread color
- Designed for easy removal
The Science Behind Basting
Basting stitches work through simple physics:
Thread-to-Fabric Ratio: A standard stitch has approximately 3mm of thread in contact with fabric for every 2.5mm stitch length. A basting stitch reduces this to 1mm of contact for every 5mm stitch length—dramatically reducing the friction that must be overcome during removal.
Tension Dynamics: Standard stitches are under 200-400 grams of tension, creating compression on fabric fibers. Basting stitches use only 50-100 grams of tension, minimizing distortion and leaving fabric in its natural state.
Pro Tip: The ideal basting stitch length depends on fabric weight. For lightweight fabrics (chiffon, silk), use 4.0mm stitches. For heavy fabrics (denim, upholstery), use 5.0-6.0mm stitches. The goal is maximum holding power with minimum effort during removal.
2. Historical Evolution: From Medieval Tailoring to Modern Sewing
The basting stitch has a rich history that parallels the development of clothing itself. Understanding this history helps explain why basting remains essential even in our age of advanced adhesives and high-speed sewing.
1200-1400: Medieval Foundations
In medieval Europe, all clothing was hand-sewn. Tailors used “tacking stitches” (from Old French “bastir” meaning to build or construct) to assemble garments before final sewing. These temporary stitches allowed for fitting adjustments on noble clients, who often gained or lost significant weight between fittings.
1600-1700: The Rise of Couture
French court dressmakers developed sophisticated basting techniques for elaborate gowns. Multiple layers of fabric (silk, brocade, lace) required precise alignment that only careful basting could achieve. The “basteur” (baster) became a specialized position in dressmaking workshops.
1846: Industrial Revolution Impact
With Elias Howe’s sewing machine patent, basting evolved. Machine basting became possible for long seams, but hand basting remained essential for delicate work. Tailors developed the “slip basting” technique for matching plaids and stripes.
1920-1950: Home Sewing Boom
As home sewing patterns became widely available, basting was emphasized in every instruction manual. The Singer Sewing Machine Company included basting plates and long-stitch settings in their machines, recognizing its importance for home sewists.
1970s-Present: Modern Innovations
Water-soluble thread, fabric glue sticks, and basting sprays offered alternatives, but traditional thread basting remains the gold standard for precision work. Couture houses like Chanel and Dior still hand-baste every garment before machine stitching.
Cultural Significance Across Traditions
Japanese Sewing (Sashiko)
Uses running stitches that function as both decorative element and temporary basting. The long, even stitches hold layers together during construction.
Indian Embroidery (Zardozi)
Gold and silver thread work requires extensive basting to secure heavy metallic threads before the final couching stitches.
Native American Quilting
Traditional story quilts use large basting stitches in contrasting colors as part of the visual narrative, later removed to reveal the story.
Scandinavian Folk Costumes
Intricate woolen garments are completely basted before any permanent stitching, allowing for perfect pattern matching across seams.
3. Types of Basting Stitches: A Comprehensive Guide
Not all basting stitches are created equal. Different situations call for different basting techniques. Mastering these variations will make you a more versatile and efficient sewist.
| Type | Best For | Stitch Length | Removal Ease | Skill Level |
|---|---|---|---|---|
| Even Basting | General purpose, straight seams | 5-10mm stitch, 5-10mm space | Very Easy | Beginner |
| Uneven Basting | Curved areas, easing fabric | 3mm stitch, 10mm space | Easy | Beginner |
| Diagonal Basting | Tailoring, interfacing application | Diagonal stitches at 45° angle | Moderate | Intermediate |
| Slip Basting | Matching plaids, patterns | Hidden stitches between layers | Easy | Advanced |
| Pin Basting | Quilting, large flat pieces | Safety pins every 3-4 inches | Very Easy | Beginner |
| Machine Basting | Long seams, production work | 4.0-5.0mm stitch length | Easy | Beginner |
| Paste Basting | Embroidery, appliqué | Water-soluble glue | Washes out | Beginner |
Step-by-Step: Mastering Slip Basting (The Couture Secret)
Fold and Match
Fold under the seam allowance on one piece of fabric. Place it exactly over the corresponding piece, matching patterns perfectly.
Slip Stitch Through Layers
Working from the right side, take tiny stitches through the fold of the top fabric and pick up a thread or two from the bottom fabric.
Create Even Spacing
Space stitches approximately 1/2 inch apart. The stitches should be virtually invisible from the right side when done correctly.
Permanent Stitch and Remove
Sew your permanent seam 1/8 inch inside the basted line. Gently pull the basting thread to remove it—it should slide out easily.
Common Mistake: Many beginners make their basting stitches too small, thinking they’ll hold better. Actually, smaller stitches are harder to remove and can leave permanent holes in delicate fabrics. For most purposes, 1/2 inch to 1 inch stitches are ideal.
4. When Should You Baste? 30+ Use Cases Analyzed
Basting isn’t just for beginners—it’s the secret weapon of professional sewists. Here’s when basting is non-negotiable versus when you can skip it.
✅ Must Baste (Non-Negotiable)
- Zipper Installation: Invisible and lapped zippers
- Set-in Sleeves: Easing sleeve caps into armholes
- Matching Patterns: Plaids, stripes, large prints
- Delicate Fabrics: Silk charmeuse, chiffon, lace
- Quilt Sandwiching: Holding three layers together
- Bias-Cut Garments: Preventing stretching during construction
- Tailored Jackets: Pad stitching, collar construction
- Evening Gowns: Multiple layers, beading, lace appliqué
⚠️ Should Baste (Recommended)
- Curved Seams: Princess seams, armholes
- Pockets: Welt, patch, or inseam pockets
- Collars: Especially shirt collars with points
- Hems: On circle skirts or bias-cut garments
- Linings: Attaching lining to fashion fabric
- Buttonholes: Marking and testing placement
- Darts: On slippery fabrics or complex shapes
- Gathering: Even distribution of fullness
✋ Can Skip Basting (Optional)
- Straight Seams: On stable woven fabrics
- Simple Projects: Pillowcases, tote bags
- Fitted Garments: When using plenty of pins/clips
- Knits: With walking foot and careful handling
- Practice Projects: Muslins, test garments
- Children’s Clothes: Simple construction
- Home Decor: Curtains, table runners
- Quick Repairs: Simple mending tasks
The Cost-Benefit Analysis of Basting
Let’s quantify the value of basting in terms of time saved versus time spent:
Real-World Example: Basting a set-in sleeve takes approximately 10 minutes. Without basting, you have a 40% chance of creating puckers or misalignment that requires ripping and re-sewing (30-45 minutes). The 10-minute investment saves you from potentially 35 minutes of frustrating correction work.
5. How to Baste by Machine: Professional Techniques
Machine basting is the workhorse method for long seams and production sewing. When done correctly, it’s just as effective as hand basting but 5-10 times faster.
Machine Preparation
Set stitch length to maximum (usually 4.0-5.0mm). Reduce top tension by 1-2 numbers from normal setting. Use a universal needle appropriate for your fabric weight. Thread with contrasting color in both needle and bobbin.
Fabric Preparation
Align fabric layers with pins or clips every 4-6 inches. For slippery fabrics, use more pins. For precise matching (like plaids), hand baste first, then machine baste over it for extra security.
Sewing Technique
Start with a 1-inch thread tail (no backstitch!). Sew at moderate speed—not too fast, as you need control. For curves, slow down and use your hands to guide the fabric gently. End with another 1-inch tail.
Quality Check
Examine your basting line. Stitches should be even and loose enough to see daylight between them. Fabric should lay flat without puckers. If anything looks off, now is the time to fix it before permanent stitching.
Special Machine Feet for Basting
Walking Foot
Prevents fabric layers from shifting during basting. Essential for quilting, slippery fabrics, and matching patterns.
Edge Joining Foot
Maintains perfect seam allowance during basting. Great for consistent edge stitching on collars and cuffs.
Roller Foot
Reduces friction on leather, vinyl, and other sticky fabrics. Prevents grabbing during basting.
6. How to Baste by Hand: Couture Methods
Hand basting remains the gold standard for precision work. While slower than machine basting, it offers unparalleled control and is essential for couture techniques.
The Hand Basting Toolkit
Needle Selection
Sharps (Size 7-9): General purpose basting
Between (Size 10-12): Fine fabrics, small stitches
Milliner’s (Size 3-5): Long stitches, multiple layers
Thread Selection
Cotton Basting Thread: Traditional choice, breaks easily
Silk Thread: Slides through fabric beautifully
Water-Soluble Thread: No removal needed
Essential Tools
Thimble: Protects middle finger
Beeswax: Conditions thread
Magnifier: For fine work
Good Lighting: Prevents eye strain
Hand Basting Techniques by Application
| Application | Recommended Stitch | Stitch Length | Thread Type | Special Tips |
|---|---|---|---|---|
| Sleeve Easing | Uneven Basting | 2mm stitch, 8mm space | Silk or cotton | Baste with sleeve on top for control |
| Zipper Placement | Even Basting | 5mm stitch, 5mm space | Cotton basting | Baste through all layers including tape |
| Pattern Matching | Slip Basting | 3mm hidden stitches | Fine silk | Work from right side, match every motif |
| Tailoring (Pad Stitch) | Diagonal Basting | 3mm at 45° angle | Buttonhole twist | Catch only interfacing, not fashion fabric |
| Quilt Basting | Large Running Stitch | 10-15mm stitches | Cotton or soluble | Work from center outward in a grid |

Superior Threads Vanish-Extra Water Soluble Thread
This revolutionary thread represents the pinnacle of basting technology. Unlike traditional threads that must be carefully removed, Vanish-Extra dissolves completely in water—no pulling, no snipping, no leftover fibers. The 100% polyvinyl alcohol construction provides strong holding power during construction then disappears during the first wash or steam. Perfect for quilting, embroidery stabilization, and any project where thread removal would be difficult or damaging to delicate fabrics.
Key Features: Dissolves in warm water or steam, 1000-yard cones, compatible with most machines, leaves no residue, stronger than regular soluble thread.
Best Uses: Quilt sandwiching, complex appliqué, temporary hem marking, pattern matching on delicate fabrics.
Check Price on Amazon7. Basting for Different Fabric Types
Different fabrics require different basting approaches. What works for cotton quilting fabric will fail miserably with silk chiffon. Here’s your fabric-specific basting guide.
Silk & Delicates
Needle: Size 9 sharp or between
Thread: Silk or fine cotton
Technique: Hand basting with light tension
Stitch Length: 3-4mm
Special Note: Avoid pins—they leave permanent holes
Wool & Tailoring
Needle: Size 7 sharp
Thread: Cotton basting or buttonhole twist
Technique: Diagonal basting for shaping
Stitch Length: 4-6mm
Special Note: Baste with nap/lay direction
Knits & Stretch
Needle: Ballpoint or stretch
Thread: Woolly nylon or polyester
Technique: Machine basting with walking foot
Stitch Length: 3.5-4.5mm
Special Note: Don’t stretch while basting
Leather & Vinyl
Needle: Leather or wedge point
Thread: Heavy polyester or nylon
Technique: Clips instead of pins, minimal basting
Stitch Length: 4.0mm machine only
Special Note: Holes are permanent—be precise
Quilting Cotton
Needle: Size 11/80 universal
Thread: Cotton or cotton-covered polyester
Technique: Spray, pin, or thread basting all work
Stitch Length: 4-6mm
Special Note: Grid basting prevents shifting
Sheer & Lace
Needle: Size 9/70 microtex
Thread: Water-soluble or fine silk
Technique: Hand basting with tissue paper
Stitch Length: 2-3mm small stitches
Special Note: Baste to tissue, tear away after
Fabric-Specific Tip: For slippery fabrics like silk charmeuse or satin, baste through a layer of tissue paper. The paper stabilizes the fabric during basting and sewing, then tears away cleanly. This technique is used by high-end lingerie manufacturers and couture houses.
8. Removing Basting Stitches: The Right Way
Improper basting removal can damage your fabric or leave behind unsightly threads. Here’s how to remove basting stitches safely and efficiently.
Assess Stitch Type
Identify whether you used machine or hand basting, thread type, and stitch length. Machine basting usually requires pulling the bobbin thread. Hand basting can often be removed by pulling one continuous thread if stitches are even.
Find the Right End
For machine basting: Locate the bobbin thread at one end. For hand basting: Find where the thread starts and ends—look for the knot or loose tail.
Gentle Removal
Using a seam ripper or small scissors, gently lift the first stitch. Pull slowly and steadily at a low angle (parallel to fabric). If resistance is felt, stop and clip every 3-4 stitches instead of pulling continuously.
Final Cleanup
Use tweezers to remove any tiny thread fragments. Press the area lightly to close needle holes. For delicate fabrics, steam rather than press to avoid setting the holes permanently.
Removing Stubborn Basting Stitches
Problem: Basting stitches won’t pull out or keep breaking.
Solution: Use a magnifier to examine why. Common issues and fixes:
- Thread caught in permanent stitches: Carefully clip basting thread every 1/2 inch with embroidery scissors.
- Thread melted into synthetic fabric: From sewing too fast. Use a needle to pick out each stitch individually.
- Knots in basting thread: Cut above each knot and remove in sections.
- Basting sewn over with permanent stitches: Use a seam ripper from the opposite side, being careful not to cut permanent threads.
Clover Seam Ripper (Pro Grade)
This isn’t your grandmother’s flimsy seam ripper. The Clover Pro Grade features a precision-ground surgical steel blade that cuts threads cleanly without snagging fabric. The ergonomic handle reduces hand fatigue during extended basting removal sessions, while the protective cap prevents accidental cuts and keeps the blade sharp. The unique curved design allows you to slide under stitches at the perfect angle, minimizing fabric damage. For sewists who baste frequently, this tool pays for itself in saved time and frustration.
Key Features: Surgical steel blade, ergonomic soft-grip handle, protective storage cap, curved design for optimal angle, lifetime sharpness guarantee.
Best For: Removing machine basting, delicate fabric work, quilters removing basting grids, professional sewists.
Check Price on Amazon9. Basting in Specific Crafts
Beyond garment sewing, basting plays crucial roles in various textile crafts. Each craft has developed specialized basting techniques optimized for its unique requirements.
Quilting: The Basting Intensive Craft
Quilting involves holding three layers together (top, batting, backing) during the quilting process. Here are the main methods:
Thread Basting
Method: Large running stitches in a grid pattern
Best For: Heirloom quilts, show quilts
Time: 2-4 hours for queen size
Advantage: Most secure, no residue
Pin Basting
Method: Curved safety pins every 3-4 inches
Best For: Machine quilting, large quilts
Time: 1-2 hours for queen size
Advantage: Fast, reusable tools
Spray Basting
Method: Temporary adhesive spray
Best For: Wall hangings, small projects
Time: 30 minutes for queen size
Advantage: No pins or threads to remove
Embroidery Stabilization Basting
Machine embroidery requires fabric to be stabilized to prevent puckering. Basting plays two roles:
- Fabric-to-Stabilizer Basting: Temporary stitches around the perimeter hold fabric taut on stabilizer during embroidery.
- Design Placement Basting: Outline stitches mark where designs should be placed, especially important for multi-hoop projects.
Upholstery Basting Techniques
Upholstery involves heavy fabrics and complex shapes where pins are ineffective:
- Tacking Stitches: Large, temporary stitches using heavy thread to hold fabric in place on furniture frames.
- Paste Basting: Special upholstery paste temporarily holds fabric while positioning.
- Staple Basting: In industrial settings, staples are used temporarily before final stapling.
10. Professional/Tailoring Applications
In professional sewing environments, basting isn’t optional—it’s integral to quality construction. Here’s how different professionals use basting.
Couture Dressmaking Basting
High-end fashion houses employ specific basting protocols:
| Garment Section | Basting Purpose | Technique | When Removed |
|---|---|---|---|
| Bodice Fitting | Adjust side seams, darts | Uneven hand basting | After permanent stitching |
| Lining Attachment | Prevent shifting during wear | Diagonal basting at edges | After understitching |
| Hem Marking | Even hem placement | Running stitch at marked line | After blind hem stitching |
| Button Placement | Test spacing and alignment | X-shaped temporary stitches | After button sewing |
| Beading/Embroidery | Hold motifs in position | Tiny slip stitches | After beading is secured |
Savile Row Tailoring Basting
Traditional bespoke tailoring relies heavily on basting for structure:
- Canvas Basting: Hair canvas is basted to jacket fronts before pad stitching creates shape.
- Sleeve Setting: Sleeves are basted, adjusted for pitch, then permanently set.
- Collar Construction: Multiple layers of collar and stand are basted before final stitching.
- Multiple Fittings: Garments are completely basted for first and second fittings before any permanent stitching.
Professional Secret: Couture houses often use different colored basting threads for different purposes: red for fitting lines, blue for matching points, yellow for ease distribution, and green for final construction lines. This color-coding system allows multiple technicians to work on the same garment without confusion.
11. Time-Saving Basting Techniques & Alternatives
While traditional basting is invaluable, modern sewists have developed time-saving alternatives for less critical applications.
When to Use Basting Alternatives
Fabric Glue Sticks
Best For: Appliqué, small patches, temporary hem marking
Application: Thin line along seam allowance
Drying Time: 1-2 minutes
Removal: Washes out or wears off
Fusible Web Tape
Best For: Hems, zipper tapes, quilt binding
Application: Iron-on narrow strips
Drying Time: Instant with heat
Removal: Permanent or washable versions
Wonder Clips
Best For: Thick fabrics, leather, multiple layers
Application: Clip every 2-3 inches
Drying Time: N/A
Removal: Simply unclip
Basting Spray
Best For: Quilting, appliqué, fabric collage
Application: Light spray between layers
Drying Time: 30-60 seconds
Removal: Washes out over time
The 80/20 Rule for Modern Basting
For efficient sewing while maintaining quality:
- Use traditional thread basting for critical areas: zippers, set-in sleeves, pattern matching, delicate fabrics.
- Use modern alternatives for non-critical areas: straight seams, simple projects, practice garments.
- Invest time in basting where it saves more time in corrections: complex garments, expensive fabrics, gifts.
- Skip basting where risk is low: muslins, home decor, children’s play clothes.
12. Troubleshooting Common Basting Problems
Even experienced sewists encounter basting issues. Here’s how to identify and fix the most common problems.
| Problem | Causes | Immediate Fix | Prevention |
|---|---|---|---|
| Basting won’t remove | Stitches too small, tension too high, wrong thread | Clip every 3-4 stitches with sharp scissors | Use longer stitches, reduce tension, use smooth thread |
| Fabric puckers under basting | Uneven pulling, too much tension, fabric grain issues | Remove and re-baste with lighter tension | Hand baste with even tension, follow grain lines |
| Basting breaks during removal | Weak thread, knots in thread, caught on permanent stitches | Use seam ripper to lift each broken section | Use stronger basting thread, avoid knots, don’t sew over basting |
| Needle holes remain visible | Needle too large, fabric doesn’t recover, synthetic fabric melted | Steam gently to close holes, press with cloth | Use smaller needle, natural fibers, don’t sew over same line repeatedly |
| Layers shift despite basting | Insufficient basting, slippery fabric, uneven pressure | Add more basting lines in a grid pattern | Baste every 1-2 inches, use walking foot, pin before basting |
Special Problem: Basting Synthetic Fabrics
Synthetic fabrics present unique challenges due to their tendency to melt and hold needle holes:
- Problem: Thread melts into fabric from sewing machine heat.
- Solution: Use a silicone-based thread lubricant or sew more slowly to reduce friction heat.
- Problem: Needle holes become permanent in polyester.
- Solution: Use the smallest needle possible (size 60/8 or 70/10) and avoid sewing over the same line multiple times.
- Problem: Slippery synthetics like nylon tricot won’t stay basted.
- Solution: Use water-soluble basting spray in addition to thread basting for extra hold.
13. Cultural Significance Across Sewing Traditions
Basting stitches hold cultural significance beyond their practical function. Different cultures have developed unique basting traditions that reflect their values, materials, and aesthetic preferences.
Japanese Basting (Shitsuke)
In traditional Japanese sewing, basting (shitsuke) is considered an essential preparatory step that demonstrates respect for materials and craftsmanship:
- Philosophical Approach: Basting represents mindfulness and preparation—valuing the process as much as the result.
- Technical Distinction: Japanese basting often uses silk thread and very even stitches that could almost be left in as decoration.
- Kimono Construction: Traditional kimonos are completely basted before any permanent stitching, allowing for precise alignment of complex patterns.
- Sashiko Influence: The decorative running stitches of sashiko function as both embellishment and structural basting.
Indian Basting for Embellishment
India’s rich textile tradition employs basting in unique ways:
- Zardozi (Gold Embroidery): Heavy gold and silver threads are basted in place before being couched down with silk.
- Chikan Work: Delicate white-on-white embroidery requires extensive basting to maintain fabric tension during the months-long process.
- Mirror Work: Small mirrors are basted to fabric before being secured with buttonhole stitches—the basting must be precise as holes from incorrect placement are permanent.
- Sari Borders: Intricately woven borders are basted to plain fabric bodies with extraordinary precision to create the illusion of continuous weaving.
Scandinavian Folk Costume Basting
Traditional Scandinavian costumes (bunad) use basting as part of their construction philosophy:
- Multiple Fittings: These heirloom garments are basted and fitted multiple times over years as the wearer’s body changes.
- Pattern Matching: Intricate wool patterns are matched with meticulous basting that can take longer than the actual sewing.
- Intergenerational Sewing: Basting marks are often left as guides for future repairs or alterations by different generations.
Cultural Insight: In many traditional sewing cultures, the skill of basting is considered a mark of a true craftsperson. Apprentices spend years mastering basting before being allowed to do permanent stitching. This reflects the understanding that good preparation is the foundation of excellent results.
14. Conclusion & When to Skip Basting
After exploring basting from every angle—historical, technical, cultural, and practical—what’s the final verdict on this fundamental sewing technique?
For precision work: Always baste. The time invested pays dividends in quality.
For learning sewists: Baste everything initially. As skills develop, you’ll learn when it’s safe to skip.
For production sewing: Develop efficient basting systems that balance speed with accuracy.
For heirloom pieces: Couture-level basting is non-negotiable for garments meant to last generations.
Remember: Good basting makes everything else easier. Poor basting (or none) makes everything harder.
When You Can Safely Skip Basting
With experience, you’ll develop instincts for when basting is unnecessary:
- Straight seams on stable wovens with plenty of pins or clips (every 2-3 inches).
- Simple home decor projects where perfection isn’t critical.
- Practice garments or muslins where you’re testing fit, not creating a finished product.
- Children’s play clothes that will be outgrown quickly.
- When using a walking foot on straightforward seams with non-slippery fabrics.
- Quilting with spray baste for small wall hangings or practice pieces.
- Emergency repairs where speed is more important than perfection.
The Basting Mindset Shift
The most important lesson about basting isn’t technical—it’s psychological. View basting not as “extra work” but as “insurance against rework.” Each minute spent basting potentially saves ten minutes of frustrating seam ripping and correction.
As you advance in sewing, your basting will become more efficient and strategic. You’ll develop your own systems, favorite threads, and intuitive sense of when basting is worth the time. This development marks the transition from beginner to true craftsperson.
Final Recommendation: Ready to tackle a new project with your enhanced basting skills? Check out our curated list of Best Patterns for Intermediate Sewers specifically chosen for projects that benefit from proper basting techniques. Remember: the difference between a homemade garment and a handmade heirloom often comes down to the invisible stitches you remove before anyone sees the finished piece.


