
Your First Sew: The Ultimate Beginner’s Guide to Setting Up Your Sewing Machine
Welcome to Your New Creative Partner!
There it is. The big box on your floor, filled with equal parts promise and intimidation. You’re buzzing with excitement for the projects you’re going to create, but also… where do you even begin? That glossy white machine can look like a complex puzzle of dials, levers, and strange symbols.
My name is Alex, and as a lifelong sewing enthusiast and educator, I’ve seen that look of “what now?” on hundreds of new sewists’ faces. I’m here to be the calm, patient guide I wish I’d had when I unboxed my very first machine. We’re going to go step-by-step, transforming that puzzle into your trusted creative partner. By the end of this guide, you won’t just have a machine on a table; you’ll have a fully set-up sewing station and the confidence to sew your very first seam. Let’s do this together!
Disclosure: This post contains affiliate links. If you purchase through these links, we may earn a small commission at no extra cost to you. This helps us create these in-depth guides for free. We only recommend products we personally use and trust.
What We’ll Cover In This Guide: Your Setup Roadmap
Just starting your search? If you haven’t purchased a machine yet, our sewing machine buying guide is the perfect place to start your journey.
Part 1: Creating Your Sewing Sanctuary (Before You Even Unbox)
A successful setup begins before you even cut the tape on the box. Where you sew is just as important as what you sew with. Taking a few moments to prepare your space will set you up for comfort, safety, and success.
1.1 – The Foundation: A Sturdy Table
Your sewing machine has a powerful motor that creates vibration. Placing it on a flimsy card table will cause shaking, which can lead to skipped stitches and frustration. You need a solid, stable surface.
- What to look for: A dedicated sewing table, a sturdy desk, or even a solid dining table will work.
- What to avoid: Wobbly folding tables, glass-topped tables, or any surface that isn’t level.
1.2 – The Command Center: A Comfortable Chair
You’re going to be spending hours in this chair. Sewing while hunched over will lead to back, neck, and shoulder pain. Ergonomics are a key part of long-term sewing enjoyment.
- Your goal: Sit with your feet flat on the floor, your back supported, and your arms at a comfortable 90-degree angle to the table.
- What to use: An adjustable office chair is ideal. If you’re using a standard chair, you may need a cushion to raise your height or a small footstool to support your feet.
1.3 – The Spotlight: Excellent Lighting
The tiny built-in light on your sewing machine is not enough. Sewing in poor light leads to eye strain, headaches, and inaccurate seams. Good task lighting is non-negotiable.
- What you need: A bright, adjustable task lamp that you can position to shine directly onto the needle area without creating glare. Lamps that produce “daylight” quality light are best for seeing true fabric colors.
A Safe Space is a Creative Space
As you set up your table, chair, and lamp, think about electrical safety. Make sure cords are tucked away to prevent tripping, and consider plugging everything into a single surge protector. For a deep dive, check out our comprehensive guide on sewing machine safety tips.
Part 2: Unboxing and Anatomy 101 – Meet Your Machine
It’s time! Open up that box. As you remove the components, lay them out so you can see what you have. You’ll typically find the machine itself, a power cord, a foot pedal, an accessory bag (with feet, bobbins, needles, etc.), and the all-important instruction manual.
Your manual is your new best friend. Keep it handy!
Now, let’s get acquainted with the key parts of your machine. Knowing the correct names will make the rest of this guide (and any future tutorials) much easier to follow.
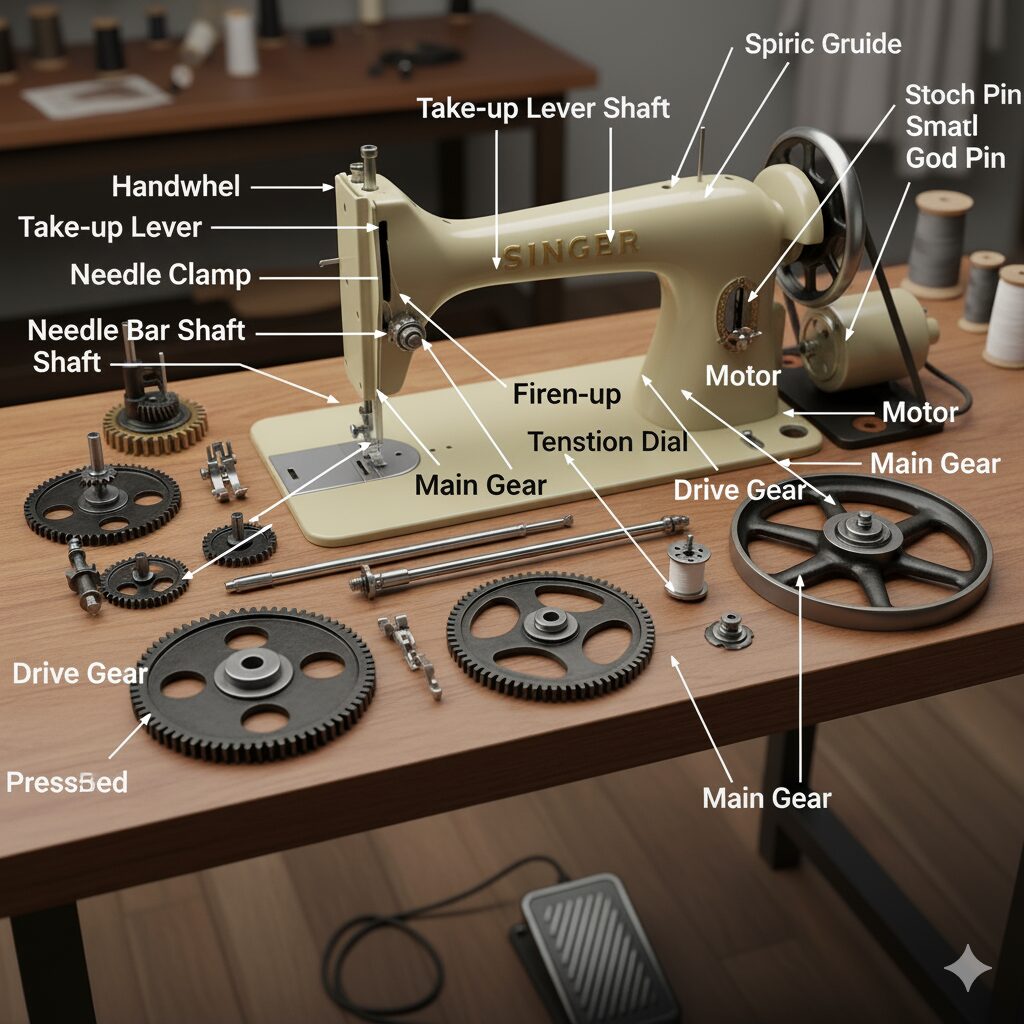
Key Machine Parts:
- Handwheel: The large wheel on the right side. It manually moves the needle up and down. Always turn it towards you.
- Spool Pin: Holds your spool of thread. It can be vertical or horizontal.
- Thread Guides: A series of hooks and channels that guide the thread from the spool to the needle. Your machine will have numbers next to them.
- Take-Up Lever: This crucial lever moves up and down as you sew, pulling the thread tight to form a stitch. The thread MUST be seated in this lever.
- Tension Dial: Controls the tightness of the top thread. Most sewing starts with this set to the “auto” or middle setting (usually 4).
- Stitch Selector: A dial or screen used to choose your stitch (e.g., straight stitch, zigzag).
- Needle & Needle Clamp Screw: The needle does the sewing! The clamp and screw hold it securely in place.
- Presser Foot: This foot holds the fabric down against the feed dogs. You lower it before sewing and raise it to remove fabric.
- Throat Plate: The metal plate under the needle with seam allowance guides etched into it.
- Feed Dogs: The little metal teeth under the presser foot that grip and move the fabric.
- Bobbin Winder: The mechanism (usually on top) used to wind thread onto your bobbins.
- Bobbin Housing: The area under the needle where the bobbin lives. It can be a top-loading (drop-in) or front-loading system.
For a more exhaustive breakdown of every possible feature, our guide that explains all sewing machine features is an excellent resource.
Connecting Power
Find the power cord and the foot pedal. The machine will have two ports, usually on the right side. Plug the foot pedal and the power cord into their respective sockets on the machine, then plug the power cord into your surge protector. Place the foot pedal on the floor where it feels comfortable for your foot. Turn the machine’s power switch on!
Part 3: The First Critical Step – Installing the Needle
Your machine probably came with a needle installed, but learning how to change it is a fundamental skill. You will break needles, and you need to change them regularly for the best results.
Safety First!
Before you touch the needle area, turn the power off on your machine. This prevents any accidental stitches that could lead to injury.
Step-by-Step Needle Installation:
- Raise the Needle: Turn the handwheel towards you until the needle is at its highest possible position.
- Loosen the Screw: Locate the needle clamp screw. It’s a small, flat-head or thumb screw to the right of the needle. Use the small screwdriver that came with your machine (or your fingers) to turn it just enough to loosen the old needle. Don’t remove the screw completely!
- Remove the Old Needle: Pull the old needle straight down and out.
- Observe the New Needle: Pick up your new needle. Notice that the top part (the shank) has a flat side and a rounded side. This is critically important.
- Insert the New Needle: With the flat side of the shank facing the back of the machine, guide the new needle up into the clamp as far as it will go. It needs to be all the way up.
- Tighten the Screw: While holding the needle in place, tighten the needle clamp screw securely. Give it a gentle tug to make sure it’s firmly in place.
Part 4: Winding the Bobbin – Your Bottom Thread
A stitch is formed by two threads: one from the top (the spool) and one from the bottom (the bobbin). Winding the bobbin correctly is essential for good stitches.
Step-by-Step Bobbin Winding:
- Place Your Thread: Put your spool of thread on the spool pin. If it’s a horizontal pin, use the provided spool cap to hold it in place.
- Follow the Winding Path: Your machine has a separate, simple thread path just for winding the bobbin. It’s usually shown with a dashed line on the machine. Guide the thread from the spool, around the bobbin winding tension disc (this is what ensures an even wind).
- Thread the Bobbin: Take an empty bobbin. Pass the end of the thread through the small hole in the top of the bobbin, from the inside out.
- Place the Bobbin on the Winder: Place the bobbin onto the bobbin winder pin. There’s usually a small spring that it will click onto. Push the winder pin to the side to engage it. This action often disengages the needle, which is a safety feature.
- Start Winding: Hold the thread tail that’s sticking out of the bobbin. Gently press the foot pedal. Let the winder make a few rotations, then stop and snip the excess thread tail close to the bobbin.
- Fill the Bobbin: Continue pressing the foot pedal to fill the bobbin. The machine will guide the thread to create a smooth, even fill. Most machines will automatically stop when the bobbin is full. Don’t overfill it!
- Finish Up: Snip the thread connecting the bobbin to the spool. Push the bobbin winder back to its original position to re-engage the needle. You now have a perfectly wound bobbin!
Part 5: Threading the Top – The Main Event
This is the step that intimidates beginners the most, but it’s just a matter of following the path. Modern machines have numbered guides printed right on them to make it easy.
The #1 Most Important Threading Tip
Before you begin, raise the presser foot lifter! Lifting the presser foot opens up the tension discs inside the machine, allowing the thread to sit properly between them. If you thread the machine with the presser foot down, the tension will be wrong and you will get a tangled mess of thread on the bottom of your fabric.
Step-by-Step Top Threading:
- Raise the Presser Foot: Use the lever to lift the presser foot.
- Raise the Needle: Use the handwheel to bring the needle and the take-up lever to their highest positions.
- Guide 1 (From the Spool): Pull the thread from your spool and guide it through the first thread guide, usually a hook or channel near the spool pin.
- Guide 2 (Down the Channel): Follow the numbers and arrows, bringing the thread down the channel on the right side of the machine.
- Guide 3 (The U-Turn): Bring the thread around the U-shaped bend at the bottom and back up the left-side channel.
- Guide 4 (The Take-Up Lever): This is the most crucial step. As you bring the thread up, guide it from right to left so it hooks securely into the eye of the take-up lever. You might need to turn the handwheel slightly to see it. If you miss this step, the machine cannot form a stitch.
- Guide 5 (Down to the Needle): Follow the thread path back down towards the needle. There will be one or two final guides just above the needle itself.
- Thread the Needle: The final step! Thread the needle from front to back. Pull about 4-6 inches of thread through to the back. Many modern machines have a built-in needle threader, which is a huge help!
This entire process is the foundation of how to use a sewing machine, and while it seems like a lot of steps at first, it will become second nature with practice.
Part 6: Loading the Bobbin & Drawing Up the Thread
You’re almost there! Now we just need to unite the top and bottom threads.
For Top-Loading (Drop-In) Bobbins:
- Slide off the plastic cover near the needle plate.
- Drop your wound bobbin in. For most machines (like Brother, Singer), the thread should be coming off the bobbin in a counter-clockwise direction.
- Guide the bobbin thread through the small slit or channel in the bobbin case.
- Replace the plastic cover, leaving the thread tail out.
Bringing Up the Bobbin Thread:
- Lightly hold the tail of your top thread with your left hand.
- With your right hand, turn the handwheel towards you for one full rotation.
- You will see the top thread go down into the bobbin area and loop around the bobbin thread.
- As you complete the rotation and the needle comes back up, you’ll see a small loop of the bobbin thread has been pulled up through the hole in the throat plate.
- Use a pair of scissors or a seam ripper to gently pull that loop all the way through.
- You should now have two thread tails—one from the needle and one from the bobbin. Slide them both under the presser foot and towards the back of the machine.
Part 7: Action! Sewing Your Very First Seam
This is the moment of truth. Grab a piece of scrap fabric (simple cotton is best) and let’s make some magic.
- Set Your Stitch: Make sure your machine is set to a basic straight stitch. A stitch length of `2.5` is a great starting point.
- Place the Fabric: Lift the presser foot. Place your scrap fabric underneath it, lining up the edge of the fabric with one of the seam allowance guides on the throat plate (the 5/8″ line is standard).
- Lower the Needle: Use the handwheel to lower the needle just into the fabric to secure your starting spot.
- Lower the Presser Foot: This is essential! You must lower the presser foot to engage the tension and the feed dogs.
- Start Sewing: Lightly hold your two thread tails behind the machine for the first couple of stitches to prevent them from getting tangled. Gently press the foot pedal. The machine will start to sew!
- Guide, Don’t Push: Your only job is to guide the fabric gently with your hands to keep the seam straight. Do not push or pull the fabric.
- Backstitch to Lock: After a few inches, press and hold the reverse button/lever to sew backward for 2-3 stitches, then release and sew forward again. This locks your seam. Do the same thing at the very end of your seam.
- Finish the Seam: Sew to the end of your fabric. Use the handwheel to raise the needle to its highest point. Lift the presser foot, pull your fabric out to the back and left, and snip the threads.
Congratulations! You’ve just sewn your first seam! Take a moment to examine your work. Does it look good? If you see loops or tangles, don’t worry! Our guide to common sewing machine problems and fixes is the perfect next read.
Your Essential Beginner’s Setup Kit
While your machine comes with some basics, having a few key tools and supplies will make your sewing journey much smoother. Here’s a curated list of beginner must-haves available on Amazon.
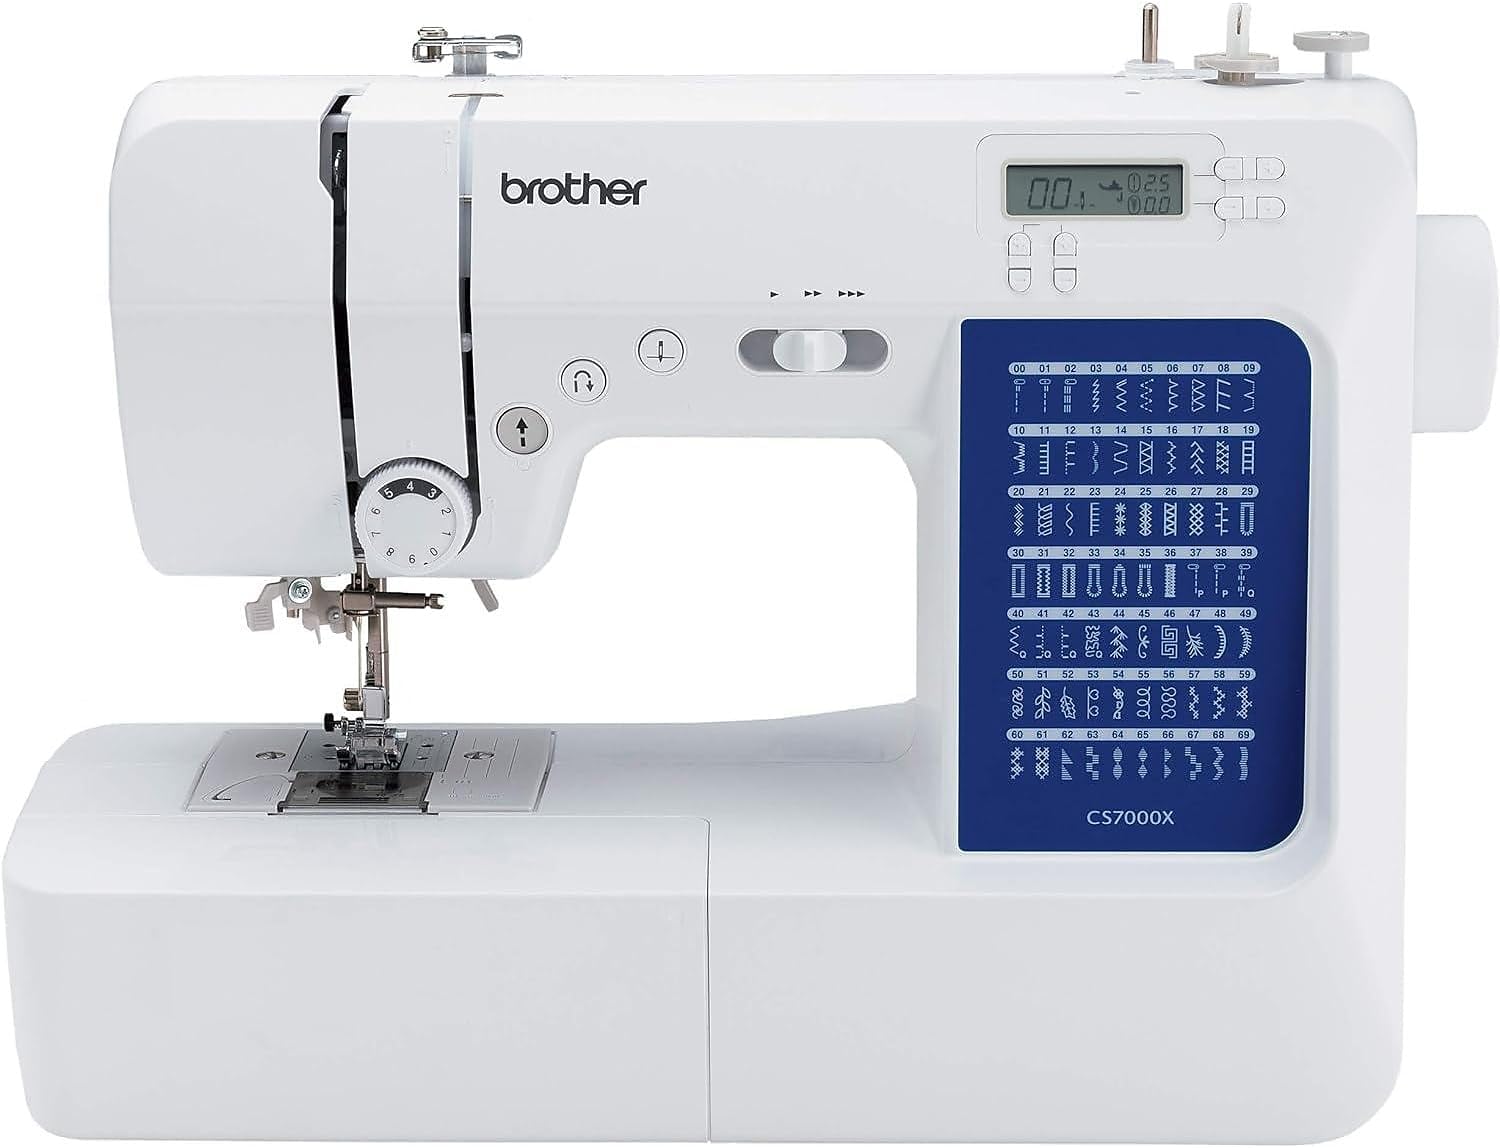
1. The Perfect Beginner Machine
Brother CS7000X: This computerized machine is legendary for a reason. It’s incredibly user-friendly, reliable, and packed with features like a needle threader and speed control that help beginners build confidence.
Check Price on Amazon
2. Quality All-Purpose Thread
Gutermann Sew-All Thread Set: Good thread makes a huge difference. It’s stronger and produces less lint than cheap alternatives, preventing many common machine problems. This set gives you a great range of starter colors.
Check Price on Amazon
3. Basic Notions Toolkit
SINGER Beginner’s Sewing Kit: Get all your essential tools in one go. This kit includes quality fabric shears, a seam ripper (your new best friend!), pins, a measuring tape, and more. It’s everything you need to start your first project.
Check Price on AmazonConclusion: Your Journey Begins Now
You did it! You took a machine in a box and turned it into a ready-to-create tool. This process might feel slow the first few times, but soon, you’ll be threading your machine in under a minute without even thinking about it. Every expert was once a beginner, and you’ve just taken the most important step.
As you grow in your skills, you might find yourself dreaming of more advanced features. When that day comes, our guide to the best sewing machines for intermediate sewers will be here to guide you. For now, grab some more scrap fabric and practice, practice, practice. Welcome to the wonderful world of sewing!


